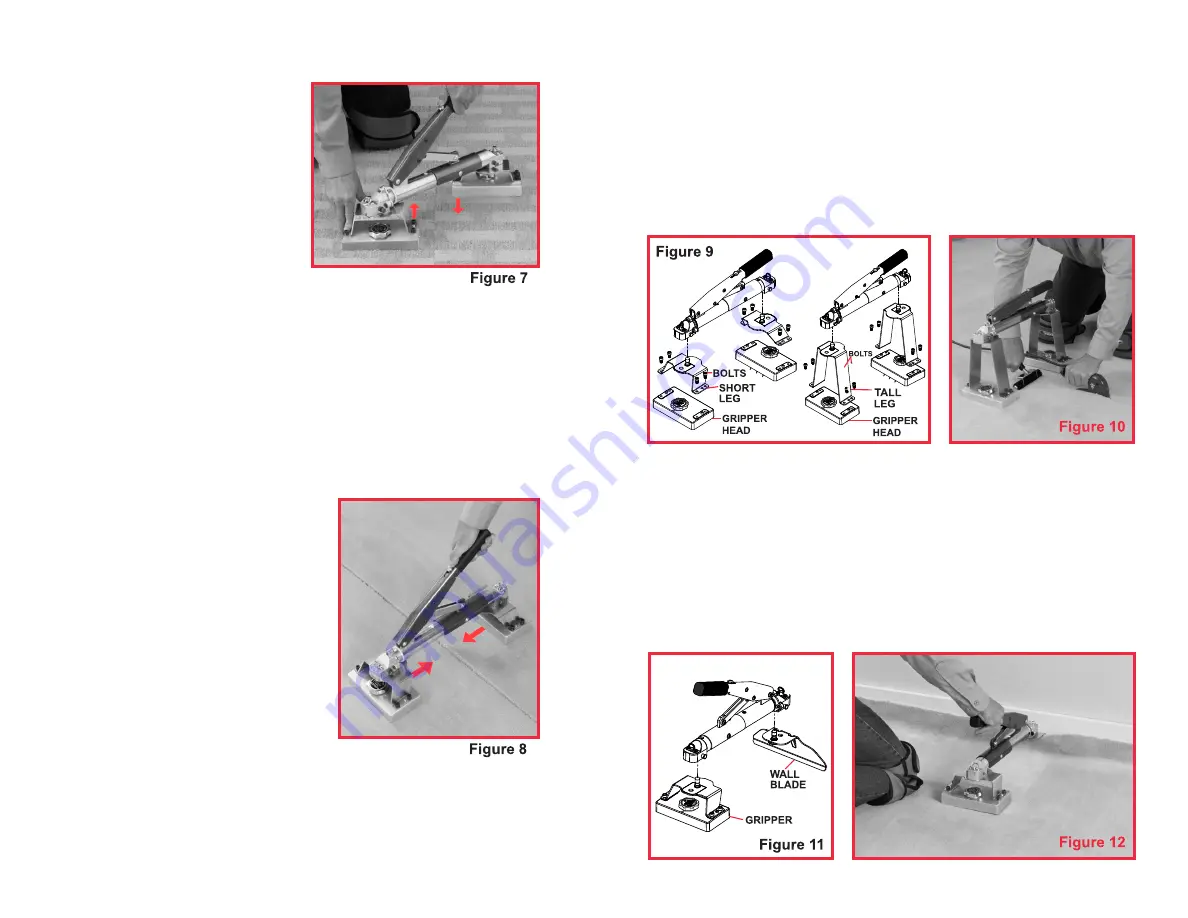
DIAGONAL STRETCHING:
Diagonal stretching (Figure 7)
across the seam can help with
smaller adjustments, particularly
correcting edge deviation or closing
gaps. The dual pivoting grippers can
be positioned at different angles as
desired to pull the seams together
at the angle that produces the right
adjustment.
PATTERN MATCHING PRO TIPS:
Cuts should be arranged so the longest pattern is installed first. Dry lay
the carpet prior to applying adhesive. Pre-stretch the carpet only enough
to match the pattern fairly closely, but do not attempt final alignment. For
final pattern alignment, apply adhesive to the subfloor with the proper
notched trowel, but apply only to those areas on either side of the seam
being presently aligned, so that alignment can be achieved before
adhesive tacks up. Set the carpet into the wet adhesive, then stretch into
final alignment. The use of stay nails is required to hold the carpet in place
until the adhesive is fully cured.
3
SEAM REPAIR USAGE:
Install both gripper heads on the tool as
shown in Figure 5, and set pin depth so
that the pins extend into, but not through,
the carpet’s backing.
To open a seam for repair, place the
gripper heads on either side of the seam,
with each head oriented parallel to the
seam (Figure 8). For this usage, it can
be helpful to lock the gripper heads
perpendicular to the leverage handle
using the pivot lock pins (Figure 3).
Lower the leverage handle to pull the
seam edges together to open the seam
as needed.
Once the seam is opened, you can cut apart the portion requiring repair
and apply latex or other form of adhesive to perform repairs as necessary.
It is usually advisable to re-seal seam edges to prevent unraveling,
delamination, or loss of tufts. Allow adhesive to fully cure before removing
the tool. Otherwise, it is necessary to use stay nails.
SEAM REPAIR WITH A SEAMING IRON:
Tall seam repair legs are available as an accessory (Crain No. 519) to
allow a carpet seaming iron to pass underneath the tool more conveniently
(Figure 10). To install the tall seam repair legs on both ends, depress the
quick-change push button on either end, and remove both gripper head
and short leg assemblies (Figure 9). Using the provided hex wrench,
unscrew the four bolts, and remove the short legs from the gripper heads.
Attach the tall seam repair legs to each of the gripper heads using the
same four bolts. Depress the quick-change push button on either end to
reinsert the tall leg pins in the sockets, and release push button to lock.
STRETCHING CARPET:
The Mini-Stretcher is convenient for removing undesired humps that may
be present in improperly installed carpet.
NOTE: installing an extra row of strip in front of the existing row is normally
required for reinforcement of the tack strip.
As shown in Figure 11, install the wall blade on the front end of the tool
(nearest the leverage handle). Insert the wall blade behind the carpet and
the tack strip (Figure 12). Lower the leverage handle to stretch the carpet.
4
SHORT LEGS
DISASSEMBLY
TALL LEGS
ASSEMBLY
SEAM IRON GOES UNDER
WITH TALL LEGS
STRETCHING ASSEMBLY
STRETCHING CARPET


