Page
65
of
128
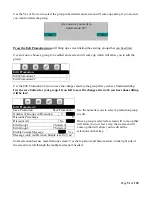
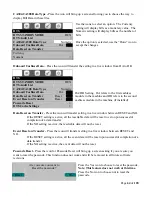
DTS Cache Settings -
Press the icon will bring up a screen for DTS Cache Settings.
Press the icon to toggle between No and Yes. When
set to No, DTS Cache is disabled or off.
When set to Yes, DTS Cache is enabled or turned on.
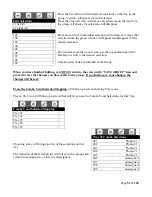
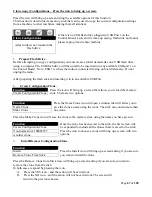
Press the DTS Cache Interval icon to open the
window to allow you to change the time. Press the
numeric icons for the time interval you wish to use.
Use the “Done” icon to accept the time selected.
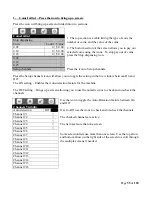
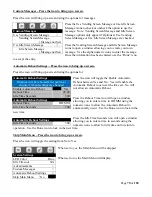
Software Updates – Press the icon to bring up a screen.
Press the icon will bring up a screen with only one option.
Press the Start to update icon will choose the option.
Choosing the option will bring up a screen prompting further
action.
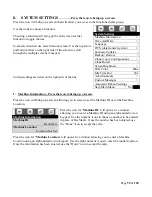
If you have no memory stick installed in USB Port 3 – A screen
will come up stating that the Atlas folder is not found, Re-Plug the
Stick and Re-Boot the Machine.
If a memory stick is installed in USB port 3 – A screen will come up listing the files available on that
stick that can be used for an Up-Grade.
Use an icon to choose the file to be used for the Up-Date.
Use a numeric Key to Start to Up-Date. This may take several
minutes. When done, shut down the machine and re-start.
Note: It is recommended that a backup copy always be made before Up-Dating software.
DTS Cache Settings
Enable DTS Cache
No
Yes
This option enables DTS to build data
every 5+ minutes to allow for quicker
DTS data reads.
DTS Cache Settings
Enable DTS Cache
No Yes
DTS Cache Interval
5
This option enables DTS to build data
every 5+ minutes to allow for quicker
DTS data reads.
Software updates
Start To Update >
Atlas folder is not found on the
flash drive.
Item / Action
6wide_2619 (BIN)
custom_filename (BIN)
Start To Update

