background image

13

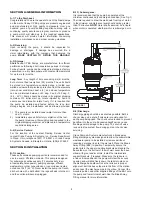
C-3.2) Insulation Test:


Before the pump is put into service, an insulation (megger) 

test should be performed on the motor. The resistance values 

(ohms) as well as the voltage (volts) and current (amps) 

should be recorded on the start-up report. Pumps/systems 

with an insulation value of less than 5 M-Ohms should 

be investigated for moisture or damaged cables before 

proceeding.

C-3.3) Pump-Down Test:


After the pump has been properly wired and lowered into the 

basin, sump or lift station, it is advisable to check the system 

by filling with liquid and allowing the pump to operate through 

it’s pumping cycle. The time needed to empty the system, or 

pump-down time along with the volume of water, should be 

recorded on the start-up report.

IMPORTANT! THE MAXIMUM ALLOWABLE STARTS 

PER HOUR IS 15, EVENLY SPACED.

SECTION D: PREVENTATIVE MAINTENANCE

As the motor and seal chamber are oil-filled, no lubrication or 

other maintenance is required, and generally Crane Pumps & 

Systems will give very reliable service and can be expected 

to operate for years of normal sewage pumping without 

failing. However, as with any mechanical piece of equipment 

a preventive maintenance program is recommended and 

suggested to include the following checks:


1)  Test moisture detector control “Test Switch” for 


continuity of circuit. Water in the seal chamber will


energize a seal leak warning light at the control 


panel. This is a warning light only and does not 


stop the motor. It indicates the seal has leaked 


and must be repaired. This should be done within 2


or 3 weeks to prevent further damage. See section

   C-2.2. 


2)  Inspect impeller and body for excessive build-up or


clogging and repair as required per section E-2. 


3)  Inspect outer shaft seal and replace as required per


section E-3. 


4)  Check motor for ground leakage and proper amp 

   draw. 

SECTION E: SERVICE AND REPAIR

NOTE: All item numbers in ( ) refer to Figures 8, 9 & 10.

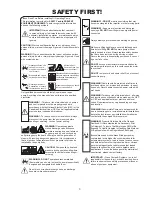
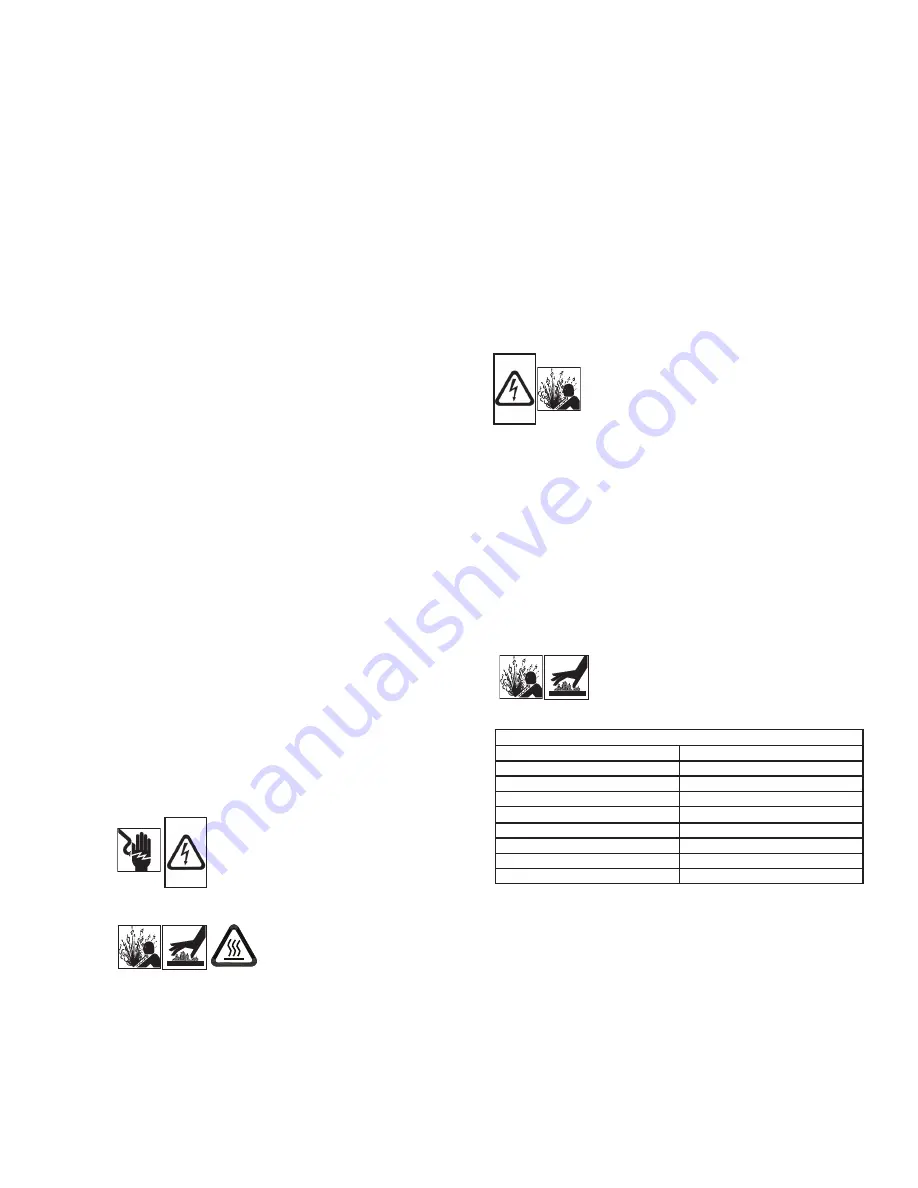
WARNING ! - Electrical power to the pump 

motors must be disconnected and locked 

out to prevent any dangerous electrical 

hazards or personnel danger before any 

service work is done to the pump.

CAUTION ! - Operating pump 

builds up heat and pressure; 

allow time for pump to cool 

to room temperature before 

handling or servicing.

E-1) Lubrication 

E-1.1) Checking Oil

1. Place pump on it’s side, and drain oil into a clean, dry 

container. 

2. Check oil for contamination using an oil tester with a range 

to 30 Kilovolts breakdown.

3. If oil is found to be clean and uncontaminated (measure 

above 15 KV. breakdown), refill the seal chamber as per 

section E-1.2.

4. If oil is found to be dirty or contaminated (or measures 

below 15 KV. breakdown), the pump must be carefully 

inspected for leaks at the shaft seal, before refilling with oil. 

To locate the leak, perform a pressure test as per section 

E-1.3. After leak is repaired, refill with new oil as per 

section E-1.2.

E-1.2) Replacing Oil:


Seal Chamber - Drain all oil from seal chamber and dispose 

of properly. Refill with (see parts list for amount) new cooling 

oil as per Table 2. An air space must remain to compensate 

for oil expansion. Set unit on side and fill.

IMPORTANT! - Do not overfill oil. Overfilling 

of seal chamber with oil can create 

excessive and dangerous hydraulic 

pressure which can destroy the pump 

and create a hazard. Overfilling oil voids 

warranty.

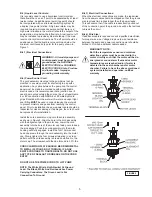
E-1.3) Pressure Test:


Seal Chamber - Before checking the pump for leaks around 

the shaft seal, the oil level should be full. Remove pipe plug. 

Apply pipe sealant to pressure gauge assembly and tighten 

into pipe plug hole. Pressurize motor housing to 5 P.S.I. 

Use a soap solution around the sealed area and inspect 

joints for “air bubbles”. If, after five minutes, the pressure 

is still holding constant, and no “bubbles” are observed, 

slowly bleed the pressure and remove the gauge assembly. 

Replace the pipe plug using a sealant. If the pressure does 

not hold, then the leak must be located.

CAUTION! - Pressure builds up extremely 

fast, increase pressure by “tapping” air 

nozzle. Too much pressure will damage seal. 

Do Not exceed 10 P.S.I. in seal chamber.

TABLE 2 - COOLING OIL - Dielectric

SUPPLIER

GRADE

BP

Enerpar SE100

Conoco

Pale Paraffin 22

Mobil

D.T.E. Oil Light

G & G Oil

Circulating 22

Imperial Oil

Voltesso-35

Shell Canada

Transformer-10

Texaco

Diala-Oil-AX

Woco

Premium 100

E-2) Impeller and Volute Service: 

E-2.1) Disassembly and Inspection:


To clean out the volute (10), or clean out or replace impeller 

(6), disconnect power, remove cap screws (2) then vertically 

lift motor assembly from the pump body (10). Clean out the 

volute, if necessary, clean and examine impeller (6) for pitting 

or wear, replace if required. To remove Impeller (6), remove 

cap screw (8) and washer (8A). The impeller is keyed onto 

the shaft with a square key (7) and to remove, pull impeller 

straight off the shaft using a wheel puller if required. Inspect 

o-ring (9) and replace if cut or damaged. Before reinstallation, 

check the motor shaft and impeller bore for damage.

Summary of Contents for DEMING 7365N-X54-95-30N

Page 1: ... www cranepumps com Form No 142699 Rev G This product may be covered by one or more of the following patents and other patent s pending US Patent 8 128 360 INSTALLATION and OPERATION MANUAL Solids Handling Submersible Pump 5 Frame 4M Monovane Pumps 75HP 1750RPM 4D Dual Vane Pumps 75 100HP 1750RPM 6V Vortex Pumps 75 100HP 1750RPM 50 75HP 1150RPM 40HP 870RPM 6M Monovane Pumps 75 100HP 1750RPM 6D Dua...

Page 2: ... TROUBLE SHOOTING 16 RECOMMENDED MINIMUM SUCTION CLEARANCE Fig 9 17 CROSS SECTIONS Fig 8 9 18 EXPLODED VIEW Fig 10 19 PARTS LIST 20 21 WARRANTY 23 RETURNED GOODS POLICY 24 WARRANTY REGISTRATION 24 START UP REPORT 25 26 Other brand and product names are trademarks or registered trademarks of their respective holders Deming is a registered trademark of Crane Pumps Systems Inc 2018 Alteration Rights ...

Page 3: ...ar eye protection when working on pumps Make sure lifting handles are securely fastened each time before lifting DO NOT operate pump without safety devices in place Always replace safety devices that have been removed during service or repair Secure the pump in its operating position so it can not tip over fall or slide DO NOT exceed manufacturers recommendation for maximum performance as this cou...

Page 4: ...ephone 937 778 8947 or Crane Pumps Systems Canada in Brampton Ontario 905 457 6223 SECTION B INSTALLATION B 1 Location These self contained pumping units are recommended for use in a sump lift station or basin This pump is designed for submerged continuous duty 15 minutes duty in air at nameplate horsepower pumping sewage effluent wastewater or other nonexplosive or noncorrosive liquids not above ...

Page 5: ...rd assembly o ring onto the cord assembly as shown in Figure 2 Align the hole in the cord assembly with the alignment pin in the motor cap Lower the cord assembly into the bore of the motor cap taking care to keep the pins aligned Push the cord assembly into the motor housing until fully engaged Install the four 12mm socket head cap scews through the cord assembly into the motor cap Slowly tighten...

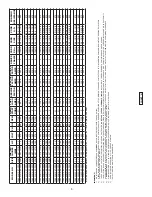
Page 6: ...N 4DH 13 00 330 75 575 3 60 1750 G 86 7 1 15 96 6 462 4 5 138319 2 4 18 4 2 4 18 4 095 7365N 414 68 30N 4DH 14 57 370 100 460 3 60 1750 E 136 6 1 15 155 3 578 0 5 138319 2 4 18 4 2 4 18 4 070 7365N 414 83 30N 4DH 14 57 370 100 575 3 60 1750 E 109 2 1 15 124 2 462 4 5 138319 2 4 18 4 2 4 18 4 095 7365N 617 67 30N 6MH 13 78 350 75 460 3 60 1750 G 108 4 1 15 120 7 578 0 5 138319 2 4 18 4 2 4 18 4 070...

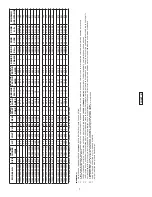
Page 7: ... 130 7365N 658 1E 30N 6VT 50 575 3 60 1150 H 61 2 1 15 67 2 320 0 5 138318 6 4 18 4 6 4 18 4 189 7365N 658 96 30N 6VT 60 460 3 60 1150 F 86 7 1 15 96 8 400 0 5 138319 2 4 18 4 2 4 18 4 130 7365N 658 1F 30N 6VT 60 575 3 60 1150 F 69 4 1 15 77 4 320 0 5 138318 6 4 18 4 6 4 18 4 189 7365N 658 67 30N 6VT 13 39 340 75 460 3 60 1150 H 109 3 1 15 119 5 612 0 5 138319 2 4 18 4 2 4 18 4 077 7365N 658 82 30...

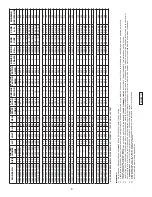
Page 8: ... 0 5 138320 1 0 4 18 4 1 0 4 18 4 049 7365N 850 1G 30N 8T 12 40 315 150 575 3 60 1750 D 159 5 1 0 159 5 640 0 5 138320 1 0 4 18 4 1 0 4 18 4 065 7365N 823 95 30N 8T 13 19 335 50 460 3 60 1150 H 76 4 1 15 84 0 400 0 5 138318 6 4 18 4 6 4 18 4 130 7365N 823 1E 30N 8T 13 19 335 50 575 3 60 1150 H 61 2 1 15 67 2 320 0 5 138318 6 4 18 4 6 4 18 4 189 7365N 823 96 30N 8T 13 78 350 60 460 3 60 1150 F 86 7...

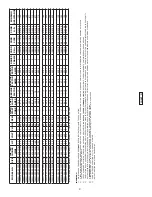
Page 9: ...1E 30N 10DL 14 76 375 50 575 3 60 1150 H 61 2 1 15 67 2 320 0 5 138318 6 4 18 4 6 4 18 4 189 7365N X52 96 30N 10DL 15 35 390 60 460 3 60 1150 F 86 7 1 15 96 8 400 0 5 138319 2 4 18 4 2 4 18 4 130 7365N X52 1F 30N 10DL 15 35 390 60 575 3 60 1150 F 69 4 1 15 77 4 320 0 5 138318 6 4 18 4 6 4 18 4 189 7365N X52 67 30N 10DL 16 14 410 75 460 3 60 1150 H 109 3 1 15 119 5 612 0 5 138319 2 4 18 4 2 4 18 4 ...

Page 10: ...symbol An external ground screw is provided on the side of the motor cap which can be used for supplemental bonding connection where local codes permit or require such connection THREE PHASE 460 575 VOLT AC Power Cable Motor Lead ID Green Ground Green Black 1 Red 2 White 3 MOISTURE AND TEMPERATURE SENSORS MOISTURE AND TEMPERATURE SENSORS Control Cable Control Cable Lead ID Lead ID Black P1 Tempera...

Page 11: ...UST be connected in series with the pilot circuit of the magnetic motor controller located in the control panel so that the thermostat will open the circuit before dangerous temperatures are reached A manual momentary start switch is required to prevent the automatic restarting of the motor when the thermostat resets refer to Figure 4 In the event of an over temperature condition the source of thi...

Page 12: ...ay notify the operator in the event of a fault condition for either temperature moisture or both Normally open and normally closed contacts are flexible to accommodate nearly any wiring scenario and the moisture sensor sensitivity can be adjusted to prevent nuisance alarms SECTION C START UP OPERATION C 1 Check Voltage and Phase Before operating pump compare the voltage and phase information stamp...

Page 13: ... using an oil tester with a range to 30 Kilovolts breakdown 3 If oil is found to be clean and uncontaminated measure above 15 KV breakdown refill the seal chamber as per section E 1 2 4 If oil is found to be dirty or contaminated or measures below 15 KV breakdown the pump must be carefully inspected for leaks at the shaft seal before refilling with oil To locate the leak perform a pressure test as...

Page 14: ...replacing seal remove stationary 4A from mounting plate by prying out with flat screw driver E 3 2 Reassembly Lightly oil DO NOT use grease outer surface of stationary member 4A Press stationary member 4A firmly into mounting plate using a seal pusher aligning seal with pin nothing but the seal pusher is to come in contact with seal face See Fig 6 Make sure the stationary member is in straight and...

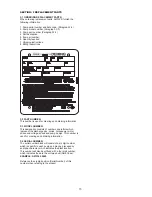
Page 15: ...F 3 MODEL NUMBER This designation consists of numbers and letters which represent the discharge size series horsepower motor phase and voltage speed and pump design This number is used for ordering and obtaining information F 4 SERIAL NUMBER The serial number block will consist of a six digit number which is specific to each pump and may be preceded by an alpha character which indicates the plant ...

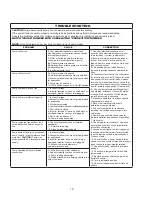
Page 16: ...eller for freedom of operation security and condition Clean impeller and inlet of any obstruction 9 Loosen union slightly to allow trapped air to escape Verify that turn off level of switch is set so that the suction is always flooded Clean vent hole 10 Check rotation If power supply is three phase reverse any two of three power supply leads to ensure proper impeller rotation 11 Repair fixtures as...

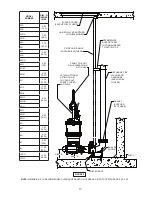
Page 17: ...PTIONAL LIFTING CHAIN TO COLD SHUT FORCE CLOSED AND WELD BAF 6X6 SHOWN SHIM GROUT DIM A DIM B DIM C MODEL NUMBER DIM A INCHES MM 3VC 3 00 76 2 3VR 3VRA 3 50 88 9 3MA 4M 3 75 95 3 4D 4VL 4 00 101 6 4VH 4VHA 4 25 108 4ML 4DM 4MM 4 75 120 7 6V 5 25 133 4 6DL 5 50 139 7 4MB 6 00 152 4 4MH 4MHA 4DH 6ML 6 50 165 1 6MM 6MH 6D 6VT 7 50 190 5 8D 8 75 222 3 8T 9 25 235 8V 11 50 292 1 10DH 12 00 304 8 10DL N...

Page 18: ...18 FIGURE 9 Vortex Enclosed CROSS SECTIONS FIGURE 10 ...

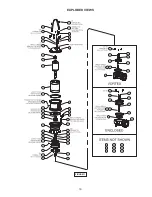
Page 19: ...19 EXPLODED VIEWS FIGURE 11 ...

Page 20: ... 00 Steel 20 1 130073 Ring Retaining 5000 433 S SS 24 2 125856 Sensor Moisture 250 18NPT PP SS 25 1 138175 Block Terminal 9 Pin Male Valox Brass 26 1 138546 Handle Lifting 32FR 304 SS 27 1 127267 Resistor Moisture Sensor 28 1 138545 Pin Dowel 7 16 D 5 8 LG Steel 35 1 138328 XX XXX Stator 32FR 36 1 138327 XX XXX Rotor Assy 32FR RB 37 2 127234B Wire Orange 36 BAR BAR 38 1 138054 Housing Motor 32FR C...

Page 21: ...6 4 18 4 79 0 1 14in 03in 28 9mm 8mm 138318XL 100 6 4 18 4 79 0 1 14in 03in 28 9mm 8mm 138319XF 50 2 4 18 4 138 0 1 47in 03in 37 3mm 8mm 138319XJ 75 2 4 18 4 138 0 1 47in 03in 37 3mm 8mm 138319XL 100 2 4 18 4 138 0 1 47in 03in 37 3mm 8mm 138320XF 50 0 4 18 5 187 0 1 72in 03in 43 7mm 8mm 47in 02in 12mm 5mm 138320XJ 75 0 4 18 5 187 0 1 72in 03in 43 7mm 8mm 47in 02in 12mm 5mm 1383200XL 100 0 4 18 5 1...

Page 22: ...22 Notes ...
Page 23: ... A RETURNED GOODS AUTHORIZATION CONTACT YOUR LOCAL CRANE PUMPS SYSTEMS INC DISTRIBUTOR Products Returned Must Be Cleaned Sanitized Or Decontaminated As Necessary Prior To Shipment To Insure That Employees Will Not Be Exposed To Health Hazards In Handling Said Material All Applicable Laws And Regulations Shall Apply IMPORTANT WARRANTY REGISTRATION Your product is covered by the enclosed Warranty If...

Reviews: