background image

CALCULATOR TARGET PANEL

Installation Instructions

REF: T115 -  CALCULATOR TARGET PANEL

pg 1 of 8

Summary of Contents for CALCULATOR TARGET PANEL

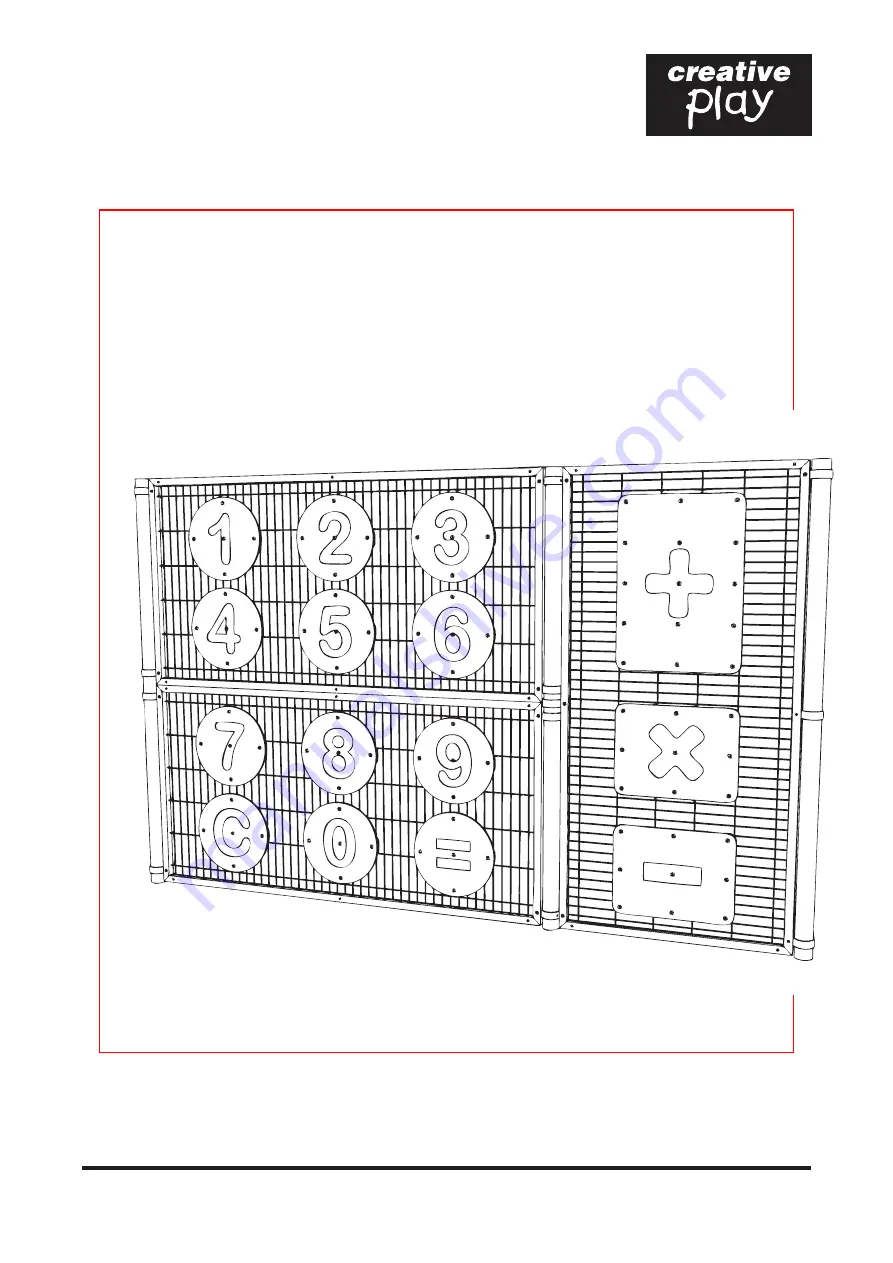
Page 1: ...CALCULATOR TARGET PANEL Installation Instructions REF T115 CALCULATOR TARGET PANEL pg 1 of 8...

Page 2: ...2 of 8 REF T115 CALCULATOR TARGET PANEL PARTS required x3 MESH FRAME 2 Landscape 1 Portrait x12 BACK CROSSES x3 BACK LONG x3 BACK LONG x3 RECTANGULAR FRONT PANELS x12 CIRCULAR FRONT PANELS x3 MEDIUM P...

Page 3: ...continued TOOLS required x2 COLLAR CLAMP CLA008 x10 COLLAR CLAMP CLA007 x16 M10 NYLOC x16 Covered Ends x36 GRUB SCREWS M10x8mm to be used on COLLAR CLAMPS x 14 M10 x 60 SOCKET BUTTON BOLTS x 2 M10 x 1...

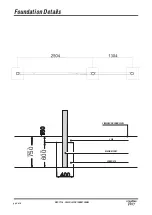
Page 4: ...pg 4 of 8 REF T115 CALCULATOR TARGET PANEL Foundation Details MEDIUM POST CONCRETE SOIL FINISHED GROUND LEVEL 450 750 600...

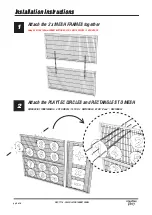
Page 5: ...ons Installation Instructions Attach the 2 x MESH FRAMES together Using 2 X M10 X 100mm SOCKET BUTTON BOLTS 2 X M10 NYLOCS 2 X END CAPS 1 Attach the PLAYTEC CIRCLES and RECTANGLES TO MESH USING 3B N1...

Page 6: ...ET PANEL Continued Attach the PLAYTEC CIRCLES and RECTANGLES TO MESH 2 Installation Instructions Installation Instructions CONTINUE ATTACHING CIRCLES RECTANGLES WITH BACK PIECES AND TORKTAINERS THE BA...

Page 7: ...OR TARGET PANEL Installation Instructions Attach the PANEL ASSEMBLY to the COLLAR CLAMPS Using 14 X M10x 60mm SOCKET BUTTON BOLTS 14 X M10 NYLOCS 14 X COVERED ENDS 3 Installation Instructions REPEAT F...

Page 8: ...on Instructions Installation Instructions Tighten the GRUB screws on ALL COLLAR CLAMPS There are 3 x GRUB screws per COLLAR CLAMP Notes Collar clamps are positioned as shown RIGHT the clamp sits behin...

Reviews: