Uninterruptible Power Supply
Crestron
CEN-UPS1250
NOTE:
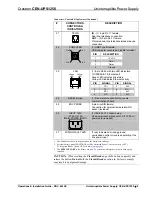
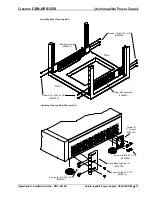
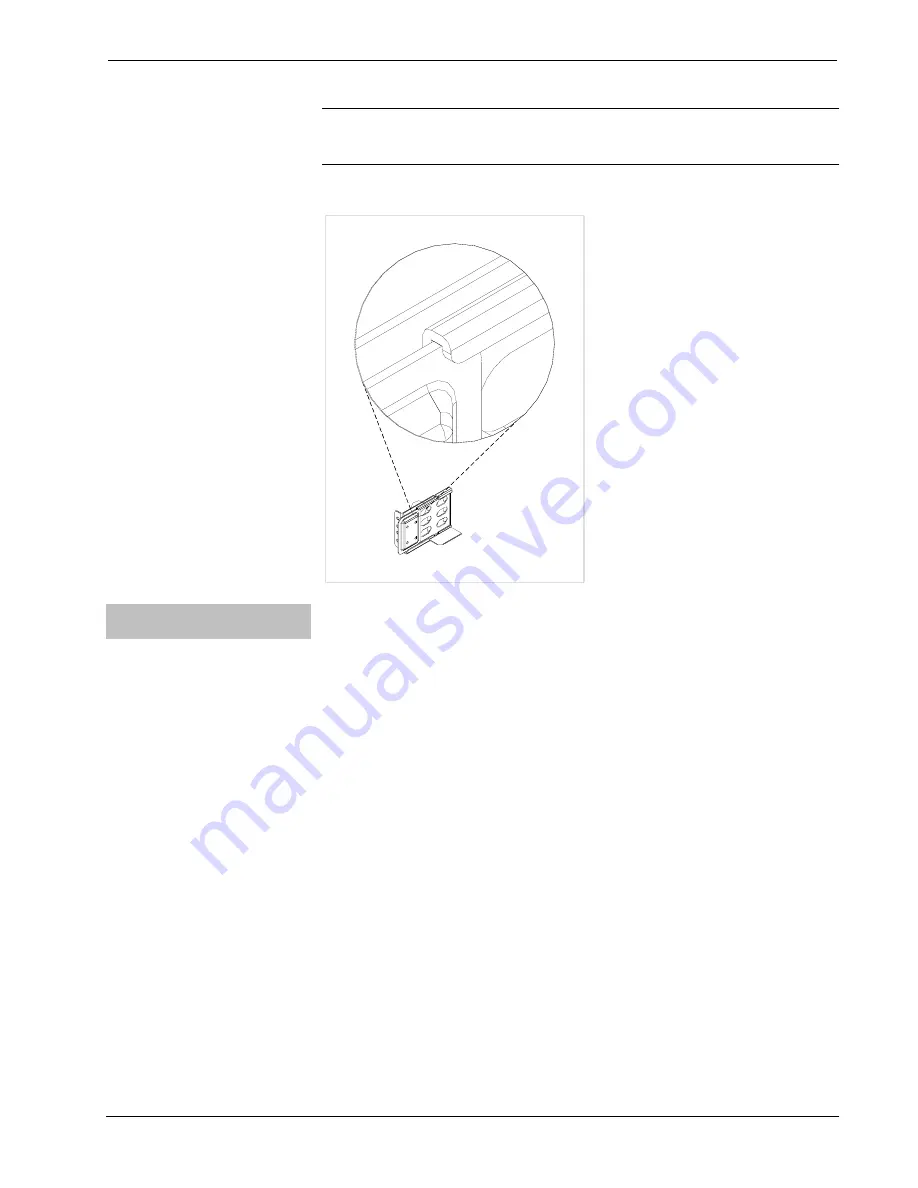
When sliding assembled unit on to rack mounting rails, ensure the cleats
properly align with top and bottom inside groove of rails, as shown in the illustration
below.
Aligning Cleats with Rack Mounting Rails
Inserting and Connecting the
Battery
The CEN-UPS1250 is shipped with the internal battery pack disconnected. The front
bezel of the unit is also not attached to the unit when it is shipped.
This procedure is for connecting the battery when the front bezel has been
prematurely installed onto the chassis. Perform the following steps to connect the
internal battery pack:
1. Grasp the front panel at the sides and pull the front bezel from the unit.
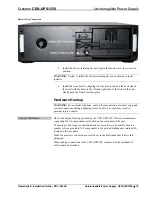
2. Remove the battery retaining bar after loosening the thumbscrew that holds
it in place (refer to illustration on the following page).
3. Pull the battery out of the chassis until the front of the battery wire and
battery wire connector are flush with the front of the chassis. This allows
enough slack to install the battery wire connector in the next step.
4. Push the battery wire connector about 3/4” (19 mm), until it is fully seated
in the hole located to the left of the battery pack. Ensure it is secure by
gently pulling on the wire to be certain it is attached to the connector. Once
the battery wire connector is secure, push the battery back into the chassis.
14
•
Uninterruptible Power Supply: CEN-UPS1250
Operations & Installation Guide – DOC. 6635E


