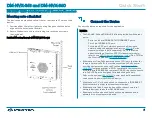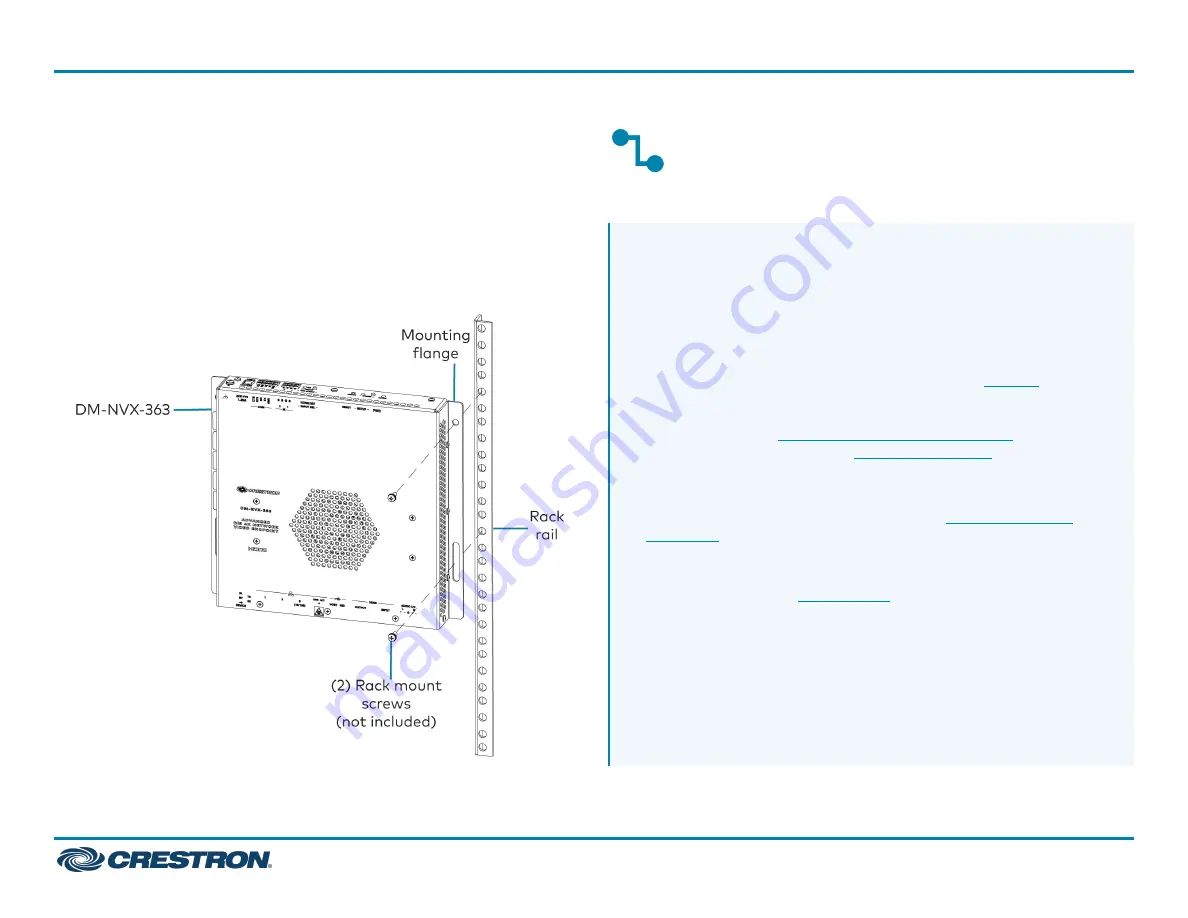
Mounting onto a Rack Rail
The device can be mounted onto a front or rear rack rail. To mount the
device:
1. Position either the left or right mounting flange so that the holes
align with the holes in the rack rail.
2. Secure the device to the rack rail using two rack mount screws
(not included).
Rack Rail Mounting Example (DM-NVX-363 Shown)
Connect the Device
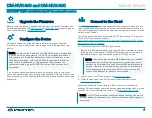
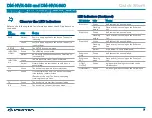
Connect the device as required for the application.
NOTES:
l
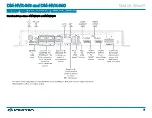
The DM-NVX-363 and DM-NVX-360 each provide four Ethernet
ports:
o
Ports 1 and 2 are 100BASE-TX/1000BASE-T ports.
o
Port 3 is a 100BASE-TX port.
o
Port 4 is an SFP port, which connects to a fiber-optic
network using the appropriate Crestron
Series
transceiver module (sold separately). For information
about installing a Crestron SFP-1G transceiver module,
refer to the
SFP-1G Series Installation Guide
(Doc. 7979) on
the Crestron website (
).
l
Ethernet port 1 is a PoE+ powered device (PD) port. In order for
the port to receive PoE+, it must be connected to PoE+ power
sourcing equipment such as the Crestron
(sold separately), a POE+ compliant Ethernet switch,
or third-party IEEE 802.3at compliant PSE. Wiring that connects
to a PoE+ PSE port is designed for intrabuilding use only.
PoE+ or the optional
power pack (sold separately)
can be used to power the DM NVX device.
l
Ethernet port 1, 2, or 4 can be used to connect to a 1000BASE-T
Ethernet switch in order to stream network video.
l
Ethernet ports 1 and 2 can also be used to connect to a local
network device or to another DM NVX device.
l
Ethernet port 3 can be used to connect to a dedicated audio
network or to a local network device.
2
DM-NVX-363 and DM-NVX-360
Quick Start
DM NVX® 4K60 4:4:4 Network AV Encoders/Decoders


