10
•
HD-WP-4K-401-C: 4K Multi-Window Video Processor
Supplemental Guide – DOC. 7901B
3.
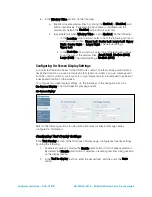
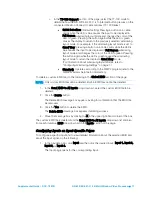
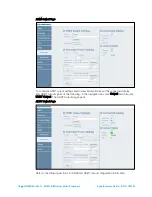
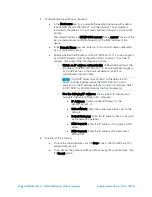
In the Location drop-down list, select one of the following options to position the
text on the display device: Upper Left, Center Left, Lower Left, Upper Right,
Center Right, Lower Right, or Custom. The default setting is Upper Left.
If Custom is selected, enter the X (horizontal) and Y (vertical) coordinates in pixels
to position the text on the display, and then click the Save button.
4.
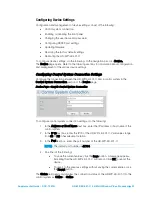
In the Font Size drop-down list, select one of the following: Small (10%), Medium
(20%), and Large (30%). The default setting is Medium (20%).
Configuring Image Overlay Settings
NOTE:
The image file to be uploaded for on-screen display must be an *.bmp file, have a
maximum resolution of 1920 x 1080 pixels, and be an 8-bit color image.
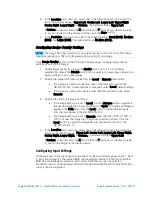
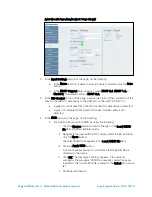
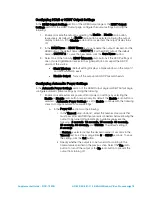
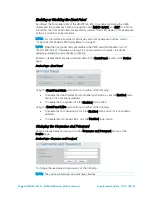
In the Image Overlay section of the On-Screen Display page, configure image overlay
settings by doing the following:
1.
Enable image overlay by clicking the Enable radio button if it is not already
selected. By default, the Disable radio button is selected, preventing an image from
being overlaid for on-screen display.
2.
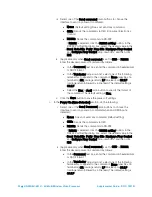
Specify the image path type by selecting the Local or Remote radio button:
•
If the image is located on the hard drive of the device from which the
HD-WP-4K-401-C web interface is accessed, select Local (default setting).
•
If the image is located on a device other than the local hard drive, select
Remote.
3.
Specify the path to the image as follows:
•
If the image path type is set to Local, click the Browse button, navigate to
the desired image file (*.bmp), and then click Open. The path and filename
appear in the Path field. Click the Load button to upload the image file
from the local device to the HD-WP-4K-401-C.
•
If the image path type is set to Remote, enter the URL (HTTP, HTTPS, or
FTP) to access the image file (*.bmp) from a remote location. Click the
Load button to upload the image file from the remote location to the
HD-WP-4K-401-C.
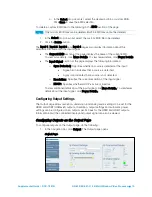
4.
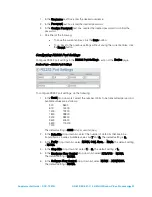
In the Location drop-down list, select one of the following options to position the
image on the display device: Upper Left, Center Left, Lower Left, Upper Right,
Center Right, Lower Right, or Custom. The default setting is Upper Left.
If Custom is selected, enter the X (horizontal) and Y (vertical) coordinates in pixels
to position the image on the display device.
Configuring Input Settings
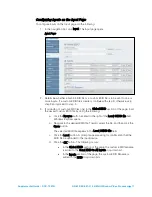
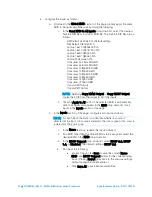
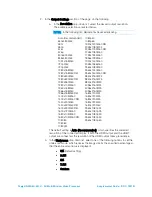
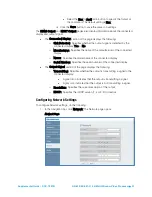
Configure inputs on the Input page or individually on the input-specific pages (Input 1, Input
2, Input 3, and Input 4). The desired EDID can be selected and sent to the inputs. Built-in
EDID files are available for selection, and custom EDID files can also be selected.
In addition, inputs can be renamed and HDCP (High-bandwidth Digital Content Protection)
support can be configured.
Summary of Contents for HD-WP-4K-401-C
Page 4: ......


