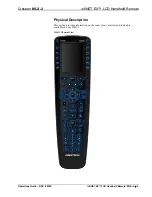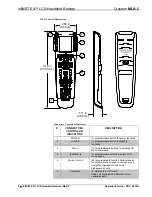
infiNET EX™ LCD Handheld Remote
Crestron
MLX-2
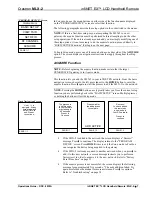
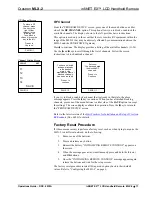
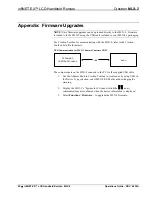
RFID value
successfully
adjusted. Press
> to continue.
PAGE 1/1
“VIEW TSID” Screen
VIEW TSID
PAGE 1/1
0x0034ad97
Press > to
continue.
View TSID
From the “PROGRAM DEVICE
”
screen, press one of the menu buttons on either
side of the
VIEW TSID
option. The display shows the TSID number (32-bit number
derived from the unit serial number).
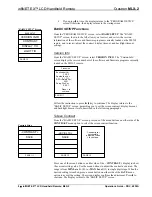
Press
h
to continue. The display returns to the “PROGRAM DEVICE
”
screen.
“NETWORK INFO” Screen
NETWORK INFO
CHANGE RFID
READ INFO
PAGE 1/1
Set RF ID
From the “PROGRAM DEVICE
”
screen, press one of the menu buttons on either
side of the
SET RFID
option. The display shows the “NETWORK INFO
”
screen.
From the “NETWORK INFO
”
screen, press one of the menu buttons on either side
of the
CHANGE RFID
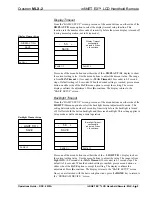
menu option to display the RF ID adjustment
screen.
RF ID Adjustment Screen
Press keys to
Either side of
RFID value to
Adjust it. Press
and hold keys for
quick adjustments.
-
0x06 +
SAVE
PAGE 1/1
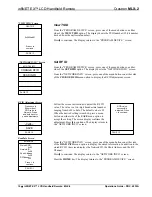
Read Info Screen
Network Info
Stored RFID:
0x03
Network ID:
0xffff
Short Address:
0xffff
RFChannel:
255
Press > to
continue.
PAGE 1/1
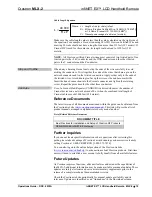
Follow the screen instructions to adjust the RF ID
value. The value is a two-digit hexadecimal number
ranging from 0x03 to 0xfe. The default value is 03.
When the desired setting is reached, press a menu
button on either side of the
SAVE
menu option to
accept the setting. The screen display confirms the
adjustment. Press
h
to continue. The display returns to
the “NETWORK INFO
”
screen.
From the “NETWORK INFO
”
screen, press one of the menu buttons on either side
of the
READ INFO
menu option to display the stored information. In addition to the
stored RF ID, the screen displays the Network ID, the Short Address, and the RF
Channel.
Press
h
to continue. The display returns to the “NETWORK INFO
”
screen.
Press the
HOME
key. The display returns to the “PROGRAM DEVICE
”
screen.
10
•
infiNET EX™ LCD Handheld Remote: MLX-2
Operations Guide – DOC. 6839A


