Multimedia Presentation System 250
Crestron
MPS-250
8.
In the “Address Book” window, click the
Add Entry
button and give the
new entry a name (e.g. “System Monitor”).
9.
Click the arrow next to the
Device Type
drop down list. A “Warning”
window will open to inform you that this is an advanced feature. Click
OK
,
then select “2-Series Control System Monitor” from the drop down list.
Make sure to choose
USB
as the
Connection Type
, then click
OK
. The
following text will appear in the bottom right corner of the “Text Console”
window:
usb;device 2SeriesCtrlSystemMonitor
The following text will appear in Toolbox:
MPSMNTR>
10.
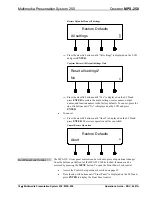
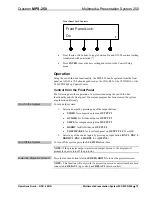
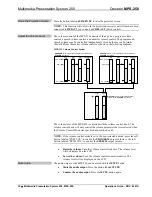
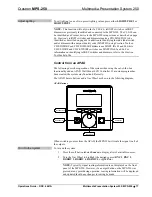
At the Toolbox prompt, type
erase
and press
Enter
. The following text
will appear in Toolbox:
Erasing
->25%->50%->75%->100%
Done
11.
Click the
icon and select
Firmware…
to open the “Firmware”
window, then click
Browse
.
12.
Find and select the correct firmware file (.CUZ or .zip) and click
Open
.
13.
In the “Firmware” window, click
Send
. You will see a “Confirmation”
window asking if you’ve selected the right file. Click
OK
and you will see
the “File Transfer” window.
14.
When file transfer is completed, you will see a window asking you to re-
connect. Click
OK
, then close the “Firmware” window and re-connect
using the normal Address Book entry.
Network Analysis
If Cresnet analysis is required, contact Crestron’s True Blue Support.
Battery Replacement
A Lithium battery is used to power the system clock within the MPS-250. Under
normal conditions, it will last for approximately 10 years. In the event that the clock
fails, only an authorized technician should replace it. Refer to caution statement
below.
CAUTION:
Danger of explosion if battery is incorrectly replaced. Replace only
with the same or equivalent type recommended by the manufacturer. Dispose of used
batteries according to the manufacturer's instructions.
84
•
Multimedia Presentation System 250: MPS-250
Operations Guide – DOC. 6647A

