Crestron
TPMC-12
Isys
®
12” Tilt Touch Screen
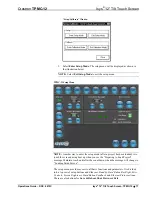
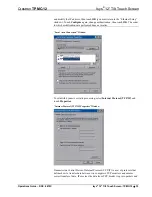
Two buttons below the hexadecimal display,
Down
and
Up
, decrease and increase
the Cresnet ID by one, respectively.
Select
OK
to accept the changes and return to the setup menu.
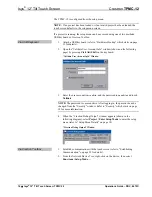
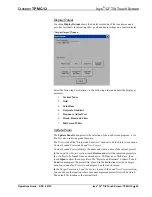
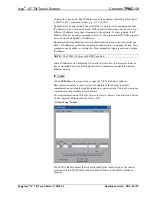
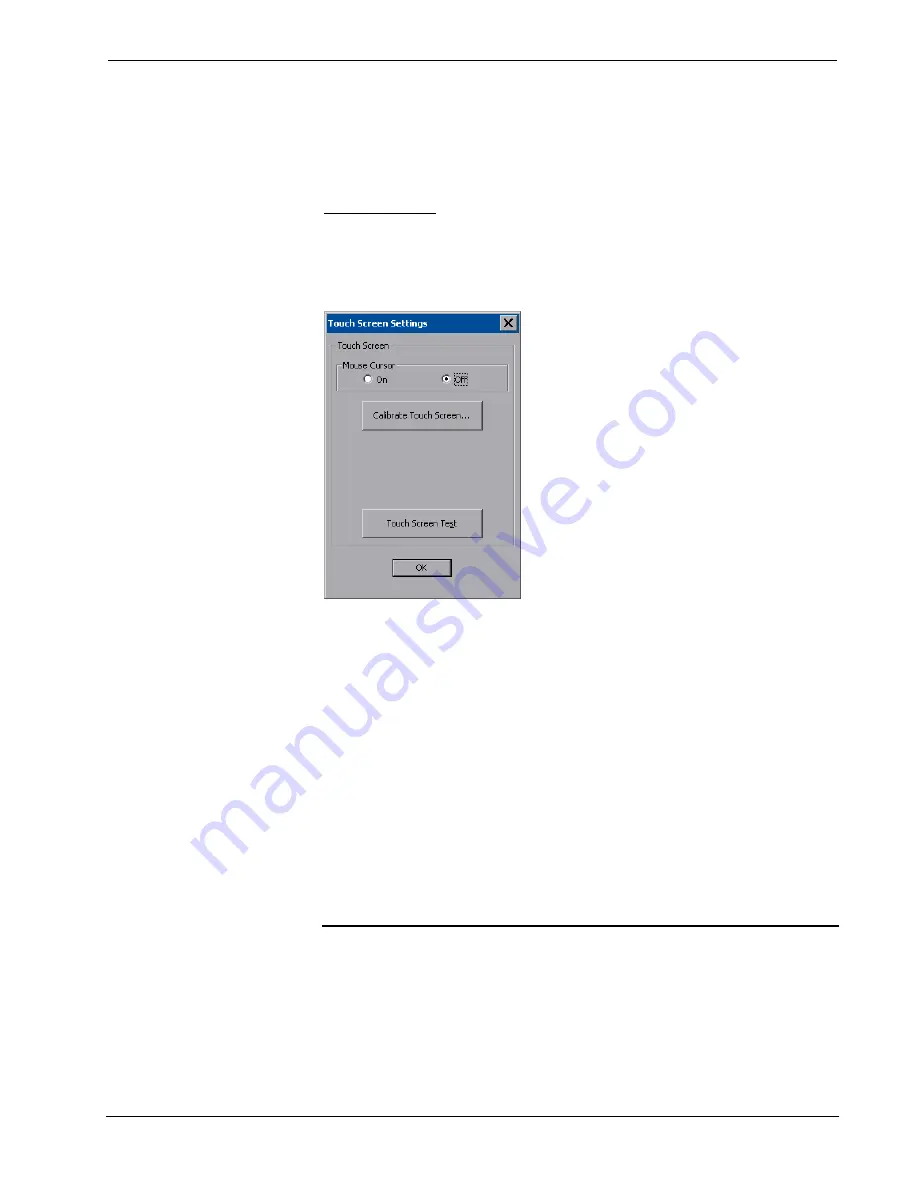
Touch Screen
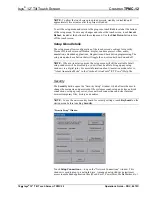
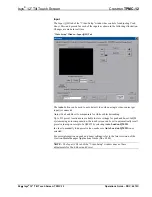
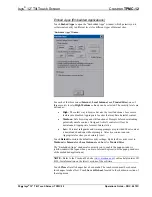
The
Touch Screen
button opens the “Touch Screen Settings” window, which
provides access to touch screen calibration when you touch
Calibrate Touch
Screen…
.
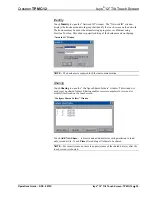
“Touch Screen Settings” Window
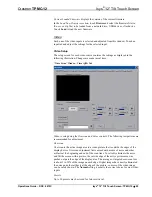
To view the mouse cursor on the touch screen, select
On
in the
Mouse Cursor
section of the window. The mouse cursor will only be displayed if a mouse is
connected to the touch screen.
When
Calibrate Touch Screen…
is touched, the calibration screen will be
displayed. Touch the screen to begin the calibration process. If the screen is not
touched within sixty seconds, the calibration sequence will stop and the screen will
return to the “Touch Screen Settings” window.
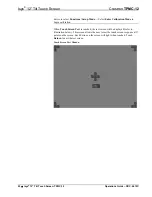
If the screen is touched before the sixty second timeout, the screen instructs you to
touch the center of each target as it appears. There will be a series of crosshairs on
the screen, starting near the upper left corner. Touch the center of the first crosshair
to initiate calibration. As each new crosshair is touched, the next will appear. After
the upper left, crosshairs will appear in the upper center, upper right, middle left,
screen center, middle right, lower left, lower center and finally lower right. Touch
the center of the crosshair in the lower right of the screen to conclude calibration and
return to the “Touch Screen Settings” window. Touch
OK
to accept the changes and
return to the setup menu.
NOTE:
When touching the screen during calibration, be as accurate as possible.
Use the tip of a capped pen or the eraser end of a pencil. To cancel calibration and
return to the “Touch Screen Settings” window without saving calibration data, create
a calibration error by touching the screen in the same spot for each calibration point.
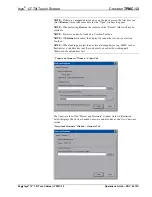
NOTE:
The touch screen’s calibration routine can also be accessed through Crestron
Toolbox if the touch screen is connected to a control system via Cresnet and/or
TCP/IP by selecting the device from the Network Device Tree and right-clicking the
Operations Guide – DOC. 6675C
Isys
®
12” Tilt Touch Screen: TPMC-12
•
21


