Isys
®
12” Tilt Touch Screen
Crestron
TPMC-12
ETHERNET Details
The Ethernet portion of the setup menu allows configuration of the touch screen
settings for Ethernet communications.
The Crestron Swirl logo
at the top of the Ethernet portion of the setup menu
illuminates to indicate the status of your connection to the control system(s):
•
Green Connected
•
Yellow Network trouble
•
Orange Connected to some but not all of the control systems (listed in IP
table)
•
Red
Not connected to any control system (listed in the IP table)
NOTE:
After configuring Ethernet settings (e.g. changing IP address, etc.), wait at
least five seconds after seeing the change in the
Ethernet Status
section of the main
setup menu before initiating a
Save & Reboot
to save the new settings.
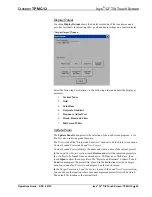
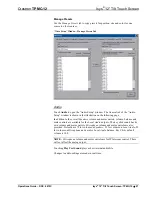
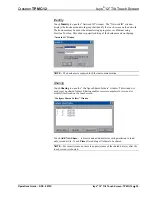
Adapters
Touch the
Adapters
button to access the “Ethernet Setup” window. Changes are
made in real time and there is typically no need to reboot. The Ethernet address and
mask are displayed on this screen.
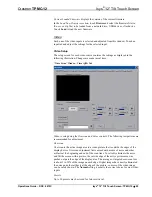
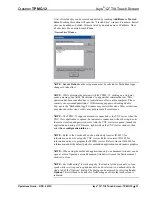
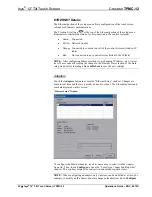
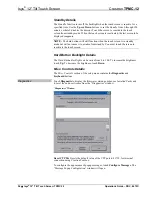
“Ethernet Setup” Window
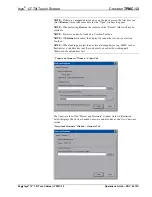
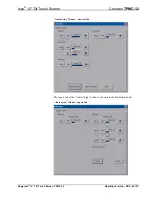
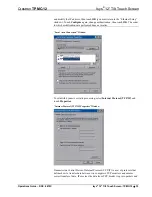
To configure the Ethernet adapter, touch its name once to select it in the
Adapter
Name
list. Then, touch
Configure
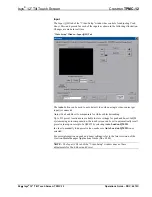
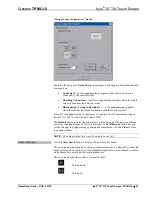
to open the “Local Area Connection Properties”
window. This window displays the connection and related required items.
NOTE:
When configuring an adapter, only one item can be modified at a time. For
example, to modify an IP address and also change authentication, touch
Configure
32
•
Isys
®
12” Tilt Touch Screen: TPMC-12
Operations Guide – DOC. 6675C

