

The flush mount kit accessory for Crestron speakers made by Origin
Acoustics is compatible with the following Reference and Ultimate
speakers:
l
l
l
l
l
l
These kits allow for in-ceiling speakers to be mounted so the room-side
surface of the speaker grille is flush with the drywall surface.
The flush mount kits are available in square (SQ) and circular shapes.
In the Box
1
SPKA-FMKT-IC6/IC8
or
1
SPKA-FMKT-IC6/IC8-SQ
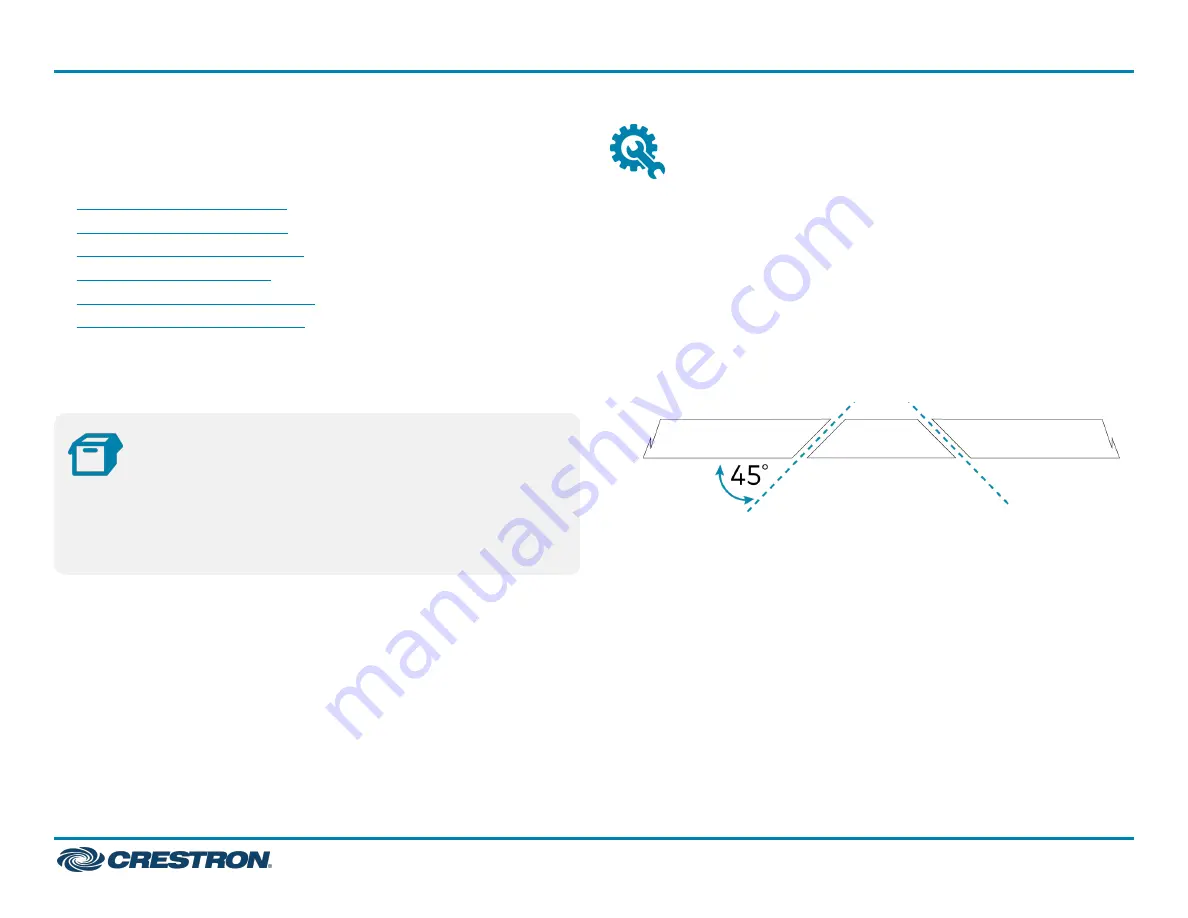
Installation
Prepare the Mounting Hole
Before finalizing the speaker location, check to make sure there are no
fixtures, pipes, air ducts, joists, or other possible obstructions. If
applicable, use a good quality stud finder to locate joists.
To identify obstructions, do the following:
l
Use a drywall saw to cut a small hole at a 45° angle. An angle cut
simplifies repair since the removed piece can be reinserted to help
plug the hole.
l
Use a piece of stiff cable, bent into an L shape, with one end long
enough to explore an area equal to the size of the speaker. Insert the
cable into the hole, make sure it rotates freely in a complete circle
and that there is sufficient depth.
If there are no obstructions, use the supplied template to trace an
outline of the mounting hole on the ceiling. Cut the final mounting hole
at a 90° angle to the ceiling.
1
SPKA-FMKT-IC6/IC8 and SPKA-FMKT-IC6/IC8-SQ
Quick Start
Flush Mount Kit for 6 in. or 8 in. Reference and Ultimate In-Ceiling Speakers, 1 Pair


