Waterproof Wireless Handheld Remote
Crestron
WPR-48
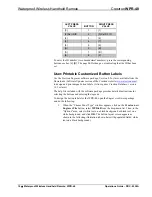
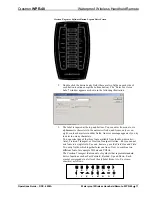
4. Once you have entered all the desired button legends, save the file and print
the file. You can use any paper from 20-pound bond to 100-pound card
stock. Maximum paper thickness is 0.013 in (0.03 cm). Cut out the labels,
cutting just inside the lines that define the label area.
5. To install the labels, refer to the “Installing/Replacing Button Labels”
procedure, which follows.
Installing/Replacing Button Labels
To install or replace button labels in the WPR-48, the unit must be disassembled and,
after placing the labels in position, carefully reassembled. Perform the following
procedures.
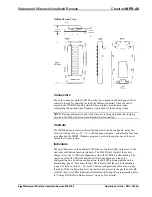
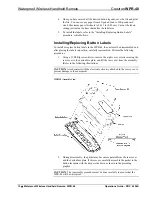
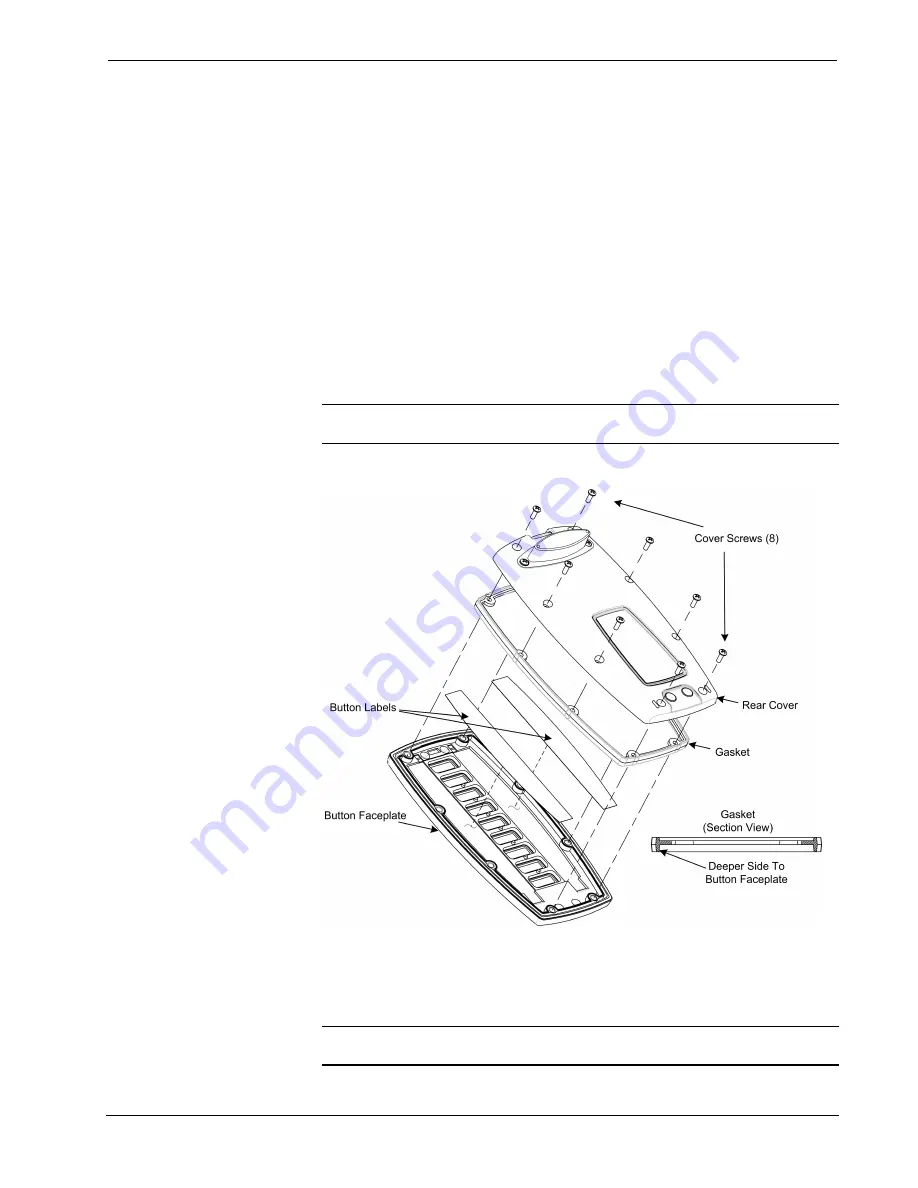
1. Using a #1 Phillips screwdriver, remove the eight cover screws securing the
rear cover to the button faceplate, and lift the rear cover from the assembly.
(Refer to the following illustration.)
CAUTION:
Avoid contact with the electronic circuitry attached to the rear cover, to
prevent damage to the equipment.
WPR-48 Assembly View
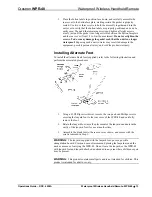
2. During disassembly, the gasket may become separated from the rear cover
and the button faceplate. If this occurs, carefully assemble the gasket to the
button faceplate with the deeper side down as shown in the preceding
graphic.
CAUTION:
The reassembly procedure must be done carefully to ensure that the
WPR-48 will be waterproof.
12
•
Waterproof Wireless Handheld Remote: WPR-48
Operations Guide – DOC. 6254A

