background image

6

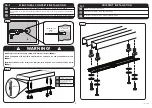
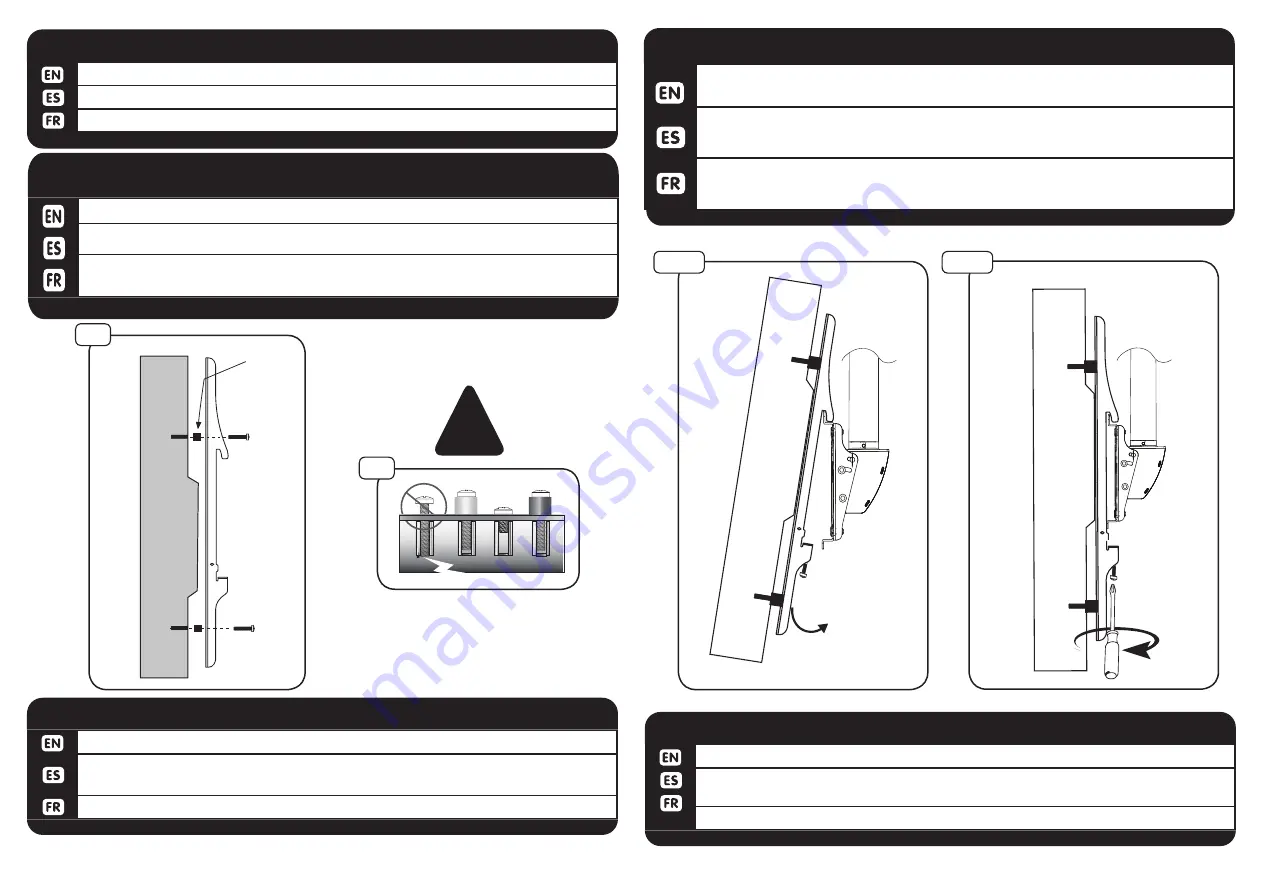
Hook top of bracket over the top of mount then lower down and tilt toward ceiling 

box.  

Parte superior del gancho de soporte sobre la parte superior del monte luego más abajo y la 

inclinación hacia la caja de techo.

Accrocher le haut du support sur le support, puis plus bas et l’inclinaison vers la boîte de 

plafond.. 

4

HANG TV

Using a screwdriver tighten securing screws to lock monitor in place.

Con un destornillador para apretar el tornillos de seguridad para bloquear el monitor 

en su lugar.

En utilisant un tournevis serrer les vis de fixation pour verrouiller suivre en place.

SECURE BRACKET TO CEILING BOX

5

3-4

!

If screws bottom out use washers (not included) to eliminate slack.

Si los tornillos tocó fondo a continuación, utilizar arandelas (no incluidos) para elimi-

nar la holgura.

Si les vis touché le fond, puis utiliser des rondelles (non inclus) afin d’éliminer mou.

ATTACH MOUNT BRACKETS

3-4

If screws (F-M) are needed use multi-washer (V).

Si los tornillos (F-M) se necesitan, a continuación, utilizar múltiples arandela (V).

Si les vis (F-M) sont nécessaires, puis utilisez multi-rondelle (V).

ATTACH MOUNT BRACKETS

3-2

Use spacers (R / S) between TV and mount if needed.

Utilice espaciadores (R / S) entre la televisión y montar si es necesario.

Utiliser des entretoises (R / S) entre le téléviseur et le support métallique si nécessaire.

ATTACH MOUNT BRACKETS

3-3

4

5

3-3

Spacer

R or S

C63-36-0001

Summary of Contents for C63-36

Page 1: ...product for any purpose not explicitly specified by Crimson AV Improper installa tion may cause property damage or personal injury If you do not understand these directions or have doubts about the sa...

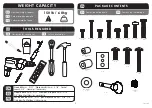
Page 2: ...Washer U 12 Multiwasher V 4 Locking Pin Y 1 Lock Nut T 4 WEIGHT CAPACITY Maximum Weight Capacity Peso m ximo de pantalla Poids maximal de l cran 150lb 68kg CAUTION TOOLS REQUIRED Herramientas necesari...

Page 3: ...hacer un 65mm 2 5 hoyo profundo en materia de marcas Utilisez un 4mm 5 32 bits du bois pour faire un 65mm 2 5 trou profond sur les marques WOOD JOIST INSTALLATION 1a 1 Ensure that holes are on center...

Page 4: ...ur les surfaces de structure faite de b ton avec une densit d au moins 2000psi WARNING Use a 8mm 5 16 masonry bit to make a 32mm 1 25 deep hole on marks Uso un 8mm 5 16 broca de hormig n para hacer un...

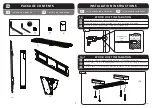
Page 5: ...au bo tier de plafond 2 ASSEMBLE CEILING BOX Align mount bracket E to holes on back of TV Fasten using supplied hardware with a screwdriver Hand tools only Alinee el soporte de montaje E a los agujer...

Page 6: ...RE BRACKET TO CEILING BOX 5 3 4 If screws bottom out use washers not included to eliminate slack Si los tornillos toc fondo a continuaci n utilizar arandelas no incluidos para elimi nar la holgura Si...

Page 7: ...s da os incidentales o emergentes Dentro de stos se in cluyen todo tipo de gastos que pudieran surgir de las reparaciones de productos Crimson AV LLC que no se hayan realizado en Crimson AV LLC Las es...

Reviews: