

UCommand-616 Universal Remote Control User’s Manual
34 Changing the LCD layout
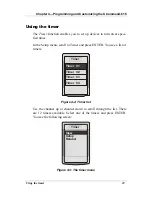
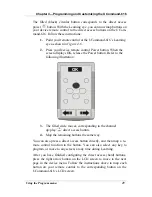
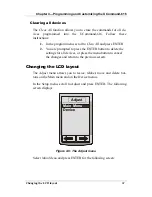
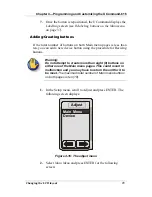
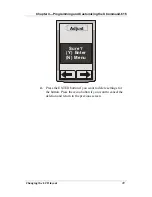
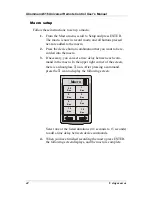
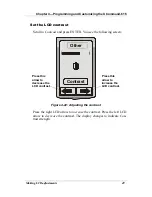
5.
Touch the space between the two black squares.
Main
AUX
1
AUX
2
TUNER
/ TAPE
CD
Figure 4-14: Completing the adjustment
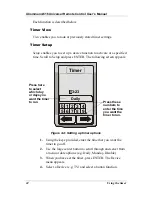
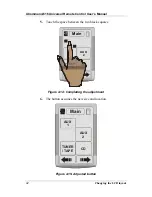
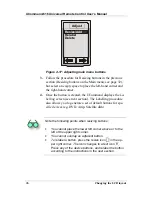
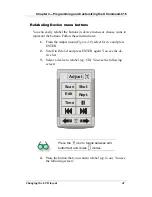
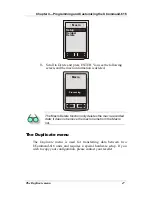
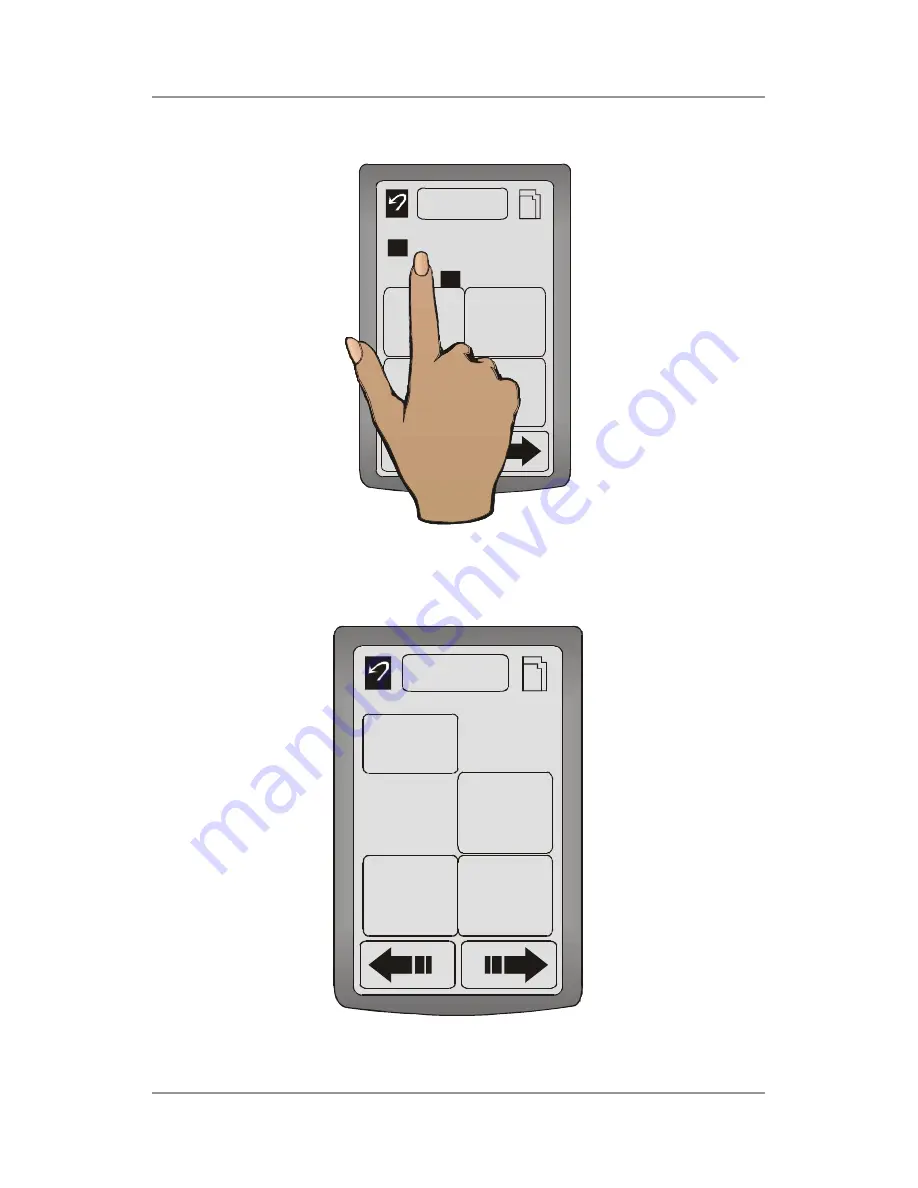
6.
The button assumes the new size and location.
Main
AUX
1
AUX
2
TUNER
/ TAPE
CD
Figure 4-15: Adjusted button
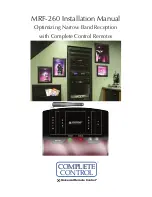
Summary of Contents for UCommand 616
Page 1: ...User s Manual For QUICK START see page 2 inside...
Page 2: ...UCommand 616 Universal Remote Control User s Manual...
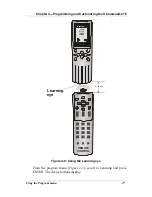
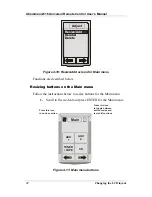
Page 16: ...Chapter 1 Introducing the UCommand 616 Identifying components 8...
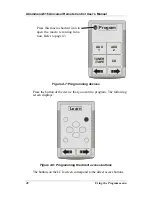
Page 28: ...UCommand 616 Universal Remote Control User s Manual 20 The setup menu...
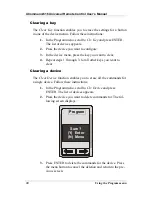
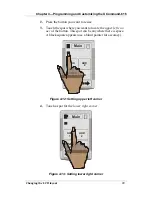
Page 60: ...UCommand 616 Universal Remote Control User s Manual 52 Making LCD adjustments...
Page 66: ...UCommand UC 616 Touch Screen Remote Control User s Manual 8 12 00 UG 616 Printed in Taiwan...