HINT:
The standards used should have a minimum certified accuracy of ± 0.01% and the
DO7PLUS should be placed in a temperature controlled environment at least four hours
before calibration.
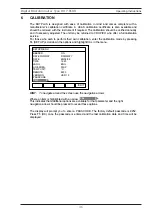
Once the ranges and Pt100 sensor ranges are calibrated the menu moves on to reset the
battery Gas gauges. With fully charged batteries connected, highlight the 3V (ANALG) and
press OK repeat for the 6V (DIG) battery
7 UPDATE
FIRMWARE
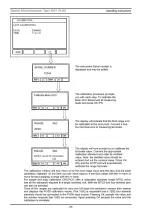
The next window permits the updating of the DO7PLUS firmware, CROPICO has a
programme of continual improvement and firmware updates will be available from time to
time. These update will be available on CD or may be downloaded from our website
www.cropico.com. The updates may be uploaded via the USB or RS232 interface and full
instructions will be provided.
8
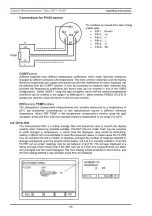
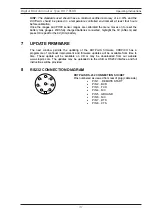
RS232 CONNECTION DIAGRAM
DO7PLUS RS-232 CONNECTION SOCKET
Pins numbered as viewed from rear of plug (cable side)
x
PIN 1 ... REMOTE START
x
PIN 2 ...RXD
x
PIN 3 ...TXD
x
PIN 4 ...N/C
x
PIN 5 ...GROUND
x
PIN 6 ...N/C
x
PIN 7 ...RTS
x
PIN 8 ...CTS
1
2
3
4 5
6
7
8
Operating Instructions
Digital Microhmmeter Type DO7 PLUS
37

