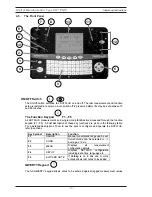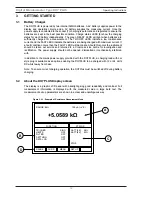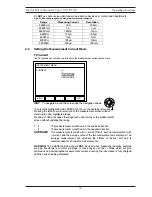
4.3 Setting the DO7PLUS Measurement Configuration
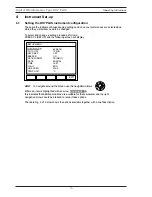
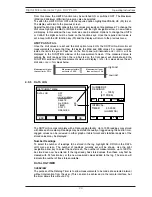
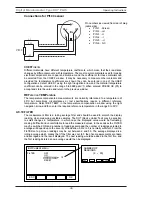
To set or change a measurement configuration PRESS F3 (MENU) and the following screen
will display
HINT
:
To navigate around the screen use the
navigation arrows
Where an item is highlighted with an arrow
this indicates that options are available for that parameter and the right navigation
arrow should be pressed to reveal those options
.
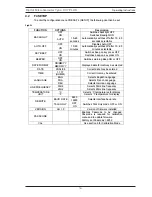
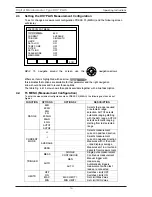
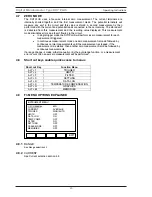
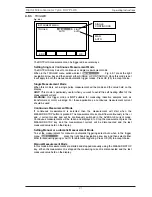
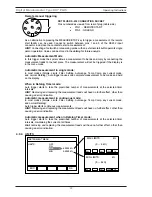
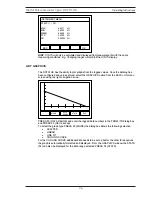
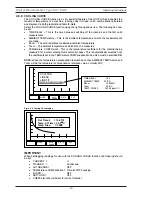
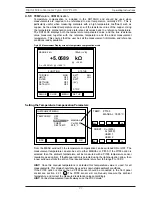
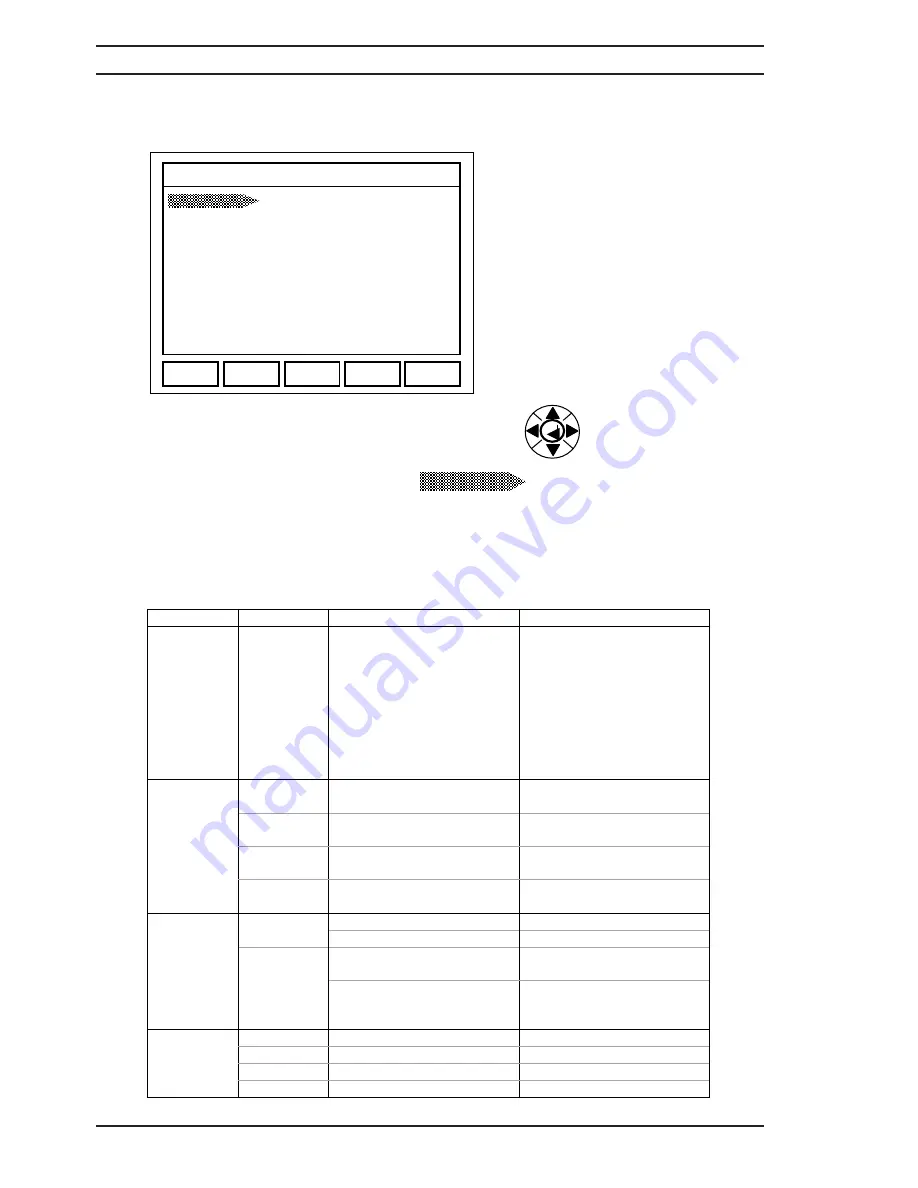
The table Fig. 4.4.1 below shows the options available together with a brief description
4.4 F3 MENU (Measurement Configuration)
To enter the measurement configuration menu PRESS F3 (MENU) the following can then be set.
Fig 4.4.1
FUNCTION
OPTIONS
OPTIONS 2
DESCRIPTION
6K
600
60
6
600m
60m
6m
AUTO1
RANGE
AUTO2
Selects the range required
or automatic range
selection. AUTO1 selects
automatic ranging starting
with the 6k
range. AUTO2
selects automatic ranging
starting from last selected
range
+I
Selects measurement
current in positive direction
-I
Selects measurement
current in negative direction
AVERAGE
Measures with +I then with
–I and displays average
CURRENT
MODE
ZERO
Measures emf in circuit and
deducts from measurement
SINGLE
Single pulse measurement
MEAS
CONTINUOUS Continuous
measurement
MAN
Manual trigger with
measure key
TRIGGER
AUTO
AUTO
Automatically triggers
measurement when test
leads are connected
OFF
Switches Limits OFF
ON
Switches Limits ON
MAX
MAX LIMIT =
Set Limit Max Value
LIMITS
MIN
MIN LIMIT =
Set Limit MIN Value
INSTRUMENT
MENU
EXIT
BACKLIGHT
6K
CURRENT
AVERAGE
TRIGGER SING/AUTO
LIMITS OFF
DATA LOG
ON
TEMP COMP
OFF
FILTER
ON
SETTLING OFF
CABLE MODE
OFF
MEMORIES
OFF
RANGE
RANGE
Operating Instructions
Digital Microhmmeter Type DO7 PLUS
16
Summary of Contents for DO7 PLUS
Page 60: ...551A550 Rev 3 ...

