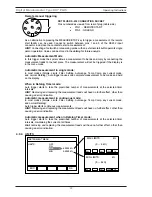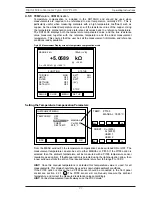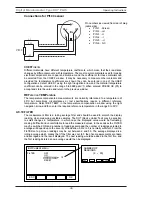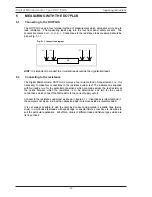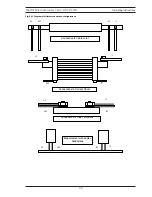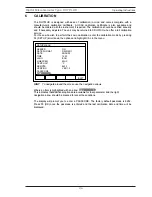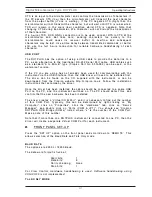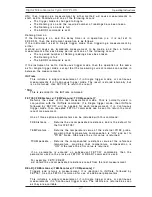
The calibration procedure prompts
you with each step. To calibrate the
Main ADC disconnect all measuring
leads and press OK (F5)
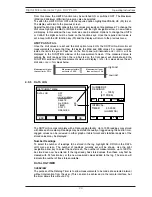
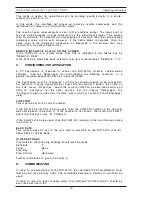
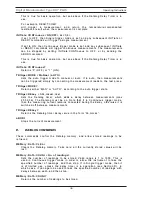
The instrument Serial number is
displayed and may be edited
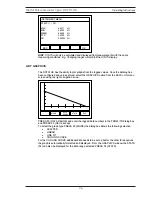
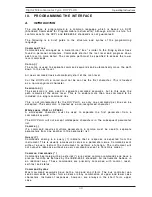
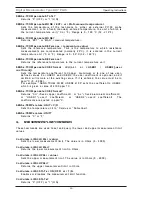
The display will indicate that the 6k
range is to
be calibrated at the zero point. Connect a true
four terminal zero to measuring terminals.
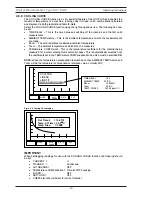
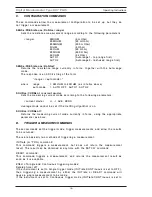
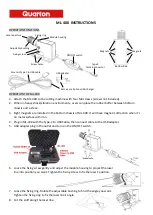
The display will now prompt you to calibrate the
full scale value. Connect the appropriate
calibration standard and enter its certified
value. Note: the certified value should be
entered and not the nominal value. Press OK
(F5) and the DO7PLUS will automatically
calibrate the range full scale
The calibration window will now move on to the next range value and the zero and full scale
calibration repeated. At any time you can move back to a previous range with the
<<
keys or
move forward skipping a range with the
>>
keys.
For simple and easy calibration CROPICO offer a calibration standard model MTS2 which
has all the standards required in a single switched unit. With the MTS2 true four terminal zero
can also be selected.
Once all the ranges are calibrated for zero and full scale the calibration window then selects
and displays the Pt100 calibration values. First 100
is requested and a 100
four terminal
standard should be connected to the Pt100 input socket. Pressing OK accepts the value and
the window requests that 150
be connected. Again pressing OK accepts the value and the
calibration is complete.
CALIBRATION
LAST CALIBRATION:
DATE:
28/04/08
TIME:
11:41:31
ESC
>>
ESC EDIT
>>
<<
SERIAL NUMBER
12345
ESC OK
>>
<<
Calibrate Main ADC:
ESC OK
>>
<<
RANGE: 6k
ZERO
ESC
OK
>>
<<
RANGE: 6k
ENTER VALUE OF STANDARD:
k
Operating Instructions
Digital Microhmmeter Type DO7 PLUS
36
Summary of Contents for DO7 PLUS
Page 60: ...551A550 Rev 3 ...

