CROPICO LTD – DO7
Issue 7/2001
11
15. CALIBRATION
PROCESS
This procedure describes the standard calibration method for the DO7 Ohmmeter using Cropico
Calibration Standard Type MTS2. If discrete resistance standards are to be used instead, refer to
section 21 before proceeding.
If the calibration stores are to be pre-set or erased, use the special operation described in section
21 (CAL RESET).
CAUTION
The DO7 will be factory-calibrated to its full accuracy when delivered and any recalibration by the
user will invalidate this initial calibration. The user should therefore be certain that only authorised
and competent personnel are permitted access to the calibration facility, which is key protected.
16. EQUIPMENT
REQUIRED
Cropico Calibration Standard Type MTS2
Set of 2 low thermal emf leads
Set of 2 general purpose leads (10A rating)
Calibration key no. 901
17. PREPARATION
17.1
Ensure all retaining screws are fitted.
Place unit in temperature controlled environment for a minimum of 4 hours. Ensure
batteries are fully charged.
17.2
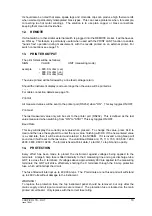
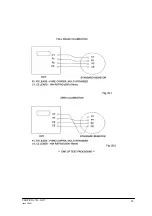
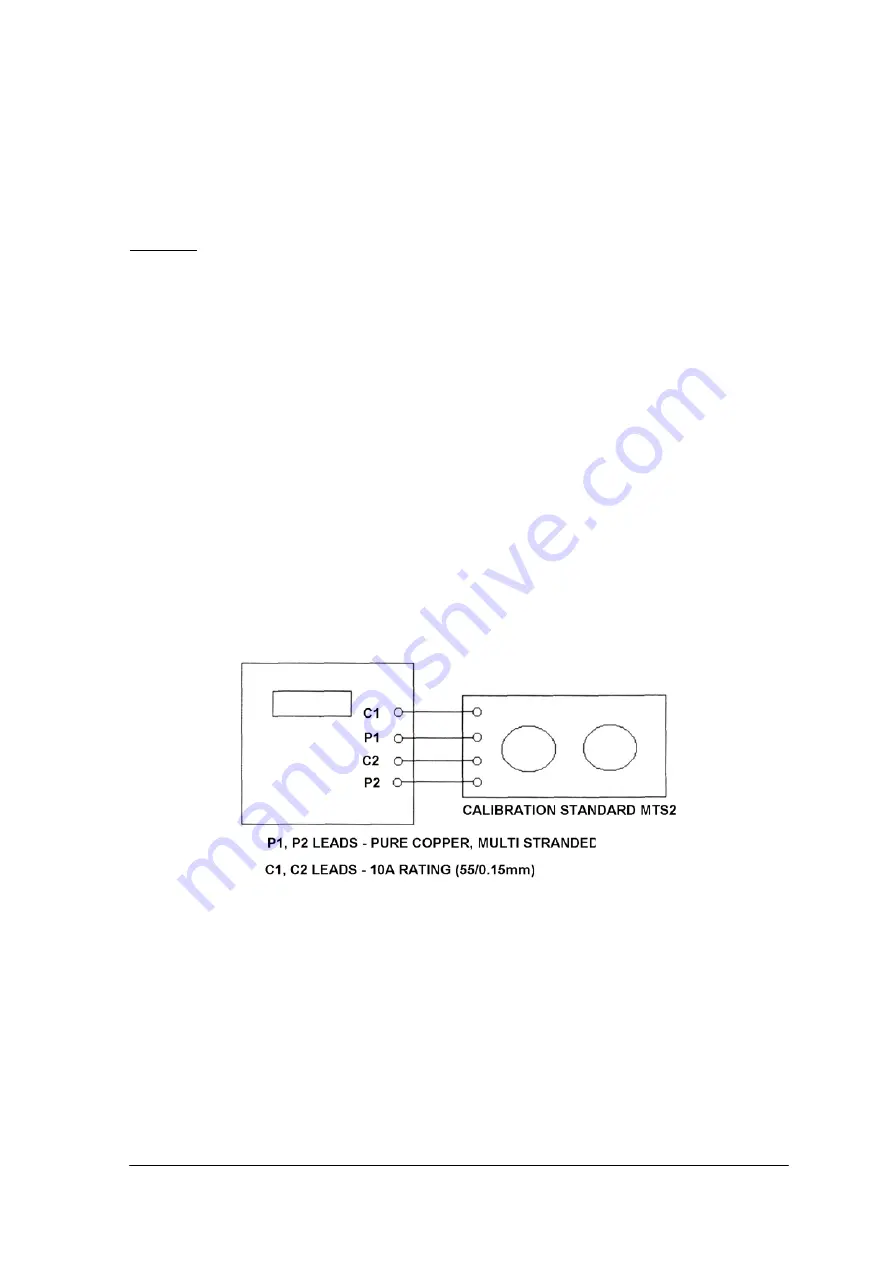
Connect each of the four DO7 terminals to the equivalent terminals on the calibration
Standard. It is essential that low thermal emf leads are used for the P1 and P2 leads (see
Fig.17.1 for the preferred setup).
17.3
The DO7 is powered by internal batteries and these should be fully charged before
carrying out calibration. The mains charger can be left connected, if desired.
17.4
Set the calibration rig to 40 Ohm, Zero.
17.5
Turn the DO7 power ON. If the "HELP" message is displayed, carry out the CAL RESET
operation of section 21 before continuing.
17.6
Leave for a few minutes to stabilise.
Summary of Contents for DO7
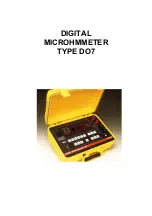
Page 1: ...DIGITAL MICROHMMETER TYPE DO7...
Page 15: ...CROPICO LTD DO7 Issue 7 2001 14...

