background image

Summary of Contents for CS22AFXKB05

Page 1: ...SIDEBYSIDE REFRIGERATOR Table of Contents 2 2188765 www crosley com ...

Page 2: ...r and Storage Bin 13 REFRIGERATOR FEATURES 14 Refrigerator Shelves 14 Flip up Shelf 14 Adjustable Flip up Shelf 14 Dell Drawer 14 Convertible Vegetable Meat Drawer Crisper and Covers 15 Convertible Vegetable Meat Drawer Temperature Control 15 Crisper Humidity Control 15 Wine or Can Bottle Rack 15 Utility Bin 15 FREEZER FEATURES 16 Freezer Shelf 16 Freezer Basket or Bin 16 DOOR FEATURES 16 Door Rai...

Page 3: ...nto a grounded 3 prong outlet Do not remove ground prong Do not use an adapter Do not use an extension cord Disconnect power before servicing Replace all panels before operating Remove doors from your old refrigerator Use nonflammable cleaner Keep flammable materials and vapors such as gasoline away from refrigerator Use two or more people to move and install refrigerator Disconnect power before i...

Page 4: ...g it See the cleaning instructions in the Refrigerator Care section Important information to know about gmaes shemves an_ covers Do not clean glass shelves or covers with warm water when they are cold Shelves and covers may break if exposed to sudden temperature changes or impact such as bumping For your protection tempered glass is designed to shatter into many small pebble size pieces This is no...

Page 5: ... union and copper tubing Before purchasing make sure a saddle type valve complies with your local plumbing codes Do not use a piercing type or 3_6in 4 76 mm saddle valve which reduces water flow and clogs more easily Water Pressure A cold water supply with water pressure of between 30 and 120 psi 207 827 kPa is required to operate the water dispenser and ice maker If you have questions about your ...

Page 6: ...doors toget yourproduct through thedoorway ofyour residence Measure thedoor opening todetermine whether toremove therefrigerator handles orthedoors Electrical Shock Hazard Disconnect power before removing doors Reconnect both ground wires before operating Failure to do so can result in death or electrical shock Top Left Hinge Style 1 Style 2 1 Do Not Remove Screw Water Dispenser Tubing Connection ...

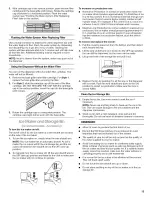
Page 7: ... remove screw 1 6 Disconnect wiring Style 1 Disconnect wiring plug Remove green ground wire screw to disconnect ground wires 3 1 Do not remove screw 1 2 Ground wires 3 Green ground wire screw 4 Wiring plug Style 2 Disconnect wiring plug 1 Do not remove screw 2 Wiring plug 7 Carefully lift freezer door straight up off bottom hinge see Graphic 5 The water dispenser tubing remains attached to the fre...

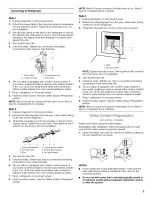
Page 8: ...ng screws the same amount 5 Replace the base grille NOTE Be sure to refasten the Tech Sheet behind the base grille 1 RI Ii _ IIOFI j _l_ _l j W _ _ _ i j _ll Read all directions before you begin IMPORTANT If you turn the refrigerator on before the water line is connected turn the ice maker OFE Connecting to Water Line 1 2 Unplug refrigerator or disconnect power Turn OFF main water supply Turn ON n...

Page 9: ...ore turns Do not overtighten 1 2 3 4 5 6 1 Line to refrigerator 4 Coupling purchased 2 Nut provided 5 Ferrule purchased 3 Bulb 6 Nut purchased 4 Turn shutoff valve ON 5 Check for leaks Tighten any nuts or connections including connections at the valve that leak 6 The ice maker is equipped with a built in water strainer If your water conditions require a second water strainer install it in the 1 4i...

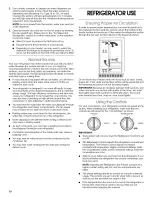
Page 10: ...r through the refrigerator and freezer compartments The fan speed may increase as you open the doors or add warm food Rattling noises may come from the flow of refrigerant the water line or items stored on top of the refrigerator Water dripping on the defrost heater during a defrost cycle may cause a sizzling sound As each cycle ends you may hear a gurgling sound due to the refrigerant flowing in ...

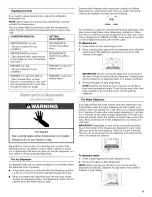
Page 11: ...cleaning ICE CRUSH CUBE For crushed ice cubes are crushed before being dispensed This may cause a slight delay when dispensing crushed ice Noise from the ice crusher is normal and pieces of ice may vary in size When changing from CRUSH to CUBE a few ounces of crushed ice will be dispensed along with the first cubes To dispense ice 1 Press button for the desired type of ice 2 Press a sturdy glass a...

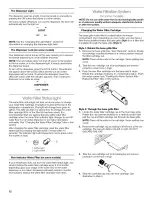
Page 12: ...ht 2 Light switch Non indicator Water Filter on some models If your refrigerator does not have the water filter status light you should change the water filter cartridge every 6 to 9 months depending upon your usage If the water flow to the water dispenser or ice maker decreases noticeably before 6 months have passed replace the water filter cartridge more often NOTE Do not use with water that is ...

Page 13: ...ice maker should produce approximately 7 to 9 batches of ice in a 24 hour period If ice is not being made fast enough turn the Freezer Control toward a higher colder number in half number steps For example if the control is at 3 move it to between 3 and 4 Wait 24 hours between each increase Maximum Ice Production on some models In maximum ice production the ice maker should produce approximately 1...

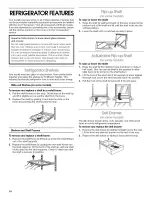
Page 14: ...uiding it back into the slots on the frame and pushing the shelf in past the stop Shelves and Shelf Frames To remove and replace a shelf frame 1 Remove the shelf frame by tilting it up at the front and lifting it out of the shelf supports 2 Replace the shelf frame by guiding the rear shelf hooks into the shelf supports Tilt the front of the shelf up until rear shelf hooks drop into the shelf suppo...

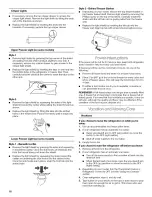
Page 15: ... freeze move the control to the left less cold Remember to wait 24 hours between adjustments Doing so gives the temperature of the food time to change Meat Storage Guide Store most meat in original wrapping as long as it is airtight and moisture proof Rewrap if necessary See the following chart for storage times When storing meat longer than the times given freeze the meat Fresh fish or shellfish ...

Page 16: ... Remove basket or bin by sliding it out to the stop 2 Lift the front of the basket or bin and slide it out the rest of the way 3 Replace the basket or bin by positioning it on the side wall guide rails Lift the basket or bin front slightly while pushing it past the guide rail stops and slide basket or bin in the rest of the way DOOR FEATURES Your model may have some or all of these features Featur...

Page 17: ...ers or cleaners designed for stainless steel Dry thoroughly with a soft cloth To keep your Stainless Steel refrigerator looking like new and to remove minor scuffs or marks it is suggested that you use the manufacturer s approved Stainless Steel Cleaner Polish IMPORTANT This cleaner is for Stainless Steel parts only Do not allow the Stainless Steel Cleaner Polish to come into contact with any plas...

Page 18: ...r and inserting the side hooks into the slotted holes Once the side hooks are in place snap the front tab into the slotted hole If the power will be out for 24 hours or less keep both refrigerator doors closed to help food stay cold and frozen If the power will be out for more than 24 hours do one of the following Remove all frozen food and store it in a frozen food locker Place 2 Ibs 907 g of dry...

Page 19: ... pan Is the refrigerator defrosting The water will evaporate It is normal for water to drip into the defrost pan is it more humid than normal When it is humid expect that the water in the defrost pan will take longer to evaporate The motor seems to run too much Is the room temperature hotter than normal The motor will run longer under warm conditions At normal room temperatures expect your motor t...

Page 20: ...ral in the ice storage bin Dump the ice cubes and clean the ice storage bin completely Allow 24 hours for the ice maker to restock Do not try to remove the melted ice with a sharp object You could damage the ice storage bin Is ice stuck in the delivery chute Clear the ice from the delivery chute with a plastic utensil Do not use anything sharp to remove the ice You could cause damage Is the ice di...

Page 21: ...et See Using the Controls If this does not correct the problem call for service There is interior moisture buildup Are the air vents blocked in the refrigerator Remove any objects from in front of the air vents See Ensuring Proper Air Circulation for the location of air vents Are the doors opened often Avoid humidity buildup by getting all items out at one time keeping food organized and closing t...

Page 22: ... Polish Order Part 4396095 Base grille water filter cartridges NOTE Do not use with water that is microbiologically unsafe or of unknown quality without adequate disinfection before or after the system Standard Cartridge Order Part 4392857 NLC 300 and WF L500 WATER FILTER CERTIFICATIONS S ate of California Deparlmem of Itealth Services Water TreatmentDevice CertificateNumber 98 1344 Date ss_le l J...

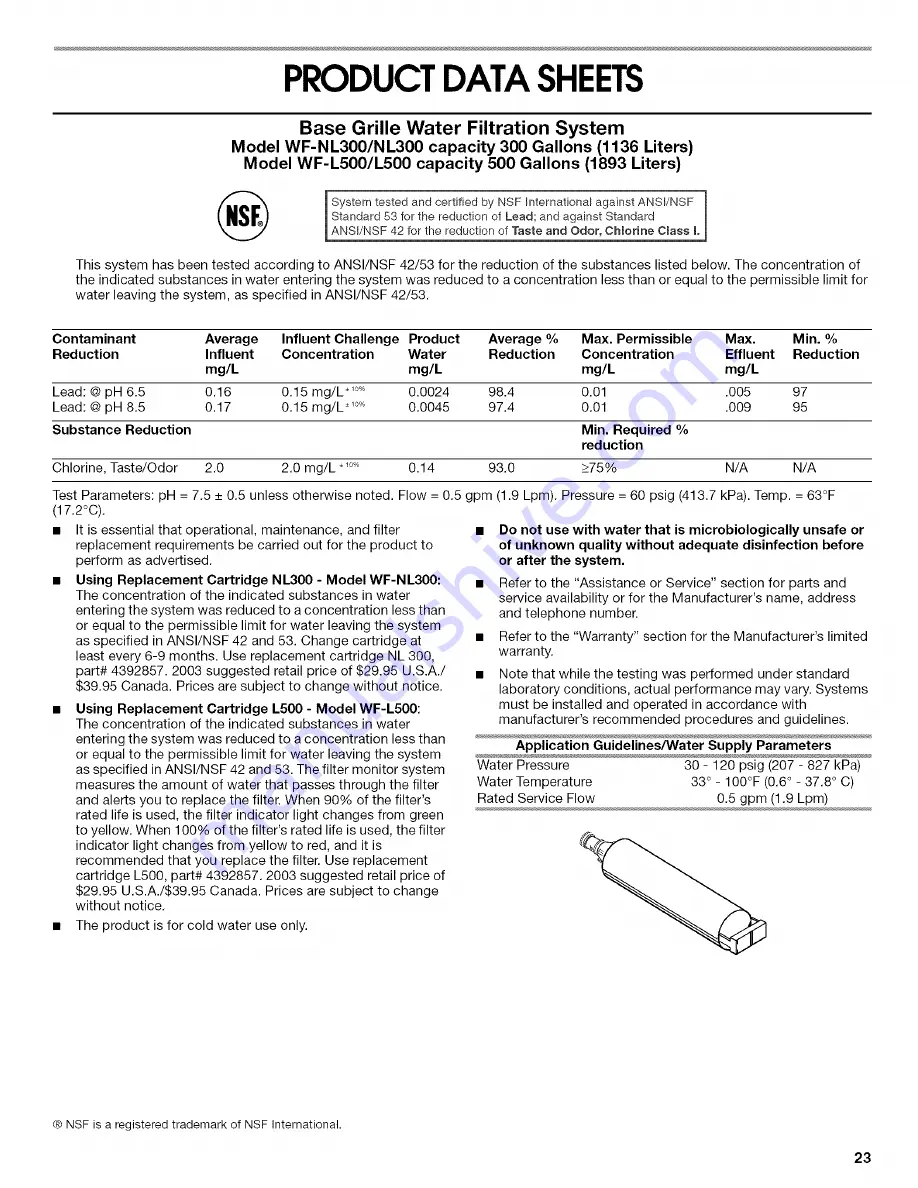
Page 23: ...Change cartridge at least every 6 9 months Use replacement cartridge NL 300 part 4392857 2003 suggested retail price of 29 95 U S A 39 95 Canada Prices are subject to change without notice Using Replacement Cartridge L500 Model WF L500 The concentration of the indicated substances in water entering the system was reduced to a concentration less than or equal to the permissible limit for water leav...

Page 24: ...er installation acts of God or use of products not approved by Whirlpool Corporation 5 Any food loss due to product failure 6 Repairs to parts or systems resulting from unauthorized modifications made to the appliance 7 Replacement parts and repair labor costs for units operated outside the United States 8 Any labor costs for replacement of the water filter during the limited warranty period WHIRL...

Reviews: