26
Pivio Network Security System User’s Guide
Set up your password
The next step is to create a user account and password for the Pivio Firewall.
Once created, this account and password will be used whenever you want to
change the Pivio Firewall’s configuration.
Step 1:
After the
Configuration Complete
screen appears as shown on the
previous page, click
Next
.
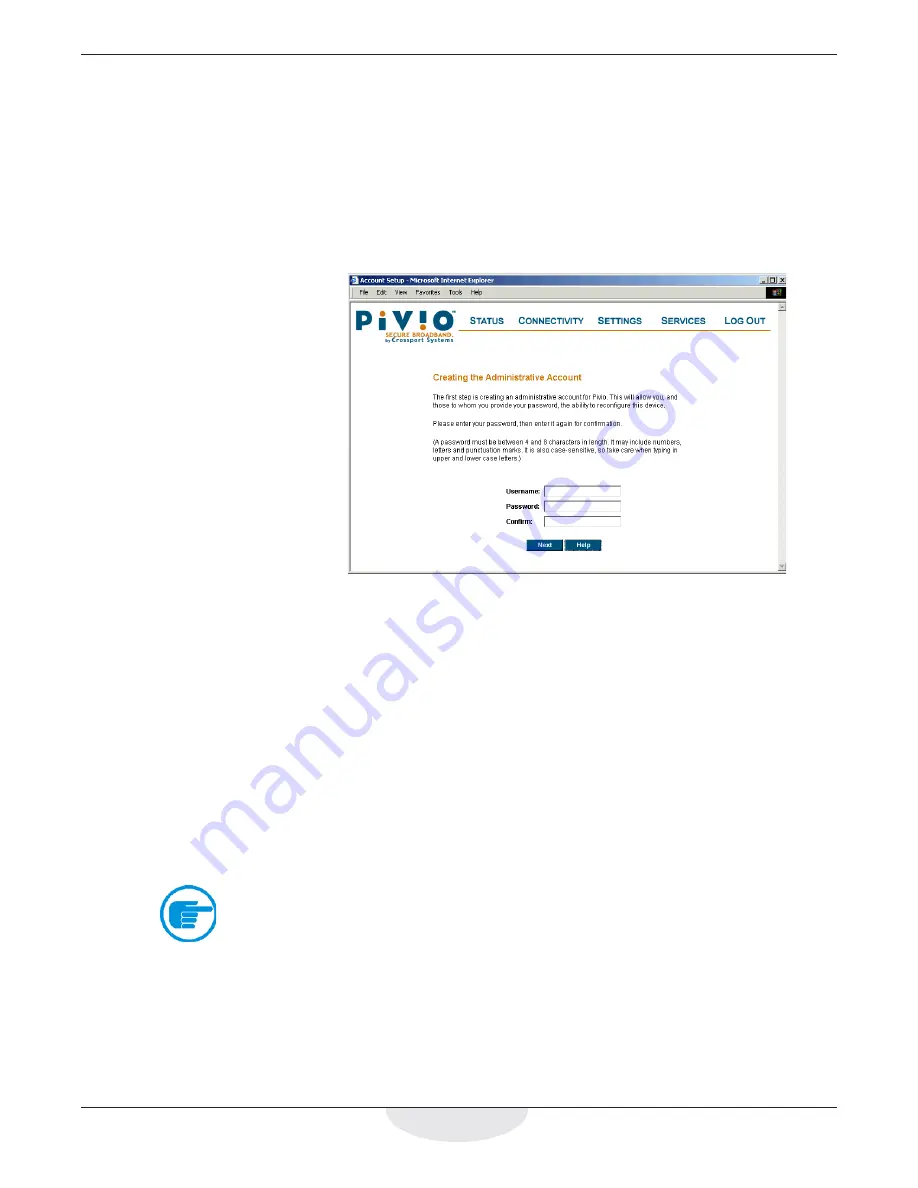
The
Creating the Administrative Account
screen appears.
Use this screen to define an account and password
Step 2:
Type in a one to eight character name for the account.
There is only one account per Pivio Firewall. When you choose a
different user name, you are renaming the one account in the
firewall.
Step 3:
Choose a four to eight character password, and enter it in the
Password
field.
Your password may include numbers, letters and punctuation
marks. It is also case-sensitive, so “password” is different from
“PassWord.”
Step 4:
Confirm your password by typing it again in the
Confirm
field.
Note
You must enter a password. You cannot create an account without a
password.
Summary of Contents for Pivio
Page 6: ...vi Table of Contents...
Page 15: ...15 Getting Started...
Page 19: ...19 Getting Started...
Page 20: ...20 Pivio User s Guide...


