Commercial Audio Series
Mixer-Amplifiers
page 12
Operation Manual
2 Setup
2.11 Powering Up
1. Turn off any equipment connected to the Line Out connectors.
2. Plug the amplifier’s power cord into a 3-wire grounded AC outlet.
3. Turn down the input volume controls.
4. Turn down the master volume control.
5. Turn on the Power switch. The Power indicator should glow.
6. Turn the input volume controls in use about 3/4 up.
7. Turn up the master volume control(s) until the desired loudness or
power level is achieved.
8. Touch up the input levels as needed for equal loudness from each
microphone.
9. Turn on any equipment connected to the Line Out connectors.
If you ever need to make any wiring or installation changes, disconnect the
power cord.
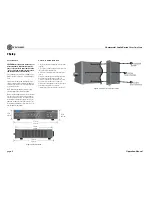
2.12 Included Accessories
Power cord
Detachable rack ears
Screws for rack ears
Non-touch cover for output connectors
Phoenix-type connectors
Spade lugs
2.13 Optional Accessories
1-VCAP remote volume control for one channel
4-VCAP remote volume control for four channels
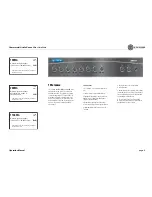
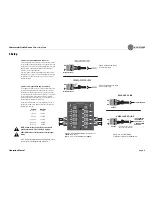
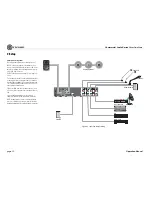
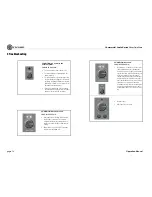
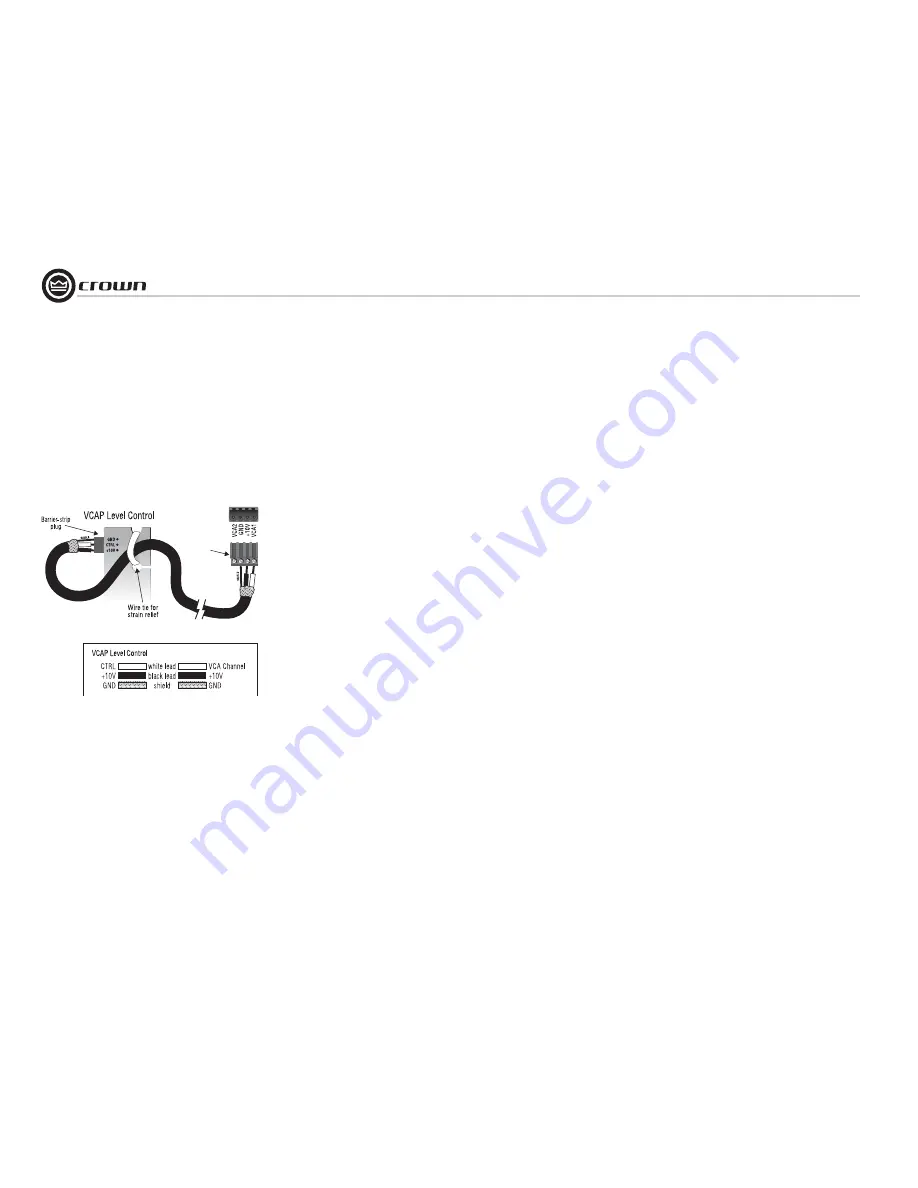
Figure 2.11 Wiring a 1-VCAP or 4-VCAP
Level Control to the Output VCA Connector
2.10 Remote Volume Control
You can control the volume of each amplifier channel remotely. To do so,
locate the OUTPUT VCA connector on the back panel. Insert a 4-pin Phoe-
nix-type cable connector into the OUTPUT VCA connector. Wire a Crown
1-VCAP or 4-VCAP level control to the Phoenix-type cable connector ter-
minals as shown in Figure 2.11.
1-VCAP controls one channel; 4-VCAP controls up to four channels.
Phoe
n
ix-type
pl
u
g
O
u
tp
u
t VCA Co
nn
ecto
r
O
u
tp
u
t VCA Co
nn
ecto
r
Summary of Contents for 1160MA
Page 24: ......


