17
English
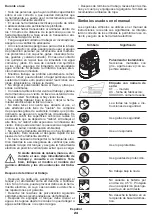
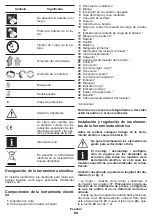
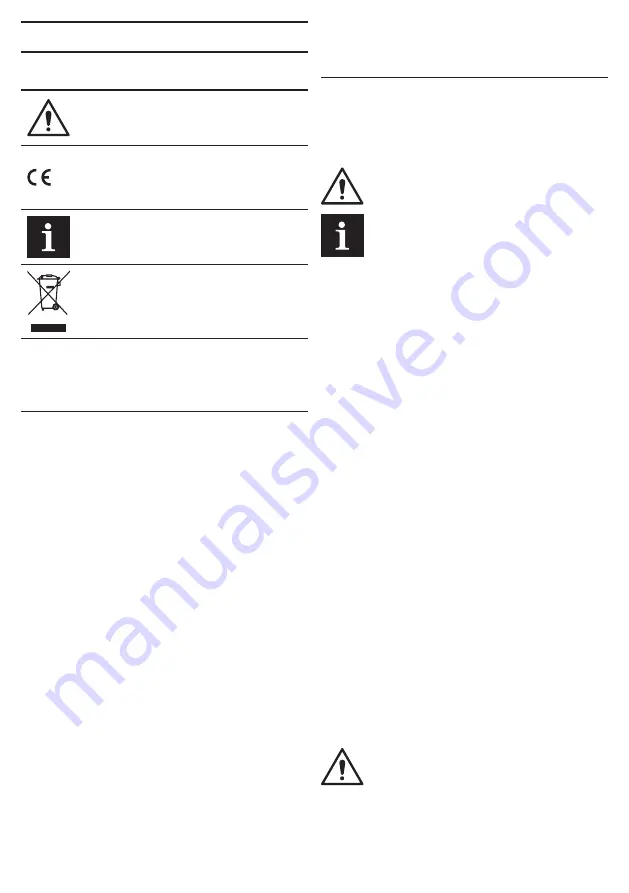
Symbol
Meaning
III
Protection class�
Attention� Important�
A sign certifying that the
product complies with es-
sential requirements of the
EU directives and harmo-
nized EU standards�
Useful information�
Do not dispose of the power
tool in a domestic waste
container�
Power tool designation
The cordless sprayer is designed for spraying liquid
substances - water, pesticides, liquid fertilizers, etc�
Power tool components
1
Belt clip
2
Sprayer top (assembled)
3
Ventilation slots
4
Handle
5
On / off switch
6
Tank cap and measuring cup
7
Inlet connector
8
Tank
9
Battery cover
10
Control button of the state of battery charge *
11
Indicators of the state of battery charge *
12
Battery lock *
13
Battery *
14
Latch
15
Scale
16
Hose (assembled) *
17
Spray atomizer (assembled) *
18
Carrying belt *
19
Charger *
20
Spray atomizer body *
21
O-ring *
22
Straight tube *
23
Curved tube nut *
24
Curved tube *
25
Threaded fitting *
26
Hose nut *
27
Funnel *
28
Label *
29
Indicator (red) *
30
Indicator (green) *
31
Trigger lever *
32
Nozzle *
33
Spray atomizer head *
* Optional extra
Not all of the accessories illustrated or described
are included as standard delivery.
Installation and regulation of power tool
elements
Before carrying out any works on the power tool
remove the battery 13.
Do not draw up the fastening elements
too tight to avoid damaging the thread.
Mounting / dismounting / setting-up of
some elements is the same for all power
tool models, in this case specific models
are not indicated in the illustration.
Assembly / disassembly / adjustment of the spray
atomizer length (see fig. 1)
•
Figure 1 shows how to assemble and disassemble
the spray atomizer
17
�
Caution: follow the sequence
of parts installation and make sure that the O-rings
are not deformed during assembly.
•
You can adjust the spray atomizer length by push-
ing the curved tube
24
in or out� To do this, loosen
the nut
23
, move the curved tube
24
and tighten the
nut
23
(see fig. 1.2).
Hose connection (see fig. 2)
•
Connect the hose
16
to the spray atomizer body
20
as shown in figure 2.1.
•
Connect the hose
16
to the sprayer top
2
to the inlet
connector
7
, as shown in figure 2.2.
Spray atomizer usage (see fig. 3, 11-12)
•
Fig� 3 shows the options for using the spray atom-
izer
17
:
•
fig. 3.1 and 12 - the spray atomizer
17
is held
with one hand, while the power tool is held with the
other hand, hangs on the shoulder on the belt
18
,
or stands on the ground� This method is suitable for
spraying large areas, when spraying tall branches,
working from stairs, etc.;
•
fig. 3.2 and 13 - the spray atomizer
17
is installed
in the handle
4
, the power tool is held with one hand�
This method is suitable for fast processing of large
areas, in cases where it is not necessary to raise the
spray atomizer
17
�
Carrying belt (see fig. 4)
Fig� 4 shows how to install the carrying belt
18
�
Filling the tank (see fig. 5-6)
Caution: before filling tank 8, always re
-
move the sprayer top 2.
•
Open the latches
14
(see fig. 5.1).
•
Remove the sprayer top
2
(see fig. 5.2).
•
Unscrew the cap
6
(see fig. 6.1).
•
Insert the funnel
27
(not included in the delivery set)
into the neck of tank
8
�
Summary of Contents for CT29003HX
Page 1: ......
Page 3: ...3 ...
Page 4: ...4 ...
Page 5: ...5 ...
Page 6: ...6 ...
Page 7: ...7 ...
Page 8: ...8 ...
Page 9: ...9 ...
Page 10: ...10 ...
Page 11: ...11 ...
Page 12: ...12 ...
Page 54: ...54 ...
Page 55: ...55 ...
Page 56: ...56 ...
Page 57: ...57 ...
Page 58: ...58 ...
Page 59: ...59 ...
Page 60: ...60 ...
Page 61: ...61 ...
Page 62: ...62 ...
Page 63: ...63 ...
Page 64: ...64 ...
Page 65: ...65 ...
Page 66: ...66 ...
Page 67: ...67 ...
Page 68: ...68 ...
Page 69: ...69 ...
Page 70: ...70 ...
Page 71: ...71 ...
Page 72: ......


