Installation and Programming Instructions for Electronic Stand-Alone Cylindrical Locks
- 5 -
INSTALLATION INSTRUCTIONS
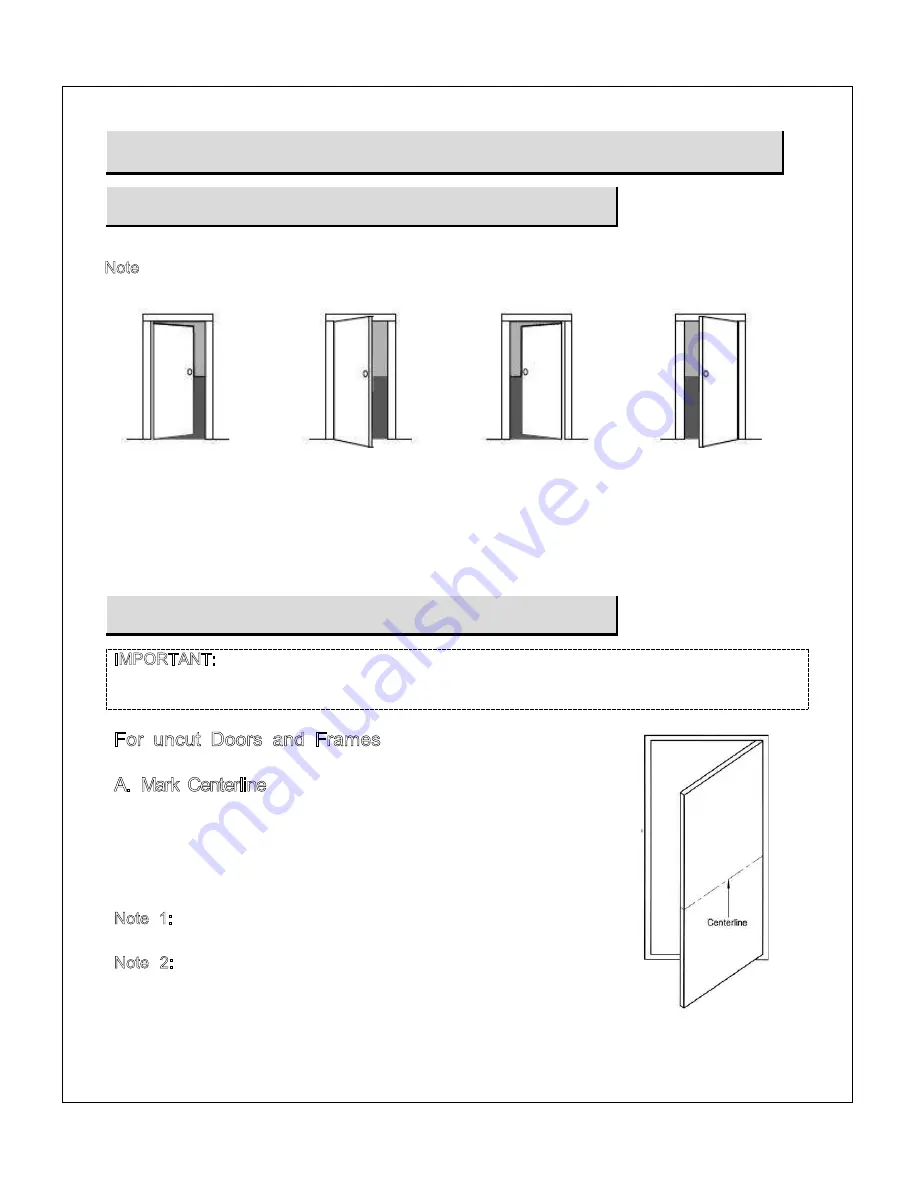
Step #1 Verify Hand and Bevel of Door
Stand on outside/locked side of the door when determining the door hand.
Note:
This lock is non-handed and the lever can be flipped around to the desirable hand.
Left Hand
Hinges Left
Open Inward
"LH"
Left Hand
Reverse Bevel
Hinges Left
Open Outward
"LHRB"
Right Hand
Hinges Right
Open Inward
"RH"
Right Hand
Reverse Bevel
Hinges Right
Open Outward
"RHRB"
Step #2 Door & Frame Preparation
IMPORTANT:
The accuracy of the door preparation is critical for the proper functioning
and security of this lever handle lock. Misalignment can cause premature wear and tear
and a lessening of security.
For uncut Doors and Frames
A. Mark Centerline
Draw a horizontal centerline for the lever (the
centerline for the lock body hole) on the edge and
on both sides of the door at the desired height
above the finished floor.
Note 1:
The recommended height from the floor to the
lock is 38"(97cm).
Note 2:
If strike mortice already exist in frame, locate
the horizontal centerline of the lock using strike mortice
as reference.
- 6 -


