
R T X 4 1 0 / 6 1 0 / 8 0 1 - I R U s e r M a n u a l A 9 - 4 6 8 - 0 0 0 5 R E V 1 . 0
- 1 -
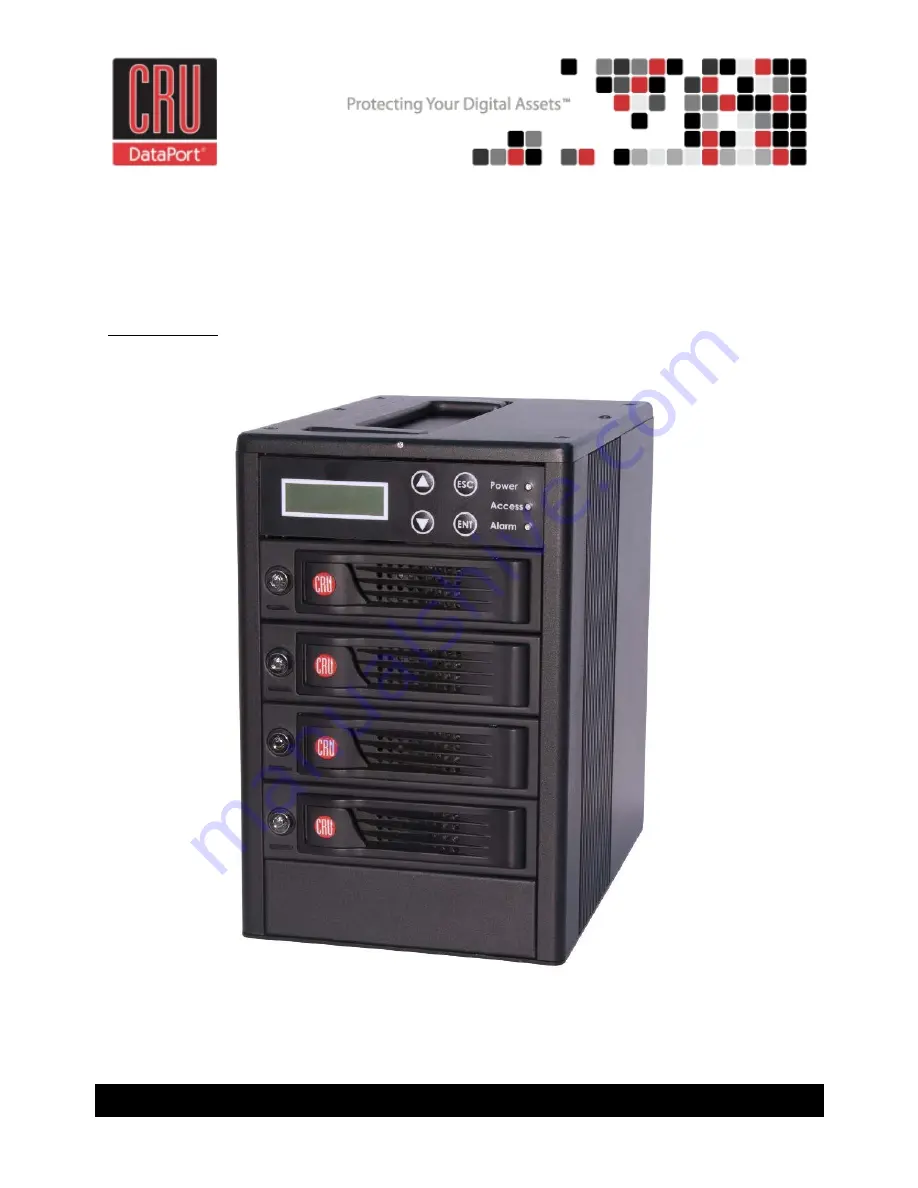
RTX
™
IR
User Manual
(Revised February 28, 2012)
Models covered:
RTX 410-IR
RTX 610-IR
RTX 801-IR
Note:
The contents of this user manual reflect operational instructions for RTX IR units manufactured
after 12/15/2011. RAID sets created in RTX IR units manufactured prior to this date are incompatible with
newer units.