CRU
R T X 4 1 0 / 6 1 0 / 8 0 1 - I R U s e r M a n u a l A 9 - 4 6 8 - 0 0 0 5 R E V 1 . 0
- 16 -
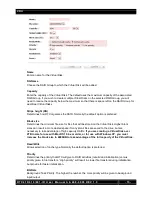
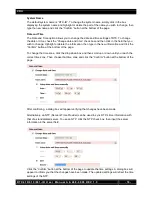
Readahead
Choose whether file prefetching should be enabled.
Erase
Wipes out the original data in the Virtual Disk to prevent the OS from recognizing it. The options
are “None”, “First 1GB”, and “Full Disk.”
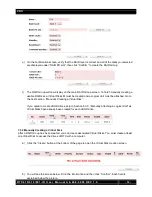
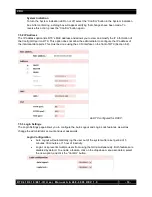
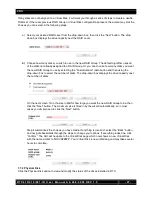
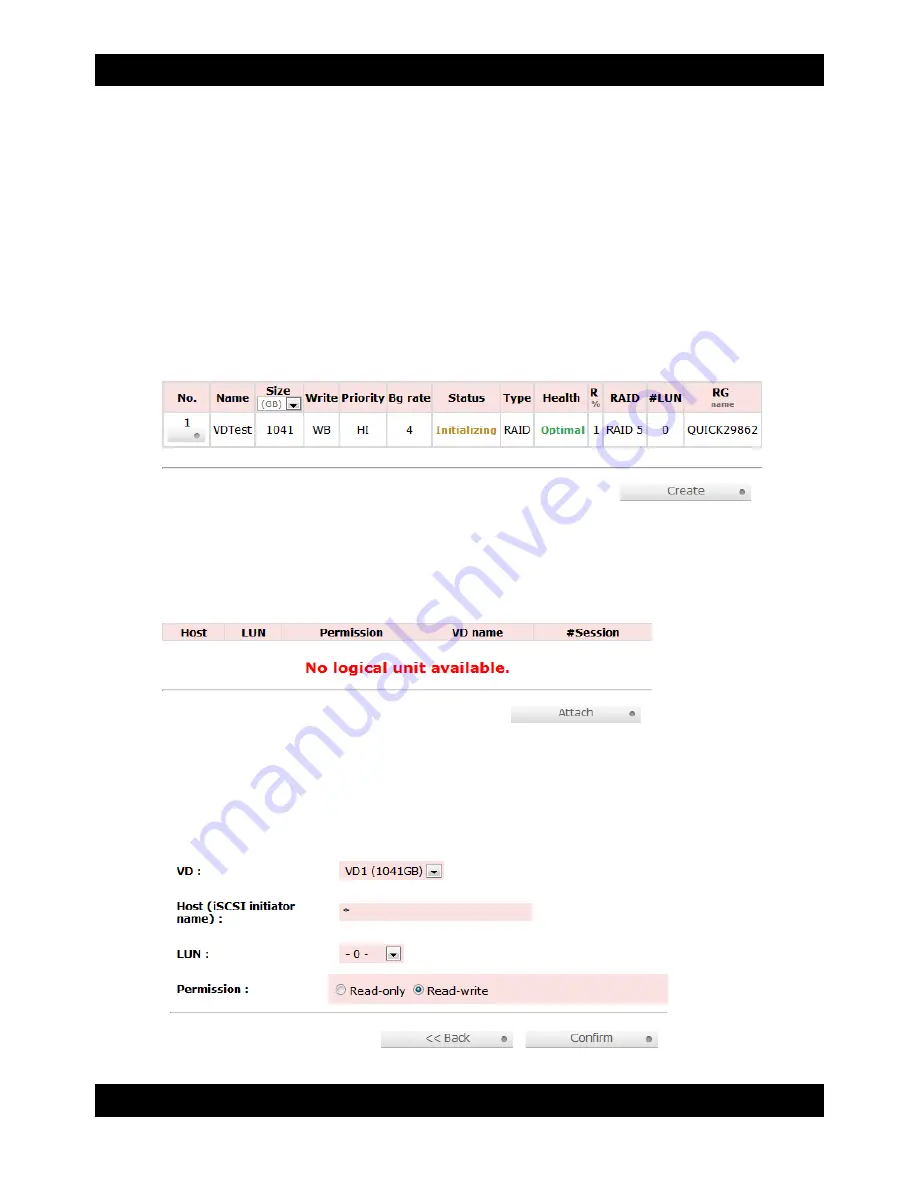
c) After the RAID builds, the Virtual Disk will now display on the main Virtual Disk screen. If you
have enabled an Erase option,
do not
shut down or reboot RTX while the Virtual Disk is
initializing or the erase process will stop.
To finish manually creating a usable RAID set, at least one Logical Unit must be attached. Go to
the next section, “Manually Attaching a Logical Unit”.
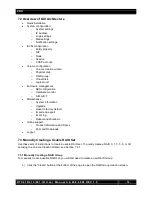
7.3.3 Manually Attaching a Logical Unit
You will need to attach at least one Logical Unit to a Virtual Disk to access its RAID Group, although
multiple Logical Units can be attached to the same Virtual Disk.
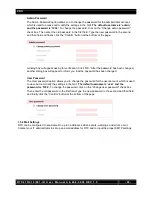
a) Click the “Attach” button to attach a Logical Unit to a Virtual Disk.
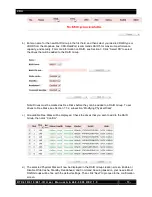
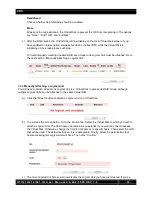
b) You will see the screen below. Fill in the information. Select the Virtual Disk to which you wish to
attach a Logical Unit. The Host name can remain as an asterisk if you want any host to access
the Virtual Disk. Otherwise, change the field to limit access to specific hosts. Then select the LUN
that will be used. The default setting on this is acceptable. Finally, select the permissions that
hosts accessing this Logical Unit will have. Then click “Confirm”.
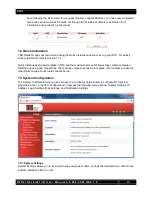
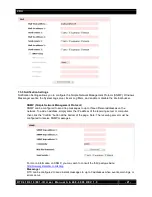
c) The main Logical Unit Screen will now display the Logical Unit you have just created. If you’ve

