RAX425DC-XJ User Manual
8
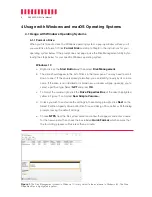
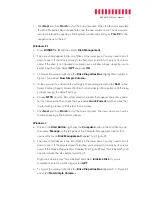
d. Unless you wish to customize the settings in these dialog prompts, click
Next
on the
Select Partition, Specify Volume/Partition Size, and Assign Drive Letter or Path dialog
prompts, leaving the default settings.
e. Choose
NTFS
from the file system selection window that appears and enter a name
for the new volume. Then check the box labeled
Quick Format
, which ensures that
the formatting process will take less than a minute.
f. Click
Next
and then
Finish
to start the format process. When the format is complete,
the Drive Properties Box will update to show the new volume name. The new volume
can now be found by clicking on the
Computer
button in the Start Menu.
4.1.2 Mount and Unmount Volumes
Mount a Volume
If the drives inside of each drive carrier are already formatted, you can begin using them
right away. When the RAX enclosure is properly connected and turned on, and each carrier
is properly installed, a window may open to allow you access to each carrier’s data volume.
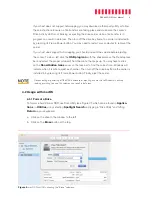
If no window appears, find the volume by opening a File Explorer window (Windows 10,
8.1, and Server 2012 R2) and then clicking on
This PC
in the navigation pane of a File
Explorer Window (Windows 10) or clicking on
Computer
in the navigation pane of a File
Explorer Window (Windows 8.1 and Server 2012). Otherwise, click on the
Computer
button in the Start Menu (Windows 7 or the Windows Server 2008 product family).
Unmount a
Volume
Many SAS hosts do not support hotswapping, but third-party software utilities are available
that will provide the functionality.
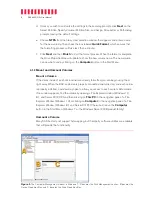
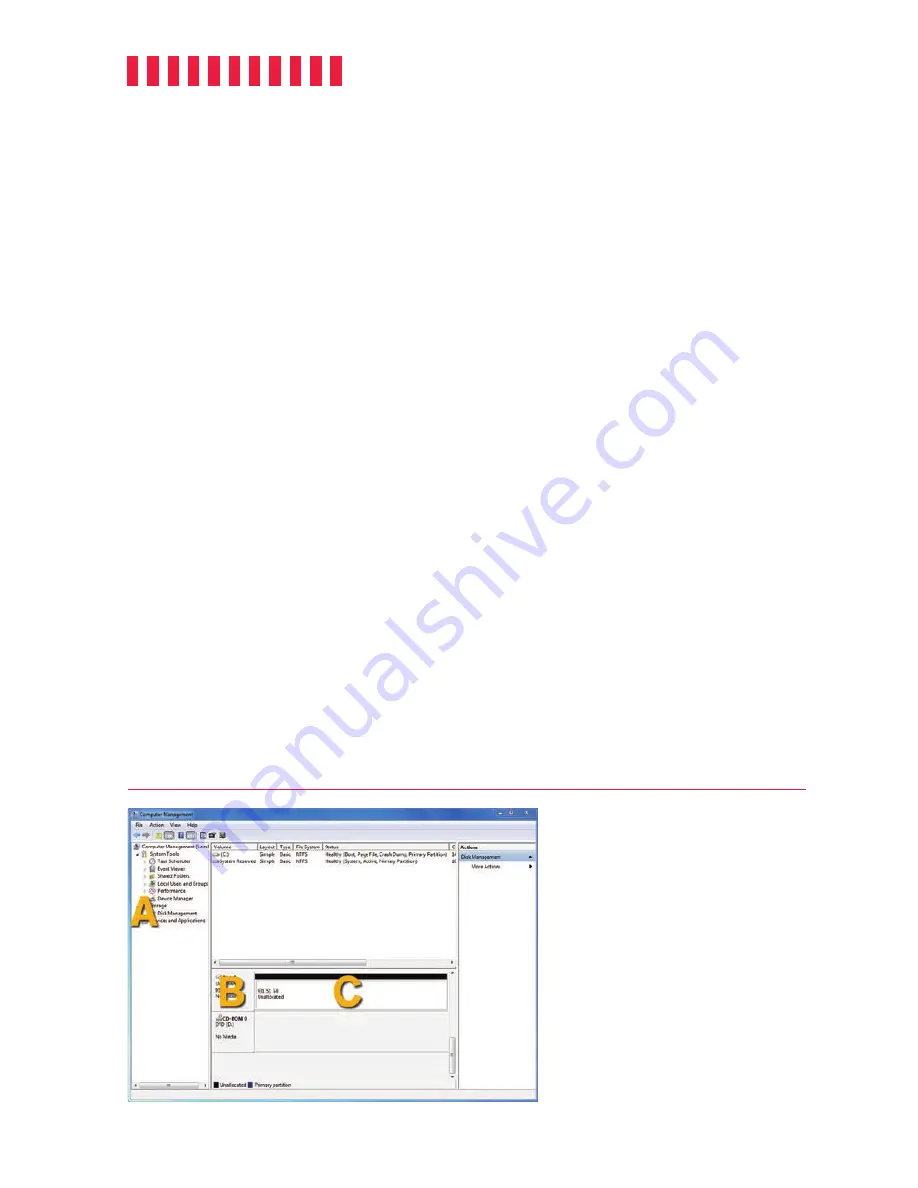
Figure 2.
The Computer Management window in Windows 7. ‘A’ denotes the Disk Management section, ‘B’ denotes the
Device Properties Box, and ‘C’ denotes the Drive Properties Box.

