25
Servers under 1 Router.
16) Click ‘Save’ Button to save set value.
17) Remove LAN Cable (Cross Cable) connected between S-160 and PC.
18) Connect S-160 to Network with LAN Cable (Straight Cable).
19) Connect PC to Network with LAN Cable (Straight Cable).
20) Port-Forward the port designated to use S-160, in IP Sharing Device.
Refer to manual of IP Sharing
Device for details.
21)
Check 1
(local check)
Run Web Browser and input IP address of S-160 in URL and click ‘Enter’. If you changed Web Server
Port, you must input ‘
http://IP
Address:
Port Number
’. For example, If you set IP address of S-160 to
192.168.0.100 and changed Web Server port to 81, you must input
Http://192.168.1.100:81
.
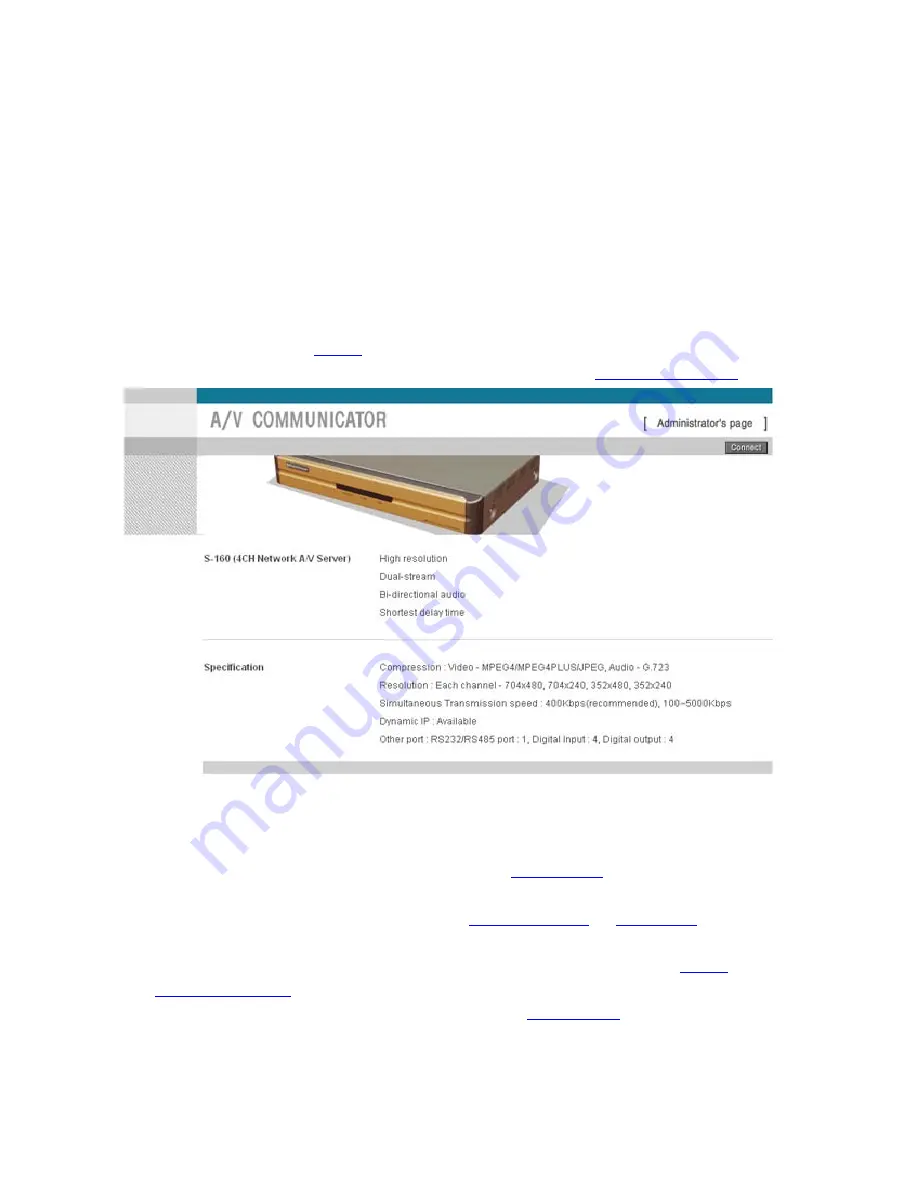
Pic. 3
―
13 Main Page of S-160
After [Pic.3-13] appears, check Video of S-160 referring to‘
1. Video Check
’.
22)
Check 2
(Check from outside)
After registration of S-160 in PIMA Server (refer to ‘‘
Use of PIMA Server
’ of ‘‘
5. Basic Use
’,
connect to S-160 by Domain Name (Server Name) allocated to S-151.
For example, run Web Browser and input Domain Name allocated to S-160 in URL. In
http://S-
151.cryptotelecom.net
, ‘S-160’ is to be Name of Server registered in PIMA Server by user.
If the initial page is shown, check Video of S-160 referring to ‘
1. Video Check
’. If Video is seen, set up is
properly done.
Summary of Contents for S-160
Page 1: ...1 Network A V Server S 160 User s Manual Version1 0 ...
Page 6: ...6 1 Feature ...
Page 9: ...9 2 Installation and Video Check ...
Page 15: ...15 3 Basic Setting ...
Page 27: ...27 4 Expert Setting ...
Page 29: ...29 Pic 4 2 Administrator s Page ...
Page 48: ...48 5 Basic Use ...
Page 78: ...78 6 Network Environments ...
Page 80: ...80 7 Appendix ...


