5 - 7
SECTION 5: Electrical Component
Diagnosis and Replacement
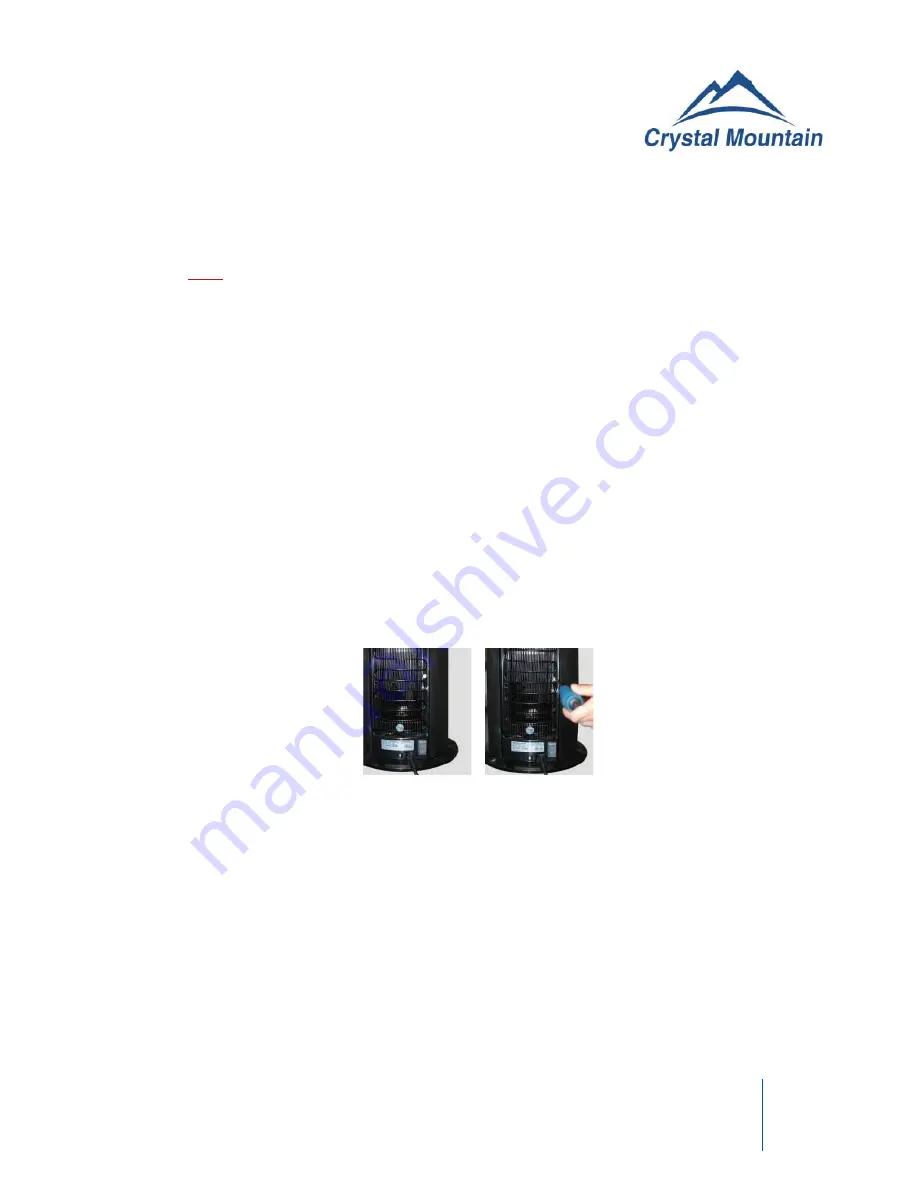
Note: the cold thermostat can be adjusted without removal of the side panel. Setting screw is
accessible approximately 9 inches (23 cm) up from the base of the cooler on the back right side
(when viewed from the back of the cooler)
Factory Setting: 6:00
Note: to identify the 6:00 setting position, rotate the set screw clockwise until it has stopped
(screw should turn with light pressure, do not force). The top of the slotted screw is (now) in the
12:00 position. Rotate the screw counterclockwise 180 degrees to set to the 6:00 position(fig.
1-1 to fig. 1-2).
To make the water colder, rotate the screw in the clockwise direction approximately 1 hour
position. Allow the cooler to stabilize for 2-3 hours to ensure proper temperature of the cold
water.
(Note: do not change the setting by more than 1 hour setting at a time to prevent freez-
ing).
To make the water warmer, rotate the screw in the counter-clockwise direction approximately
1 hour position. Allow the cooler to stabilize for 2-3 hours to ensure the proper temperature of
the cold water.
Figure 1-1 Figure 1-2
Cold Thermostat Adjustment
Notice:
The information and/or procedures presented in the following demonstration(s) should be performed by a trained Water Cooler
Service Technician only.
Never attempt to service or repair a water cooler while it is plugged into any power supply.
Prior to any service or repair of the water cooler, ensure that the water has been completely drained from the system.


