6 - 8
Hot Tank Auto Cutout / Manual Reset Replacement
Note: Begin with the unit unplugged, the water drained and the left side panel removed.
Tip: Use a small flathead screwdriver to pry wire connectors off.
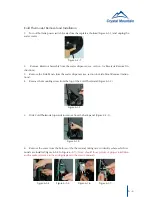
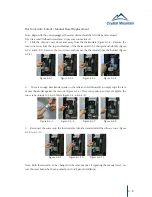
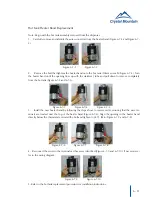
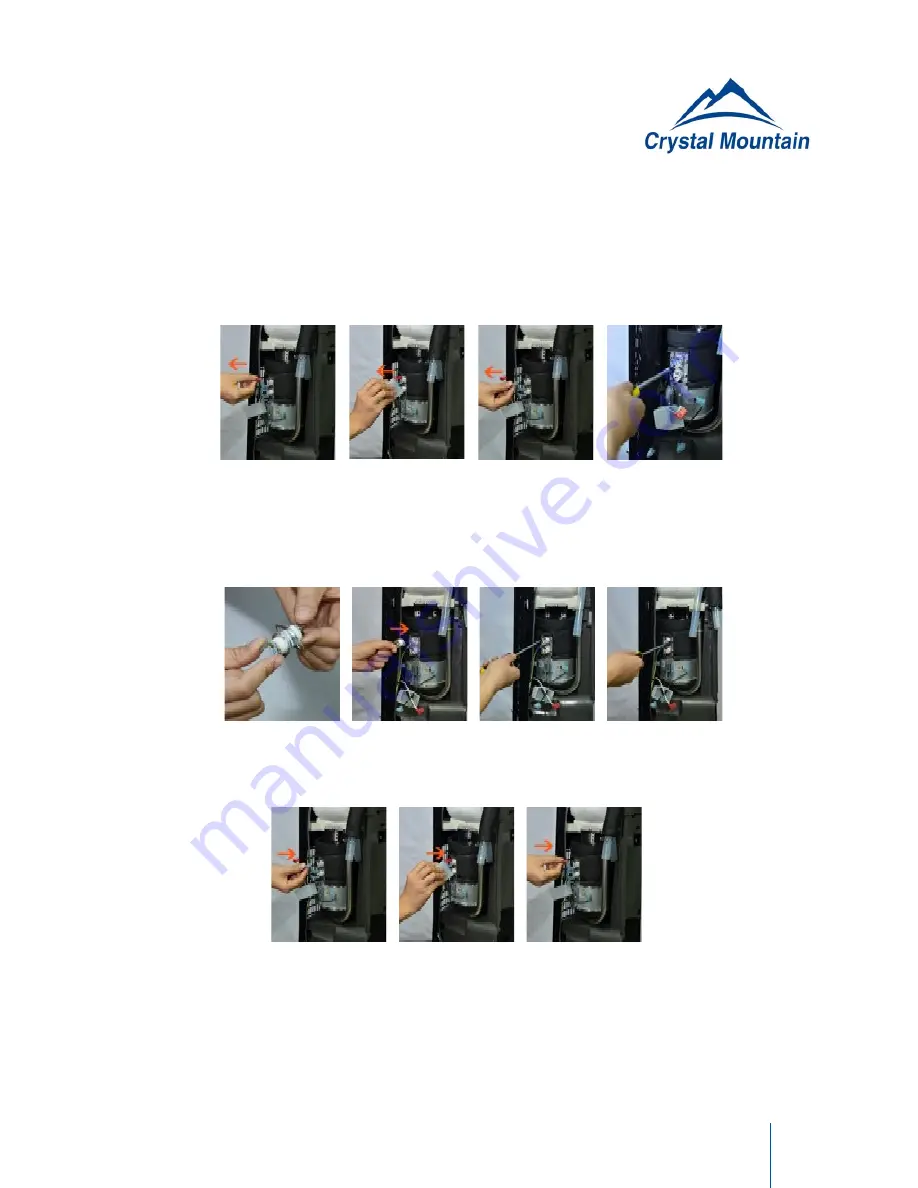
1. Slide the silicone cover down and away from the thermostats (Figure 6-5-1). Remove the
wire connectors from the top and bottom of the thermostat to be changed and identify (Figure
6-5-2 and 6-5-3). Remove the two screws and remove the thermostat from the bracket (Figure
6-5-4).
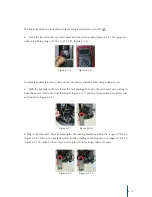
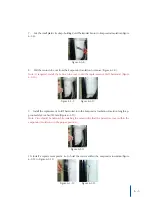
2. There is enough heat transfer paste on the tank and old thermostat to simply wipe the face
of new thermostat against the old one (Figure 6-5-5). Place into position and evenly tighten the
two screws (torque to 3.4-6.9 lbf.in) (Figure 6-5-6 to 6-5-8).
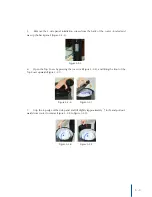
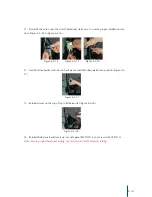
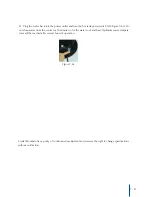
3. Reconnect the wires onto the thermostat as identified and reinstall the silicone cover (Figure
6-5-9 to 6-5-11).
Note: Both thermostats can be changed in the same manner. If replacing the manual reset, en-
sure the reset button has been pushed prior to left panel installation.
Figure 6-5-1 Figure 6-5-2 Figure 6-5-3 Figure 6-5-4
Figure 6-5-5 Figure 6-5-6 Figure 6-5-7 Figure 6-5-8
Figure 6-5-9 Figure 6-5-10 Figure 6-5-11


