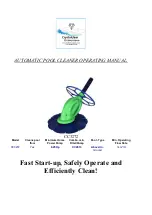
CRYSTALCLEAR CC3272, Operating Manual
The CRYSTALCLEAR CC3272 is a high-quality digital camera with advanced features. To understand all its functionalities, make sure to download the Operating Manual for free from our website. This manual will guide you through the setup and use of your new camera, ensuring you capture crystal-clear images every time.
Share
Download
Reviews:
No comments
Related manuals for CC3272
V3
Brand: Zodiac Pages: 16
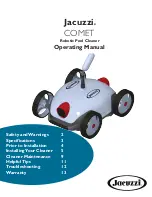
Comet
Brand: Jacuzzi Pages: 14

MX8
Brand: Zodiac Pages: 8

G4
Brand: Zodiac Pages: 12
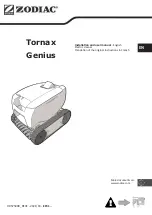
Genius
Brand: Zodiac Pages: 164
Mamba
Brand: habitat et jardin Pages: 2

b3
Brand: baracuda Pages: 2

Captura EM14 Series
Brand: baracuda Pages: 2
tracker
Brand: baracuda Pages: 10

Ranger
Brand: baracuda Pages: 16

Maverick
Brand: Davey Pages: 16
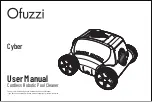
Cyber
Brand: Ofuzzi Pages: 18
7940
Brand: Gardena Pages: 10

SERVICE-21
Brand: Hammerhead Pages: 14
PondoVac Classic
Brand: Oase Pages: 76
Pool Blaster
Brand: Water Tech Pages: 6
Nature2 Express
Brand: Zodiac Pool Systems Pages: 8
Zippy
Brand: Zodiac Pages: 12


