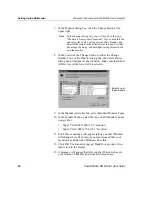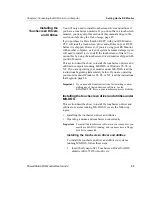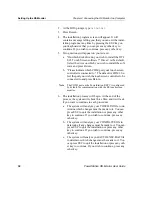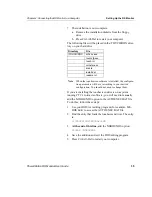
Creating a Cutout
Chapter 3: Installing the RS Monitor
20
PowerStation RS Monitor User Guide
Creating a
Cutout
You will need to read this section of the manual only if you intend
to mount the RS Monitor in an enclosure. If you plan to mount the
monitor on an adjustable arm, see the documentation that accom-
panies the arm for installation instructions.
If you are mounting the RS Monitor in an enclosure, you first will
need to create a cutout for the unit and clean the area of any dirt or
debris that might come in contact with the monitor.
To create a cutout for the monitor, follow these steps:
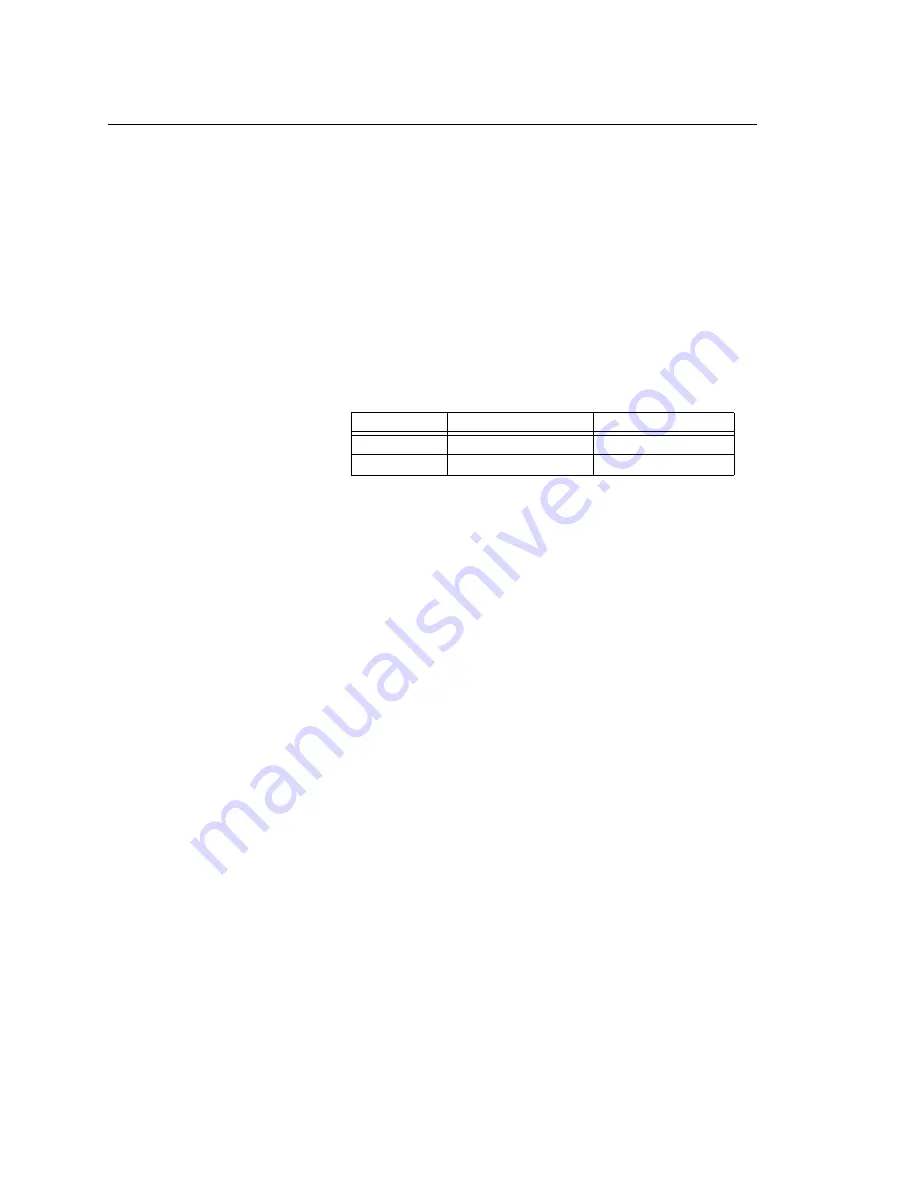
1. Cut a space in which to mount the monitor. The dimensions of
the cutout will depend upon the size of your monitor. Cutout
dimensions for the RS 12.1” and 15.1” monitors are shown in
the table below.
See RS Monitor Dimensional Drawings on page 67 of this
manual for more detailed information about your monitor’s
dimensions.
Important
An External AC Adapter for the RS Monitor is available
from CTC and can be mounted on the back of all RS Moni-
tors that do not have a mounting cover. If you choose to
mount the adapter on the back of the monitor, be sure to
take the adapter’s dimensions into account when planning
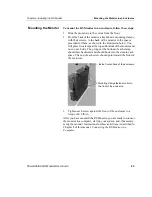
the depth of the monitor enclosure. See
on page 21 of this manual for
instructions on how to mount the adapter on the monitor.
2. Debur the cutout area.
3. Make sure that the mounting surface has remained flat and
that the panel surface is clean and free of foreign materials.
Monitor Size
Cutout Height
Cutout Width
12.1”
11.25” (285.75mm)
14.15” (359.41mm)
15.1”
12.45” (316.23mm)
15.95” (405.13mm)

