Setting Up the RS Monitor
Chapter 4: Connecting the RS Monitor to a Computer
30
PowerStation RS Monitor User Guide
Setting Up the
RS Monitor
If you connect the RS Monitor to the PowerStation RS PC, CTC
will already have configured your monitor and PC with the proper
settings. Your system should now be completely installed and
functioning. You may skip this section of the manual. Refer to this
section only if you need to make adjustments to your monitor in
the future.
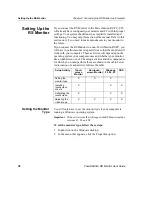
If you connect the RS Monitor to a non-PowerStation RS PC, you
will have to perform some setup activities so that the monitor will
work with your computer. These activities will depend upon the
operating system your computer uses and whether your monitor
has a touchscreen or not. The setup activities and the components
for which you would perform them are shown in the table below.
A discussion of each activity follows the table.
Setting the Monitor
Type
You will only have to set the monitor type if your computer is
running a Windows operating system.
Important
Windows versions that will support the RS Monitor include
versions 95, 98, and NT.
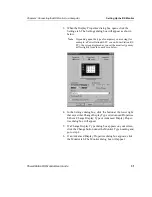
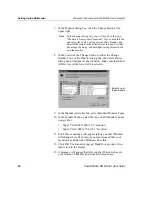
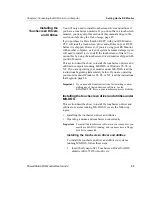
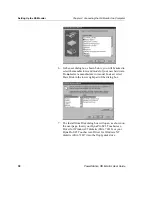
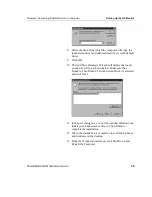
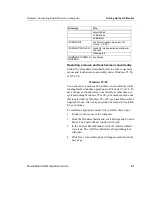
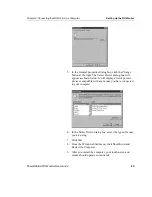
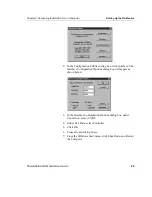
To set the monitor type, follow these steps:
1. Right-click on the Windows desktop.
2. In the menu that appears, click the Properties option.
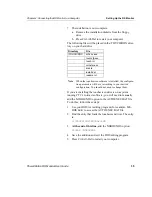
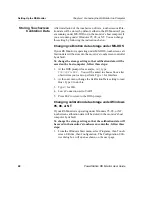
Setup Activity
Touch-
screen
Monitor
Non-touch-
screen Monitor
Windows
95, 98, NT
DOS
Setting the
monitor type
X
X
X
Installing
touchscreen
drivers
X
X
X
Calibrating the
touchscreen
X
X
X
Adjusting the
video image
X
X
X
X


