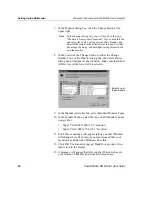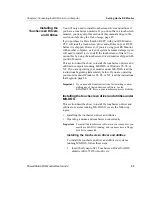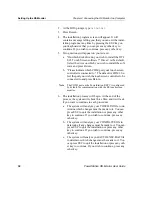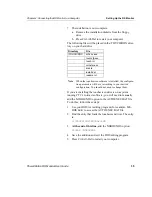
Setting Up the RS Monitor
Chapter 4: Connecting the RS Monitor to a Computer
46
PowerStation RS Monitor User Guide
Using advanced controller options settings
Whether you are operating your RS Monitor under DOS or
Windows, the Advanced menu under Interface Options enables
you to change settings that are pre-programmed into the touch-
screen controller’s non-volatile memory.
Important
It is strongly recommended that you not change these
settings because the configuration utility defaults may not
match what is in the touchscreen controller.
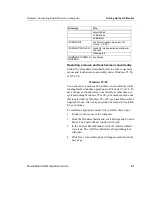
For reference, the table below shows the settings that have been
programmed into the controller at the factory.
Default settings in the configuration utility may be different from
these. If you decide to download and test settings that are different
from these, and touchscreen performance becomes erratic, change
the settings to match the list above and download them.
To download new settings, you must first change the Connection
setting under Interface to UART and restart the computer. If you
attempt to download the new settings while Connection is set to
RS232, the controller will cease communication until the
computer is restarted.
Calibrating the
Touchscreen
You will need to calibrate the touchscreen only if you have a
touchscreen monitor. Calibrating the touchscreen ensures that the
touchscreen is aligned with your display. If you do not have a
touchscreen monitor, you may skip this section of the manual and
go to the section on Adjusting the Video Image, page 49.
The RS Monitor’s touchscreen is calibrated before leaving CTC.
However, you may need to recalibrate the touchscreen when you
begin using the monitor for the first time or whenever the cursor
location and the location on the screen where the user touches not
Option
Setting
Averaging
32
Rejection Level
40
Settling Time
200
Screen Wires
8
Auto-Averaging
Selected (or on)
Low Power Mode
Deselected (or off)
Stabilization
Selected (or on)

