17
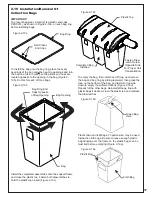
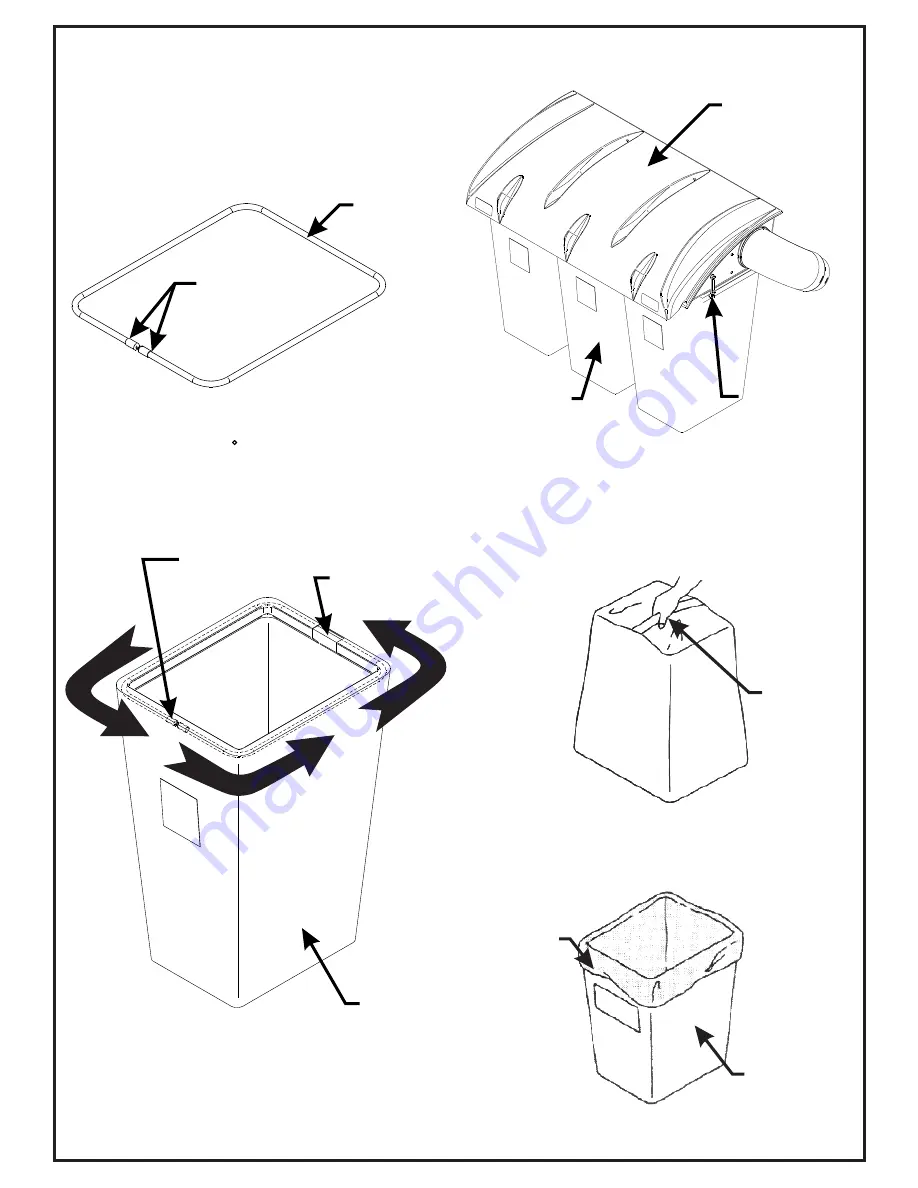
Plastic lawn and leaf bags, 33 gallon size, may be used
inside the cloth bags. Be sure to leave enough plastic
bag hanging over the frame so the plastic bags can be
twist tied before emptying (Figure 2-19e).
To empty the bag, first unlatch and lift top, next remove
the bag and bag ring by sliding rearward, then grasp the
loop on the bottom of the bag, and last turn it upside
down to empty the collected debris (Figure 2-19d).
Repeat for the other bags. Reinstall all bags, line with
plastic bags if desired, close the plastic top and reattach
the draw latches.
To prevent bag wear, install (2) red plastic end caps
P#(J0274), as shown in Figure 2-19a, on each bag ring
before installing bags.
To install the bag onto the bag ring, place the seam
openings of the bag onto the bag ring openings and turn
the bag one full turn (360 ) so the plastic end caps are
located opposite to the opening in the bag (Figure 2-
19b). Do this for each of three bags.
2-19 Installation/Removal Of
Collection Bags
IMPORTANT!
Install the completed assemblies onto the support frame
and close the plastic top. Fasten both draw-latches to
hold the plastic top closed (Figure 2-19c).
Figure 2-19d
Figure 2-19e
Grasp Bag
Here
Plastic Bag
Cloth Bag
Figure 2-19a
Figure 2-19c
Figure 2-19b
Red Plastic
End Caps
Bag Ring
Bag
Bag Opening
Bag Ring End
Caps Opposite
of Bag Opening
Plastic Top
Fasten Draw
-Latch Here &
Opposite Side
For Proper Unit
Transportation
Completed Bag
Installed
Summary of Contents for 21131508
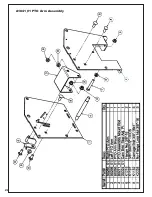
Page 20: ...20 A1841_01 PTO Arm Assembly ...
Page 21: ...21 A1941_01 PTO Base Assembly Exploded Parts View ...
Page 22: ...22 A1941_01 PTO Base Assembly Exploded Parts List ...
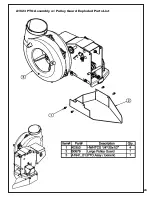
Page 23: ...23 A1623 PTO Assembly w Pulley Guard Exploded Parts List ...
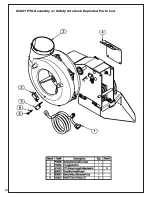
Page 24: ...24 A1821 PTO Assembly w Safety Interlock Exploded Parts List ...
Page 25: ...25 ...
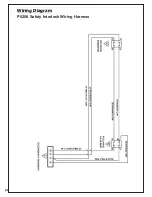
Page 26: ...26 Wiring Diagram P0208 Safety Interlock Wiring Harness ...
Page 30: ...30 ...
Page 31: ...31 NOTES ...


