Big Country 4 x 2
3
3.
COMPLETE INSPECTION
(DRUM AND SHOE REMOVAL)
3.1.
Perform operational tests if no unsafe conditions
have been described by the operator.
NOTE:
All brake repair work should be done in
compliance with applicable
OHSHA and EPA
regulations.
3.2.
Loosen the five lug nuts on each rear wheel 1/2
turn each using a 3/4” socket.
3.3.
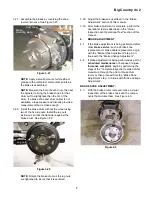
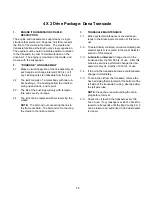
Raise and safely support the rear of the Big
Country 4 X 2 with jack stands. See Figure 3.3.
3.4.
With the parking brake disengaged, attempt to
rotate the rear wheels. They should not drag. If
one or both rear wheels are difficult to rotate,
check the adjustment as described in the “Brake
Adjustment “ section of this manual.
Figure 3.3
location
Safe jack
3.5.
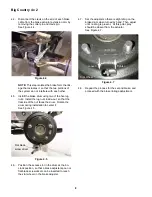
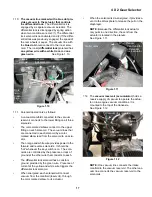
Engage the parking brake. Insure the parking
brake assembly is engaging and disengaging
properly. The latch (parking brake lever) should
hook securely over the tab on the brake pedal
arm. See Figure 3.5.
3.6.
Attempt to rotate the rear wheels (drive wheels)
by hand. Neither wheel should rotate.
3.7.
If either wheel rotates: release the parking brake
and check the adjustment as described in the
“Brake Adjustment “ section of this manual.
3.8.
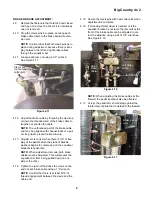
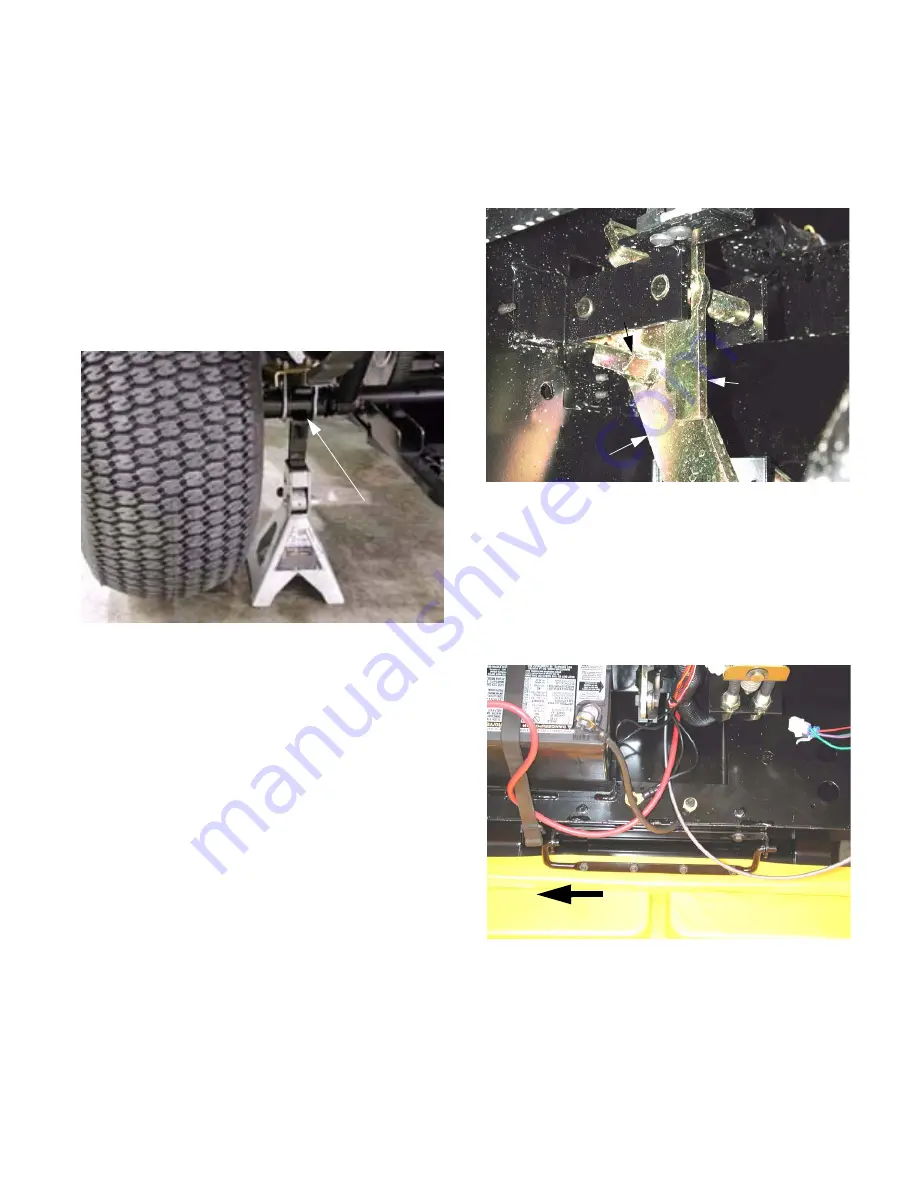
Open or remove the hood. See Figure 3.8.
NOTE:
With some front mounted accessories in
place, it may be easier to open the hood far
enough to remove the hairpin clip from the hood
mounting pin, slide the hood assembly to the
right, and remove it completely
Figure 3.5
pedal arm
Parking
brake lever
Tab
Brake
Figure 3.8
Slide to remove
Summary of Contents for BIG COUNTRY 4X2
Page 2: ......
Page 4: ......
Page 16: ...Big Country 4 x 2 12...
Page 38: ...4 X 2 Gear Selector 34...


