background image

7

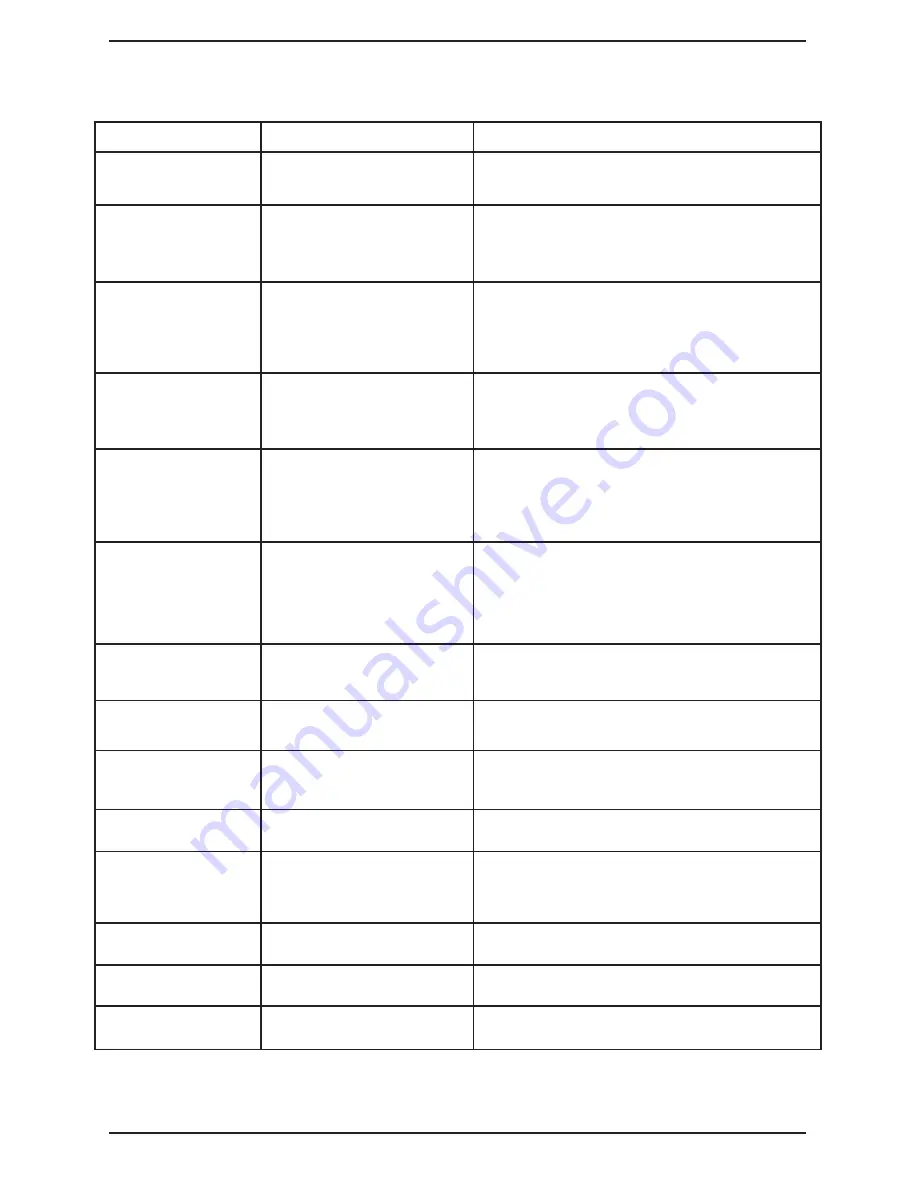
Symptom

Possible Cause

Solution

On/Off Power button does 
not light up.

Unit might not be plugged into 
outlet.

Check the wall outlet for power. Make sure the outlet is not 
controlled by a wall switch.

It takes longer than 45 
minutes for the water to 
pass through the fi lter.

Some air is still in the fi lter.

Place fi lter in an 

empty

 bowl, then fi ll with water, making 

sure it is 

fully

 submerged. Resoak it for 10–15 minutes, 

or until no more bubbles are observed.

Unit does not dispense 
water when buttons are 
pushed.

Internal

 water tanks are not com-

pletely fi lled with water.

Review “Filling the Internal Tanks” on page 5 to be sure it 
was done correctly. Make sure the lower water tank is full. 
Continue to press and hold push buttons until water flow 
is steady. If unit still won’t dispense water or flow does not 
become steady, contact Customer Service.

Water continues 
fl owing from spigot 
after push button is 
released.

Push button is stuck.

Remove water tanks from the base. Continue 
pressing button until it no longer sticks.

HOT water LED does not 
light up.

1.  Power is not on.
2.  There is no water in tanks.

1.  Make sure unit is plugged into outlet.
2.  Make sure air has been purged from internal tanks, 

as stated on page 5.

3.  If there is water in the tanks, it will take about 10 minutes 

for the water to heat.

COLD water LED does not 
light up.

1.  Power is not on.
2.  There is no water in tanks.

1.  Make sure unit is plugged into outlet.
2.  Make sure air has been purged from internal tanks, as 

stated on page 5.

3.  If there is water in the tanks, it will take about 80 minutes 

for the water to chill the fi rst time. It takes only about 30 
minutes for subsequent fi ll-ups.

COLD water LED light 
turns off even though cold 
water is not dispensed.

Large amount of room temperature 
water was dispensed.

Allow up to 30 minutes for water to chill and LED light will 
turn on.

Energy Saver mode LED 
does not light up.

1. Power is not on.
2.  Energy Saver is in Off position

1.  Make sure unit is plugged into outlet.
2.  Make sure Energy Saver switch is in its On position.

Heater is still working and 
hot water is still available 
in Energy Saver mode.

Contact Customer Service.

Filter timer does not show 
“Filtering” or “Replace.”

Battery is dead.

Contact Customer Service for replacement fi lter timer.

Leakage on the 
countertop.

1.  Water tanks are not 

properly seated on base.

2.  Drainage plugs are not fully 

engaged.

1.  Make sure water tanks are seated properly on the base.
2.  Ensure that drainage plugs are correctly installed on the 

bottom of the base.

Water leaks from the top 
cover.

Water tanks are overfi lled.

Drain excess water from tanks by pressing push buttons.

ROOM temperature water 
is warm.

Allow up to 30 minutes for cold water to chill and blue LED 
light to turn on.

HOT temperature water is 
not hot.

Energy Saver is in On position.

Make sure Energy Saver is in its Off position.

TROUBLESHOOTING

Summary of Contents for CleanWater IB-8896B

Page 1: ...For your safety and continued enjoyment of this product always read the instruction book carefully before using INSTRUCTION BOOKLET Cuisinart Countertop Filtration System WCH 1500 ...

Page 2: ...t 14 This appliance is designed to be freestanding only and should not be recessed or built in fully recessed 15 Locate the unit away from direct sunlight and sources of heat stove heater radiator etc Direct sunlight will affect alter the outside color of the appliance 16 Do not use with water that is microbiologically unsafe or of unknown quality without adequate disinfection before or after the ...

Page 3: ...iltered water 4 Lower Water Tank Holds approx 1 gallon of filtered water 5 On Off Power Button Press to power On This will activate the chilling and heating functions 6 Hot Water Button with Child Lock Push safety lock up then press to dispense hot water 7 Room Water Button Press to dispense room temperature water 8 Cold Water Button Press to dispense chilled water 9 Indicator Lights Red blue LEDs...

Page 4: ...lter and let it soak at least 15 minutes NOTE While soaking the filter should be partially submerged and may tilt to one side Installing the Prepared Water Filter 1 While the filter is soaking remove the lid upper water tank and lower water tank 2 Remove the filter timer from the lid by flipping the lid over and pressing on the plastic tab 3 Wash both tanks and plastic lid in mild soapy water and ...

Page 5: ...naling hot water is ready to dispense NOTE Energy Saver switch must be in the Off position for water to heat 4 After about 1 hour and 20 minutes the BLUE cold water indicator will light up signaling water is chilled NOTE On subsequent fill ups unit should take less than 10 minutes to heat and 30 minutes to chill 5 Press and hold each button to ensure all air has been purged from the unit so water ...

Page 6: ...filter we suggest you set it up while cleaning the unit to save time see 3 below 1 Turn the unit off and unplug it from outlet 2 Remove and empty upper tank 3 Remove the filter and place it in a bowl NOTE To install a new filter or recondition the existing one follow WATER FILTER SETUP instructions on page 4 4 Remove and empty lower tank 5 In the lower tank mix gallon of distilled white vinegar an...

Page 7: ...ght up 1 Power is not on 2 There is no water in tanks 1 Make sure unit is plugged into outlet 2 Make sure air has been purged from internal tanks as stated on page 5 3 If there is water in the tanks it will take about 80 minutes for the water to chill the first time It takes only about 30 minutes for subsequent fill ups COLD water LED light turns off even though cold water is not dispensed Large a...

Page 8: ...ubstances removed or reduced by this water treatment device are not necessarily in all users water Do not use with water that is microbiologically unsafe or of unknown quality without adequate disinfection before or after the system Individuals requiring water of specific microbiological purity should consult their physician The Cuisinart Countertop Filtration System processes approximately 48 gal...

Page 9: ...l performance may vary Removal Removal Action Level Hardness Temp Inlet Substance Influent Water Avg mg L Influent Challenge Concentration mg L Filter Effluent Max mg L Percent Reduction Max Permissible Product Water Concentration mg L CaCO3 mg L Testing Compart C PH Reduction Requirement Chlorine Taste and Odor Reduction 2 0 2 0 10 N A 97 5 N A N A 20 7 53 50 Copper pH 6 5 3 15 3 0 10 87 85 0 1 3...

Page 10: ...m must be signed and dated by the buyer and seller prior to consummation of this sale This form should be retained on file by the seller for a minimum of two years BUYER SELLER Name Name Address Address City State Zip City State Zip Signature Date Signature Date ...

Page 11: ... strictest specifications and has been designed for use with the authorized accessories and replacement parts This warranty expressly excludes any defects or damages caused by accessories replacement parts or repair service other than those that have been authorized by Cuisinart This warranty does not cover any damage caused by accident misuse shipment or other ordinary household use This warranty...

Page 12: ...uisinart com Coffeemakers Food Processors Toasters Rice Cookers Cookware Grills 2010 Conair Corporation Cuisinart is a registered trademark of the Conair Corporation Cuisinart 150 Milford Road East Windsor NJ 08520 1 800 726 0190 Printed in China 09CE16603 Any trademarks or service marks of third parties referred to herein are the trademarks or service marks of their respective owners G IB 8896B ...

Page 13: ... 8896B 216X140MM Saddle Stitiched 12PP COVER 4C CMYK 1C BK Version no Fold Size Material Coating Color Date Nov 24 2009 Co ordinator Scias Liu COVER 157gsm matt artpaper Gloss Varnishing in cover INSIDE 80gsm woodfree artpaper NON Remark Quality request 1 Hugo Description INSIDE 1C BK 1C BK ...

Reviews: