


WARRANTY AND REPLACEMENT PARTS
PARTS LIST
WARRANTY
•PROOF OF PURCHASE is required to access this warranty program, which is in effect from the date of purchase.
•Customers will be subject to parts, shipping, and handling fees if unable to provide proof of the purchase or after the warranty
has expired.
•If you have any questions or problems, you can call our customer service department at 1-866-994-6390 from 9:00am to 5:00pm
Eastern time, Monday through Friday for assistance.
•This limited warranty applies to the functionality of the product ONLY and does not cover cosmetic issues such as scratches, dents,
corrosion or discoloring by heat, abrasive and chemical cleaners or any tools used in the assembly or installation of the appliance,
surface rust, or the discoloration of stainless steel surfaces. Paint is not warranted and will require touch up. RUST is not considered a
manufacturing or materials defect.
•This limited warranty will not reimburse you for the cost of any inconvenience, food, personal injury or property damage.
LIMITED WARRANTY
•All parts warrantied one-year from date of purchase.
WARRANTY PROVISIONS
•This warranty is non-transferable and does not cover failures due to misuse of improper installation or maintenance.
•This warranty is for replacement of defective parts only. We are not responsible for incidental or consequential damages or labor
costs.
•This warranty does not cover corrosion or discoloration after the appliance is used, or lack of maintenance, hostile environments,
accidents, alterations, abuse or neglect.
•This warranty does not cover damage caused by heat, abrasive and chemical cleaners, or any damage to other components used in
the installation or operation of the patio heater.
•Paint is not warranted and may require touch-up.
WARRANTY AND REPLACEMENT PARTS
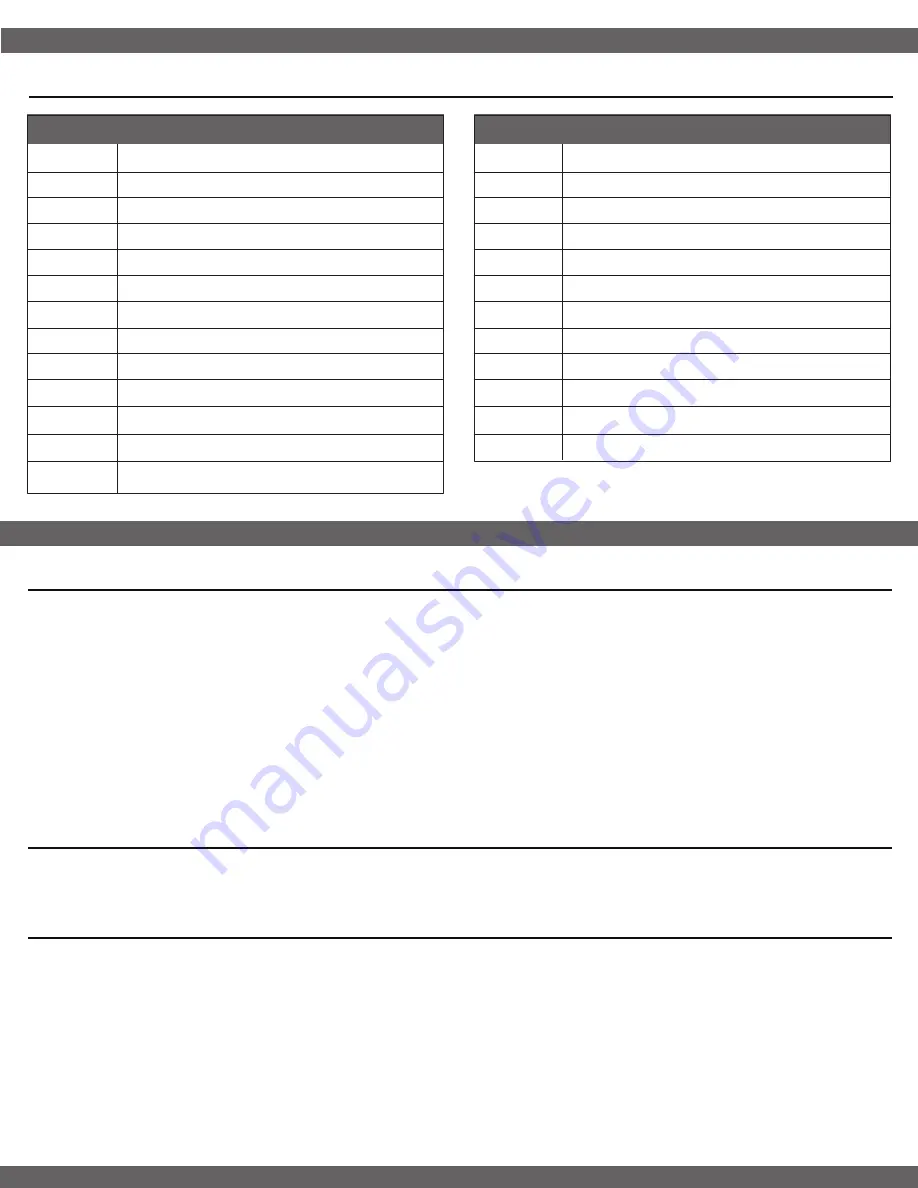
S60059
Base
S60060
Cylinder Chamber Support A
S60061
Cylinder Chamber Support B
S60062
Cylinder Chamber Support C
S60063
Lower Support Pole
S60064
Cylinder Chamber Wall
S60065
Cylinder Chamber Door
S60066
Cylinder Chamber Top
S60067
Swivel Head
S60068
Upper Support Pole
S60069
Main Burner and Hose
S60070
Burner Mesh
S60071
Parasol Supports
PART
DESCRIPTION
S60072
Handle
S60073
Regulator
S60074
Top Panel (Dome)
S60075
Side Panels (6)
S60076
Lock Pin
S60077
Swivel Bolt
S60078
Wheel Set
S60079
Thermocouple / Tiltswitch Assembly
S60080
Hose
S60081
Control Knob (Burner)
S60082
Ignitor Button / Battery Contact
S60083
Hardware Parts Pack
PART
DESCRIPTION
24


