background image

7

OPERATING 

INSTRUCTIONS

With the unit on and the LED displayed, 

press the MENU button to select the 

desired cooking function. The function 

light will flash.

After Selecting Browning, Sauté,  

or Simmer 

Press START, and unit will begin to heat 

up. When browning, sautéing or 

simmering is complete, press START/

CANCEL to cancel and cover the cooker 

as directed. Wait 2 to 3 minutes to allow 

inner pot to cool slightly. Press MENU 

again and select Low or High Pressure 

function. 

After Selecting Low or High Pressure

Press TIME to select number of minutes 

needed for pressure cooking. Time 

increases in 1-minute increments up to  

40 minutes. Time increases in 5-minute 

increments of 40 to 99 minutes.
Once cooking time is programmed, press 

START/CANCEL to start the cooking 

process. As the unit heats up and 

pressure builds, the red float will rise. The 

amount of liquid and other ingredients in 

the pressure cooker determines the 

length of time needed for full pressure  

to build – generally 5 to 40 minutes, 

depending on the recipe. (A red blinking 

dot on lower right-hand corner of LED 

indicates the unit is on and heating up.) 

Note: When full pressure is reached, 

red light in the lower right-hand corner 

of the LED will stop flashing and 

remain lit. Pressure cooking will begin 

and the timer will start to  

count down.

The raised red float indicates you are 

cooking under pressure. The lid is double-

locked and cannot be opened. 

YOU 

SHOULD NEVER ATTEMPT TO OPEN 

THE LID WHILE PRESSURE COOKING.
Automatic Keep Warm Feature

When LED display reaches,

the 

pressure cooker automatically shifts to 

Keep Warm temperature. The Keep Warm 

light will turn on and unit will beep to 

indicate cooking is complete.

NOTE:

 The Keep Warm setting should 

not be used for more than 12 hours. The 

quality or texture of the food will begin to 

change after 1 hour on Keep Warm. In the 

Keep Warm setting, a little condensation 

in the upper ring is normal.

To Reset or Cancel

Users can reset the function or cancel the 

timing setup anytime by pressing the 

START/CANCEL button.

To Remove Lid

When pressure cooking cycle is finished, 

the unit will automatically switch to the 

Keep Warm position. At this point you 

may choose to release pressure in one  

of three ways – Natural Pressure Release, 

Quick Pressure Release, or a combination 

of both. The choice will be dictated by  

the particular food being cooked and 

indications in the recipe. If adapting your 

own recipe for pressure cooking, find a 

similar recipe in our recipe booklet and 

use that as a guide.
  1. Natural Pressure Release – Following 

pressure cooking, allow the unit to 

remain on Keep Warm. The pressure 

will begin to drop – time for pressure 

to drop will depend on the amount of 

liquid in the pressure cooker and the 

length of time that pressure was 

maintained. Natural Pressure Release 

will take from 12 to 30 minutes. 

During this time cooking continues, 

so it is recommended for certain cuts 

of meats and some desserts. When 

pressure is fully released, the float 

(pressure indicator) will drop and the 

lid will unlock to open.

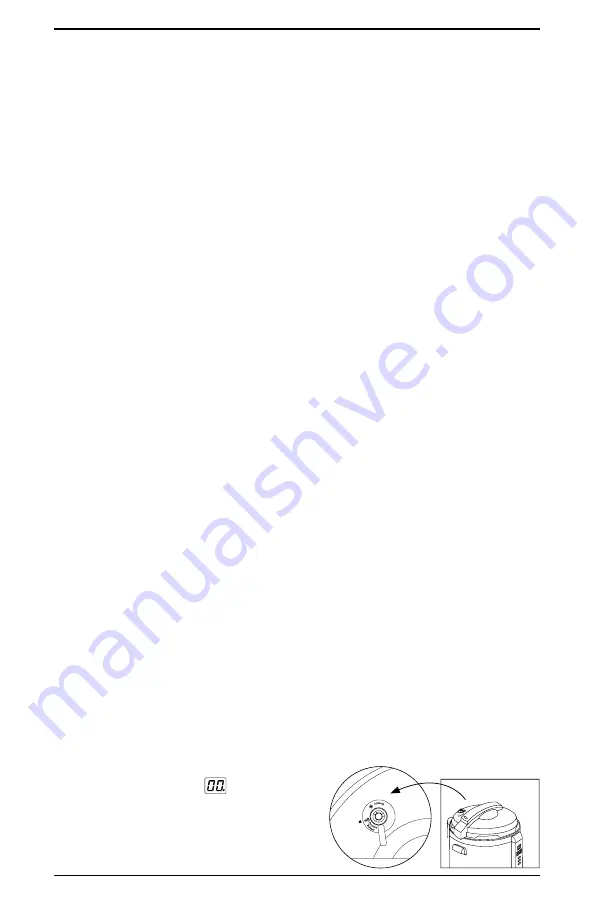
  2. Quick Pressure Release – Following 

pressure cooking you will hear a 

series of beeps indicating the process 

is finished. Turn off and pull the 

handle of the pressure limit valve 

forward (see figure 6). 

Do not touch 

with your hand. Use tongs or 

another tool. 

7.

Summary of Contents for CPC-610XA

Page 1: ...For your safety and continued enjoyment of this product always read the instruction booklet carefully before using Instruction Recipe Booklet Pressure Cooker Plus CPC 610XA ...

Page 2: ...a heated oven or any stovetop Extreme caution must be used when moving the Pressure Cooker Plus containing hot liquids or foods Do not use this appliance for other than intended use This appliance cooks under pressure Improper use may result in scalding injury Make certain unit is properly closed before operating See Operating Instructions page 6 Do not fill unit over 60 full When cooking foods th...

Page 3: ...the risks resulting from becoming entangled in or tripping over a longer cord Extension cords may be used if care is exercised in their use If an extension cord is used the marked electrical rating of the extension cord must be at least as great as the electrical rating of the appliance and the longer cord should be arranged so that it will not drape over the countertop or tabletop where it can be...

Page 4: ... Pressure Indicator D Lid E Push Rod F Sealing Ring G Sealing Ring Supporting Cover H Rubber Grommet I Cooking Pot J Condensation Collector K Upper Ring L Handle M Control Panel N Outer Body O Heating Plate P Power Cord Q Steam Basket R Trivet Used for some recipes such as desserts See Recipe Booklet R J Q ...

Page 5: ... to quickly soften vegetables in a small amount of fat or liquid without browning and to cook items such as rice Arborio brown Carnaroli white etc for pilafs and risottos Sautéing reduces the time it takes full pressure to build and pressure cooking to begin 5 High Slow cook This is the setting to use when you don t have time for a long slow cook It s also the setting to select when baking in your...

Page 6: ...ried vegetables and beans or rice and grains the total volume must not exceed 1 2 12 cups capacity figure 4 NOTE Overfilling may clog the pressure limit valve which can cause excess pressure to develop Always use at least cup liquid when pressure cooking 3 If sealing ring assembly has been removed from lid check to ensure flexible ring is securely in place on the metal plate Then holding the knob ...

Page 7: ... cooker automatically shifts to Keep Warm temperature The Keep Warm light will turn on and unit will beep to indicate cooking is complete NOTE The Keep Warm setting should not be used for more than 12 hours The quality or texture of the food will begin to change after 1 hour on Keep Warm In the Keep Warm setting a little condensation in the upper ring is normal To Reset or Cancel Users can reset t...

Page 8: ...utes needed for steaming Time increases in 1 minute increments Place trivet inside cooking pot Add 2 cups of water Top of trivet should be above water Place steaming tray on top of the trivet Place food inside steaming tray ensuring food is evenly spaced to allow steam to circulate Close and secure lid and leave the pressure valve in the open position Press start SAFETY FEATURES There are seven sa...

Page 9: ...replace pressure limit valve 6 To clean sealing ring assembly carefully remove flexible sealing ring and clean with a dampened cloth or micro fiber cloth Do not use chemical cleaners Wash metal plate with warm water dry thoroughly and replace sealing ring 7 To clean the rubber grommet in center of sealing ring assembly carefully remove it clean it and replace it 8 Replace sealing ring assembly in ...

Page 10: ...and arrow is directly above the lock icon Air escapes from the float valve Food stuck on the sealing ring of the float valve Clean the sealing ring The sealing ring on the float wore out Replace the sealing ring The float will not rise The pressure limit valve is not placed properly See Unpacking Instructions page 6 Not enough food and water Check recipe for proper quantity Air escaping from the r...

Page 11: ...rough Rd Frenchs Forest NSW 2086 Australia Visit our Website www cuisinart com au Printed in China Trademarks or service marks of third parties referred Printed in China to herein are the trademarks or service marks of their respective owners cuisinart com au ...

Reviews: