6. Installation
PNEG-240
Chain Feeding System
27
Installing the Chain (Continued)
Distribute the bundles of chain around the feeding circuits. Cut the metal bands so that each 25' length of
chain is ready to unroll. Work the leading end out of one length of chain through the hopper and starting
at the incoming side of the power unit. Make sure the chain is properly placed under the feed intake wheel,
over the top of the power shoe and under the drive sprocket.
IMPORTANT:
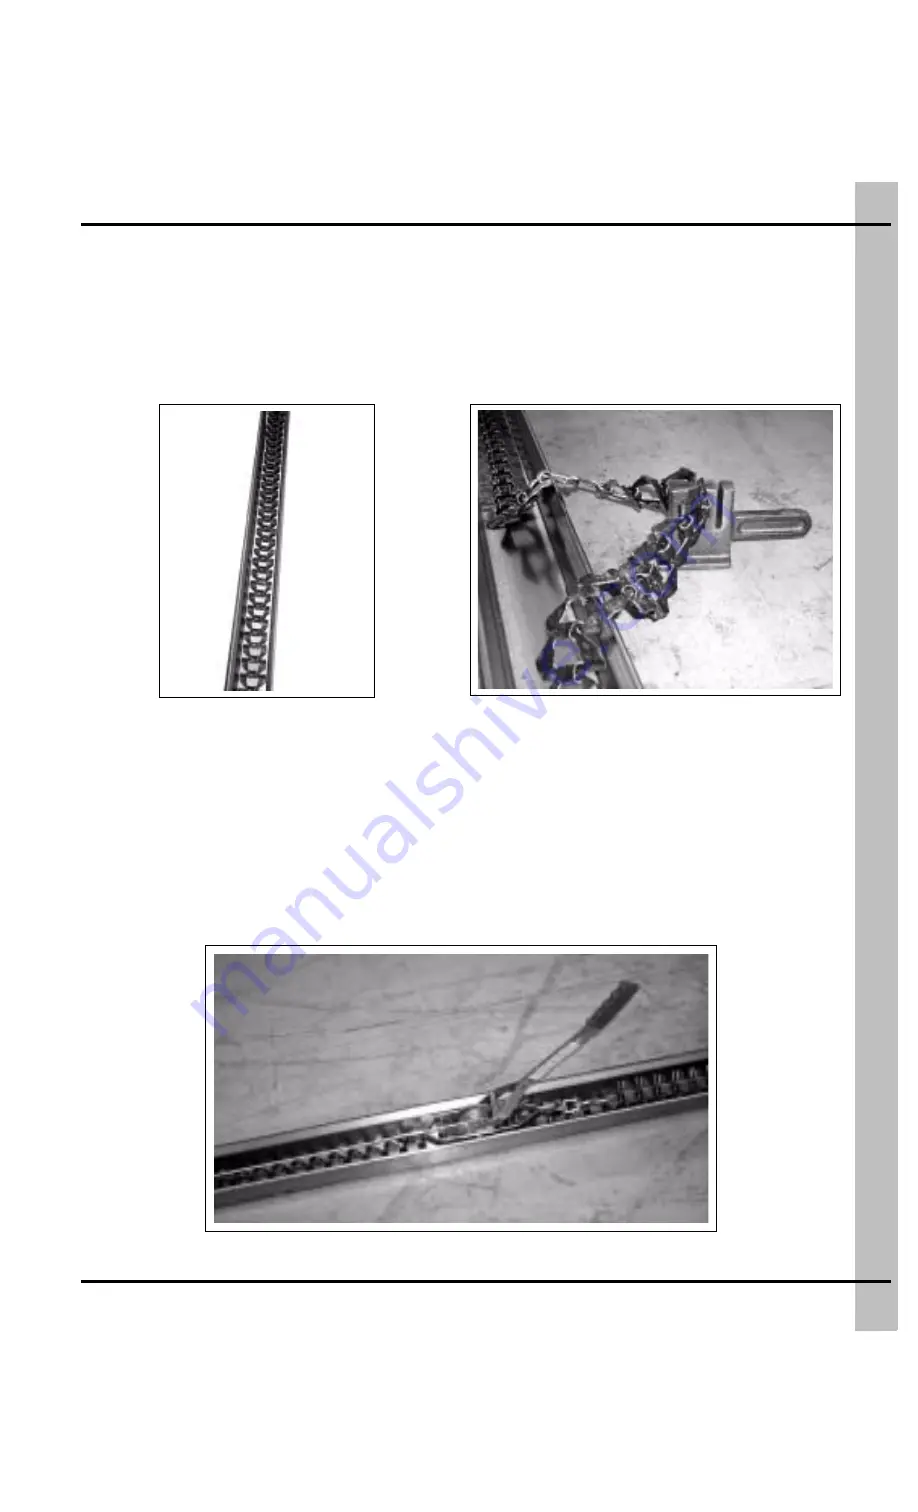
The hook end of the chain must lead and the open part of the hook must be down.
Figure 6L
Figure 6M
Work the chain through the hopper and out into the trough at the outgoing side about 10'. After this first
length of chain is through the hopper, unroll another length at the tail-end of the first one. Place the chain
in the trough and connect the two (2) pieces, using a chain breaker. Connecting one length at a time,
lay the chain flat in the trough and thread the chain around the corners as you go. When the circuit is
complete, manually pull the chain as tight as possible. The chain breaker is also used to disconnect links.
To tighten the chain you can use a ratchet cable puller. If the chain is properly tightened you should only
be able to lift the chain to the top of the trough after the trough has been loaded with feed. After several
days, slack might have to be removed from the chain again. This could be repeated several times at
the beginning.
Figure 6N


