6. Installation
PNEG-240
Chain Feeding System
31
Suspending the System (Continued)
Check the feeder for levelness. Use a spirit level to adjust the hopper. The trough may be easily leveled
by adjusting the cable locks until all troughs are level. Make certain the trough is as straight and level as
possible. Although the chain will distribute the feed satisfactorily when the trough is not aligned, it could
cause unnecessary wear.
IMPORTANT:
Check that you removed the small screw from the air vent hole on the gear reducer.
Check the level of oil in the gear reducer and if needed, using reducer lubricating oil.
Check the entire feeding circuit(s) making sure the chain is lying flat and that there are no foreign objects
in the trough or hopper. Proper direction of chain travel is important.
Check to see that the shear pin is in place. Double check the motor rotation and line voltage.
With the hopper EMPTY, briefly start and stop the motor. Run the feeder for short periods.
Checking Out the System
The shear pin on the power sprocket is held in place by an allen set screw. If a shear pin breaks, FIRST
SHUT OFF THE ELECTRICAL POWER TO THE FEEDER. THIS IS FOR YOUR PROTECTION. Find
the cause of the breakdown and correct it by referring to the “troubleshooting guide”. Once the trouble has
been located and corrected, loosen the set screw holding the broken shear pin and remove the pieces.
Move the drive belt by hand until any one of the four (4) holes in the power sprocket lines up with the hole
in the shear pin receptacle. Insert a new shear pin and firmly tighten the set screw. The feeder may be
re-started.
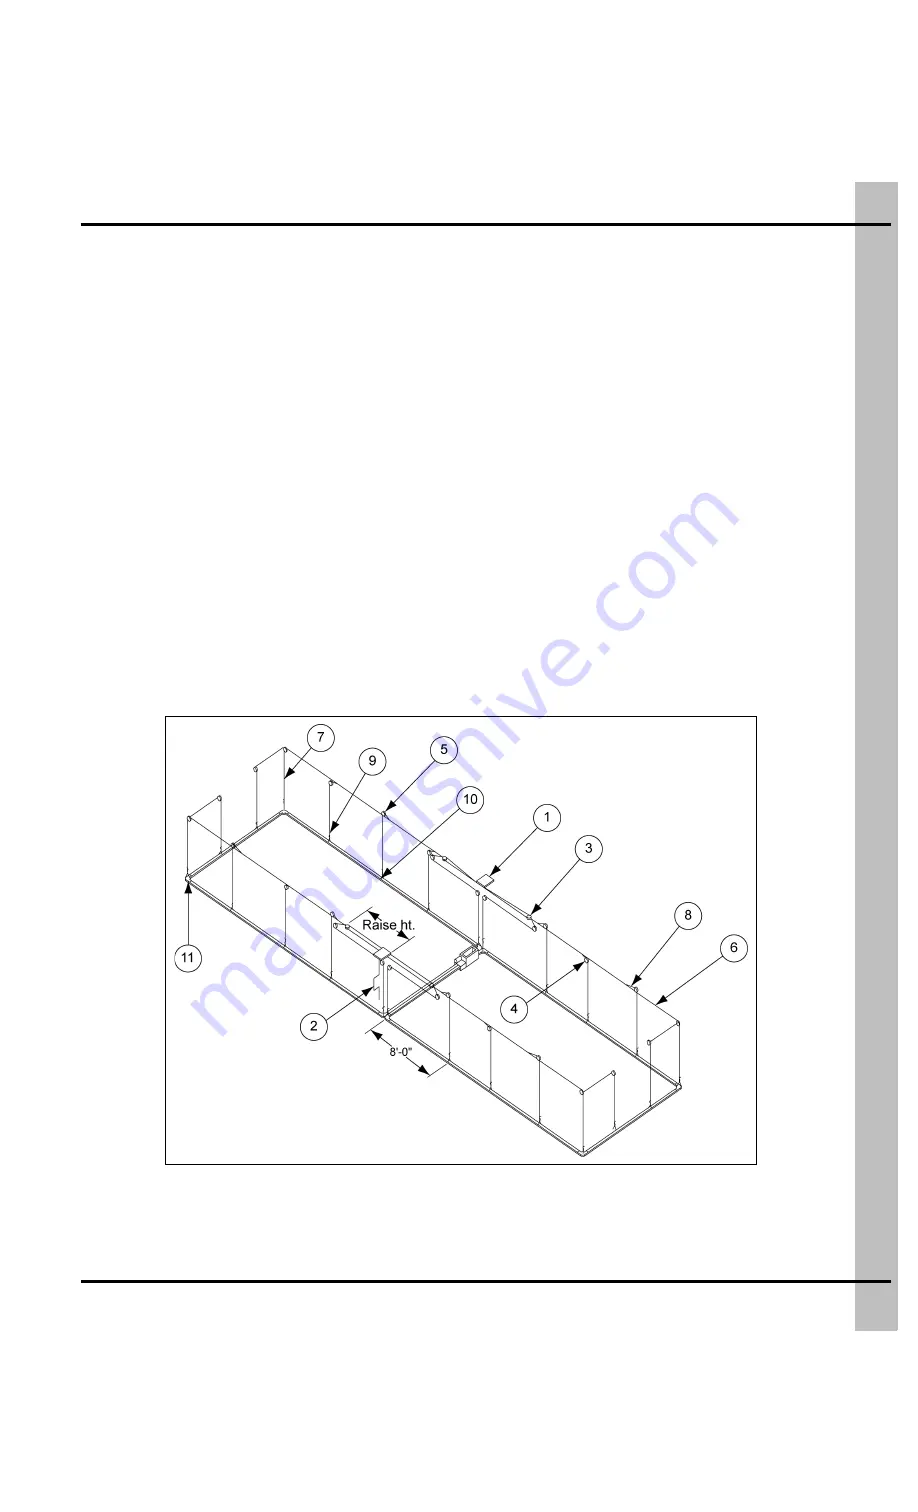
Figure 6R
NOTE:
Shear pins for this feeder are fabricated from 3/16" steel. YOU SHOULD NOT USE SUBSTITUTE
SHEAR PINS UNDER ANY CIRCUMSTANCES. Be sure to remove broken shear pins from the
trough because it can lock up the corner wheels.


