15
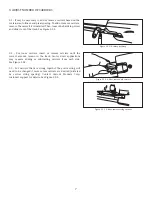
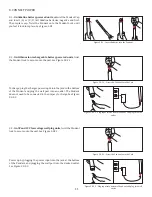
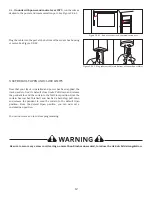
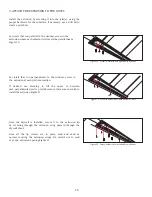
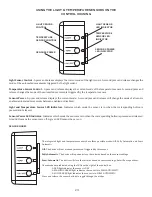
Figure 10 - Screw in extrusion on a parallel joist beam
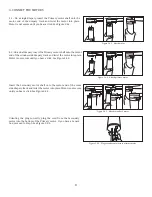
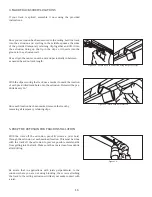
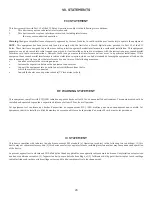
Figure 11 - Screw in extrusion to perpendicular joists
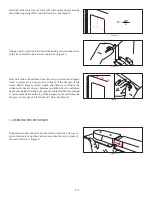
3. ATTACH THE EXTRUSION TO THE JOISTS
Install the extrusion by screwing it into the joist(s), using the
proper hardware for the substrate. If necessary, use a drill bit to
create a pilot hole.
For joists that run parallel to the window, screw in the
extrusion where each adjacent joist meets the parallel beam
Figure 10.
For joists that run perpendicular to the window, screw in
the extrusion at each joist intersection.
If desired, use blocking to fill the space in between
each
perpendicular joist to provide more surface area on which to
install the extrusion
Figure 11.
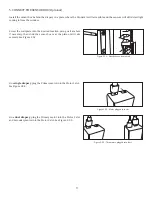
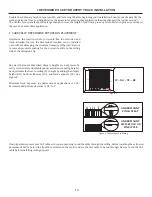
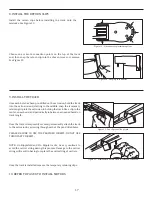
Once the drywall is installed, secure it to the extrusion lip
by screwing through the extrusion wing upward through the
drywall sheet.
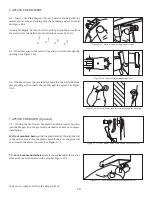
Once all the lip screws are in place, mud and sand as
normal, covering the extrusion wings. Be careful not to mud
over the extrusion openin
g Figure 12.
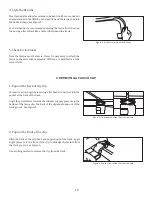
Figure 1
2
- Secure extrusion to installed drywall sheet


