


http://
www.cartft.com
, Cool Embedded PCs
1.0 Introduction
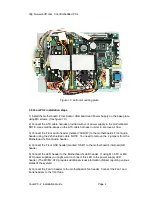
Thank you for purchasing the VoomPC-2 mini-ITX vehicle enclosure!
The VoomPC-2 was designed to work with a wide variety of main boards such as the VIA
mini-ITX boards as well as low power Pentium-M OR Core 2 Duo. Please note that
powering full power P4 or AMD systems is not recommended due to excessive heat
dissipation.
2.0 Required tools
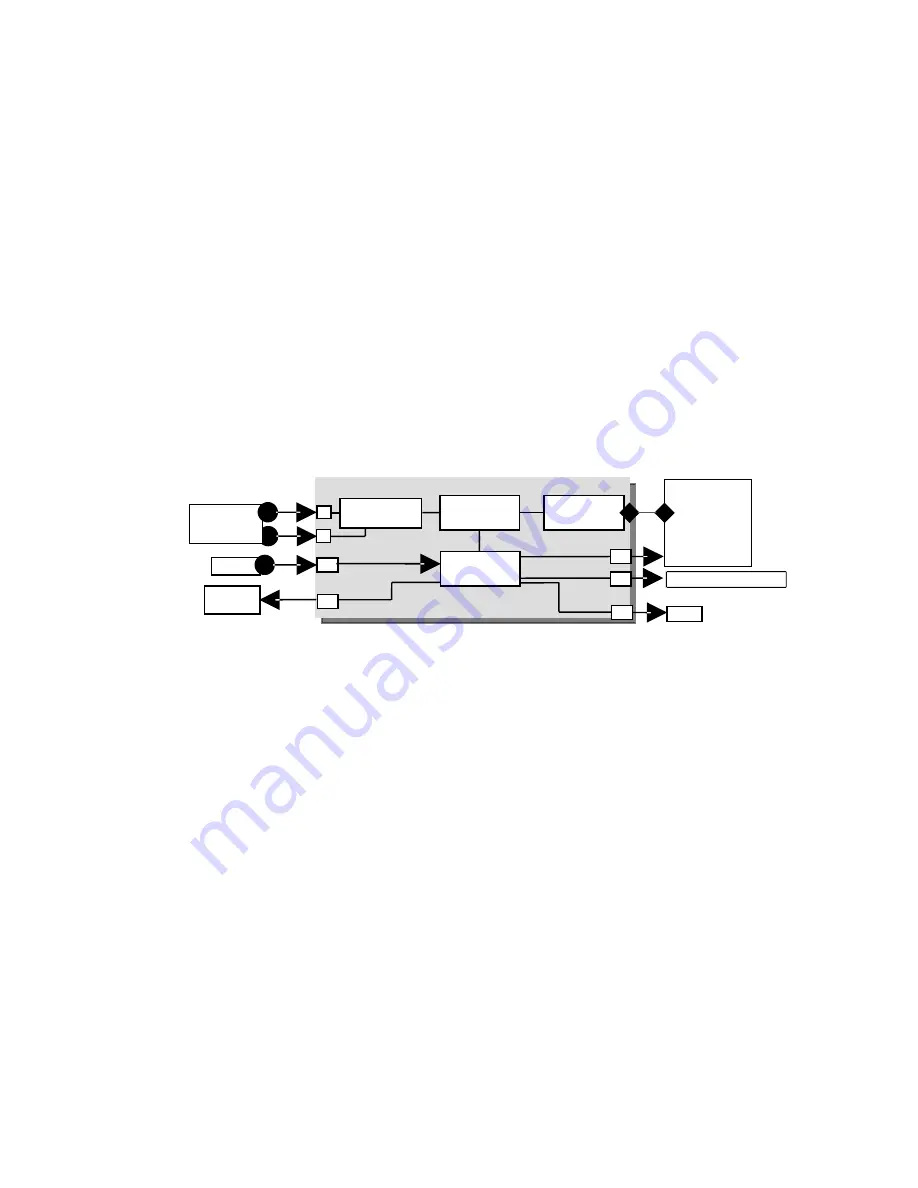
+
i
ic
PC
/
-
SW
+
i
i
GND
Sw tch Log
6-30V ATX PSU
ATX
power
MotherBoard
ON OFF switch
M1-ATX
Battery
Ignition
J6
LED
J4
J2
8b t MCU
Amplifier
Enable
J8
Reverse and
forward protect on
Optional On/OFF switch
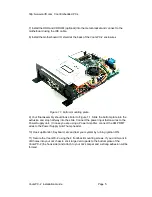
In order to install the VoomPC-2 in your vehicle you will need the following:
-Phillips screwdriver and Wire cutter / stripper
-Few feet of wire (AWG 12-16), preferably color coded, used for power input.
VoomPC-2 Installation Guide
Page 3


