


CD Player
Playing a CD
This CD-player can play Audio Discs, CD-R and CD-
Rewritables. Do not try to play CD-ROM, CDi, VCD,
DVD or computer CD.
1
Adjust the source selector to CD.
Display: shows
Briefly.
2
To open the CD door, lift the CD door at the edge
marked
CLOSE/OPEN
.
3
Insert a CD, CD-R or CD-RW with the printed side
Facing up and press the CD door gently close.
4
Press
on the set to start playback.
5
To pause playback press
. To resume, press
again.
6
To stop CD playback, press
STOP
.
Note: CD play will also stop when:
– you open the CD compartment;
– you select RADIO sound source;
– the CD has reached to the end.
Selecting a different track
During playback you can use
or
to select a
particular track.
• If you have selected a track number in the stop or
pause position, press
to start playback.
• Press
once briefly for the next track, or press
repeatedly until the desired track number appears
in the display.
• Press
once briefly to return to the beginning of
a current track.
• Press
more than once briefly for a previous
track.
Finding a passage within a track
1
Press and hold down
or .
• The CD is played at high speed and low volume.
2
When you recognize the passage you want release
or .
Normal playback resumes.
Different play modes: Repeat
repeat
– plays the current track continuously
repeat all
– plays the entire CD continuously
Programming track numbers
You may store up to 32 tracks in the desired
sequence. If you like, store any track more than once.
1
In the
STOP
mode, press
or
for your desired
track.
2
When your chosen track number appears, press
PROG MODE
once to store the track.
The display shows
prog
and prog briefly
followed by your selected track number.
3
Repeat steps 1 to 2 to select and store all desired
tracks in this way.
4
To play your program, press
.
Reviewing your set program
• In the
STOP
mode, press
PROG MODE
.
Erasing a program
You can erase the contents of the memory by:
– opening the CD door;
– selecting
RADIO
source;
– pressing (twice during playback or in the stop
Position)
The display shows your stored track numbers
in sequence.
- -
Precautions & General Maintenance
• Place the set on a hard and flat surface so that the
system does not tilt.
• Do not expose the set, batteries or CDs to
humidity, rain, sand or excessive heat caused by
heating equipment or direct sunlight.
• Do not cover the set. Adequate ventilation with a
minimum gap of 6 inches between the ventilation
holes and surrounding surfaces is necessary to
prevent heat build-up.
• The mechanical parts of the set contain self-
lubricating bearings and must not be oiled or
lubricated.
• To clean the set, use a soft dry cloth. Do not use
any cleaning agents containing alcohol, ammonia,
benzene or abrasives as these may harm the
housing.
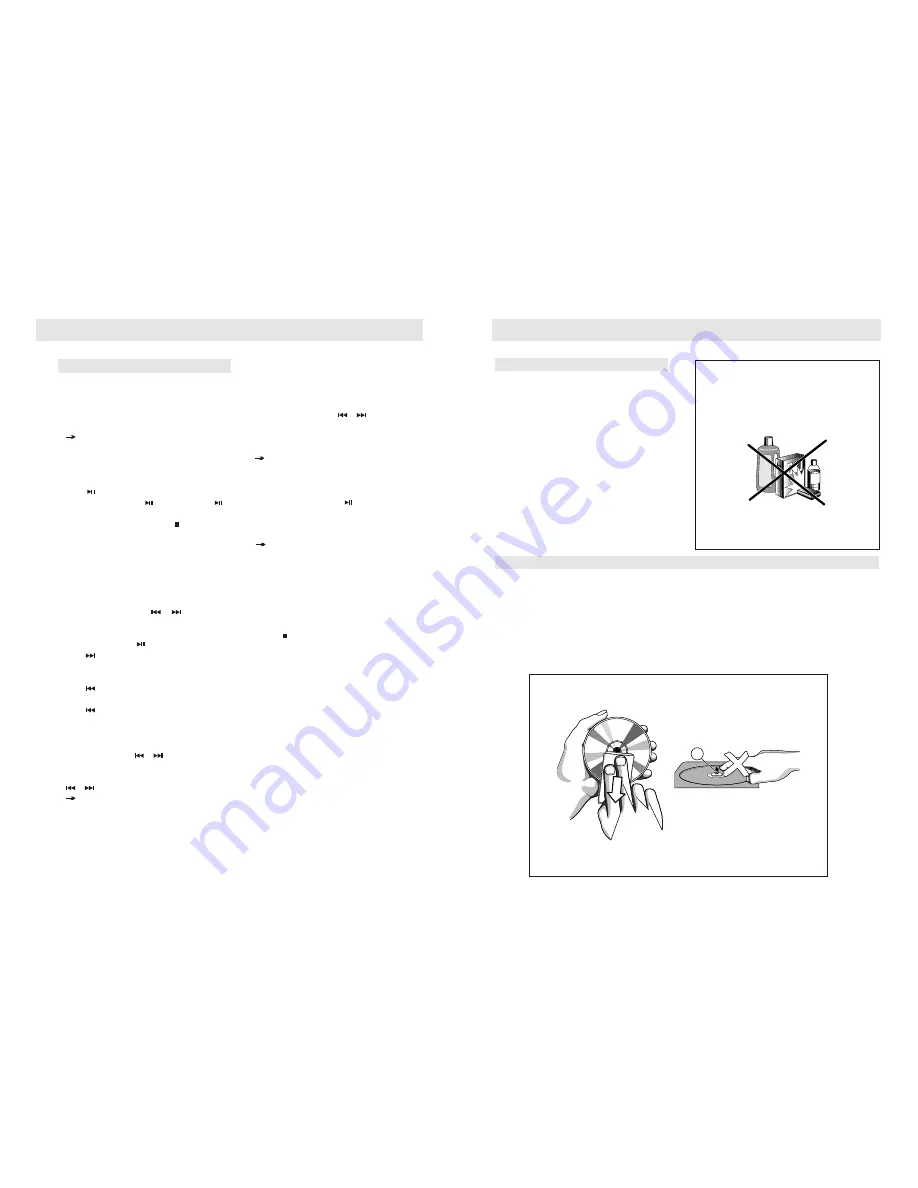
CD player and CD handling
• The lens of the CD player should never be touched!
• Sudden changes in the surrounding temperature can cause condensation to form and the lens of your CD player to
cloud over. Playing a CD is then not possible. Do not attempt to clean the lens but leave the set in a warm environment
until the moisture evaporates.
• Always close the CD door to keep the CD compartment dust-free. To clean, dust the compartment with a soft dry cloth.
• To clean the CD, wipe in a straight line from the center towards the edge using a soft, lint-free cloth. Do not use cleaning
agents as they may damage the disc.
• Never write on a CD or attach any stickers to it.
MAINTENANCE & SAFETY
X
CD PLAYER
8
9


