Storing Caller ID Records into the DIRECTORY (PHONE BOOK)
1.
Press the SCROLL UP or DOWN button to find the record you wish to
store into the DIRECTORY (PHONE BOOK).
2.
Press and hold the
Re/Pa/Save
button.
3.
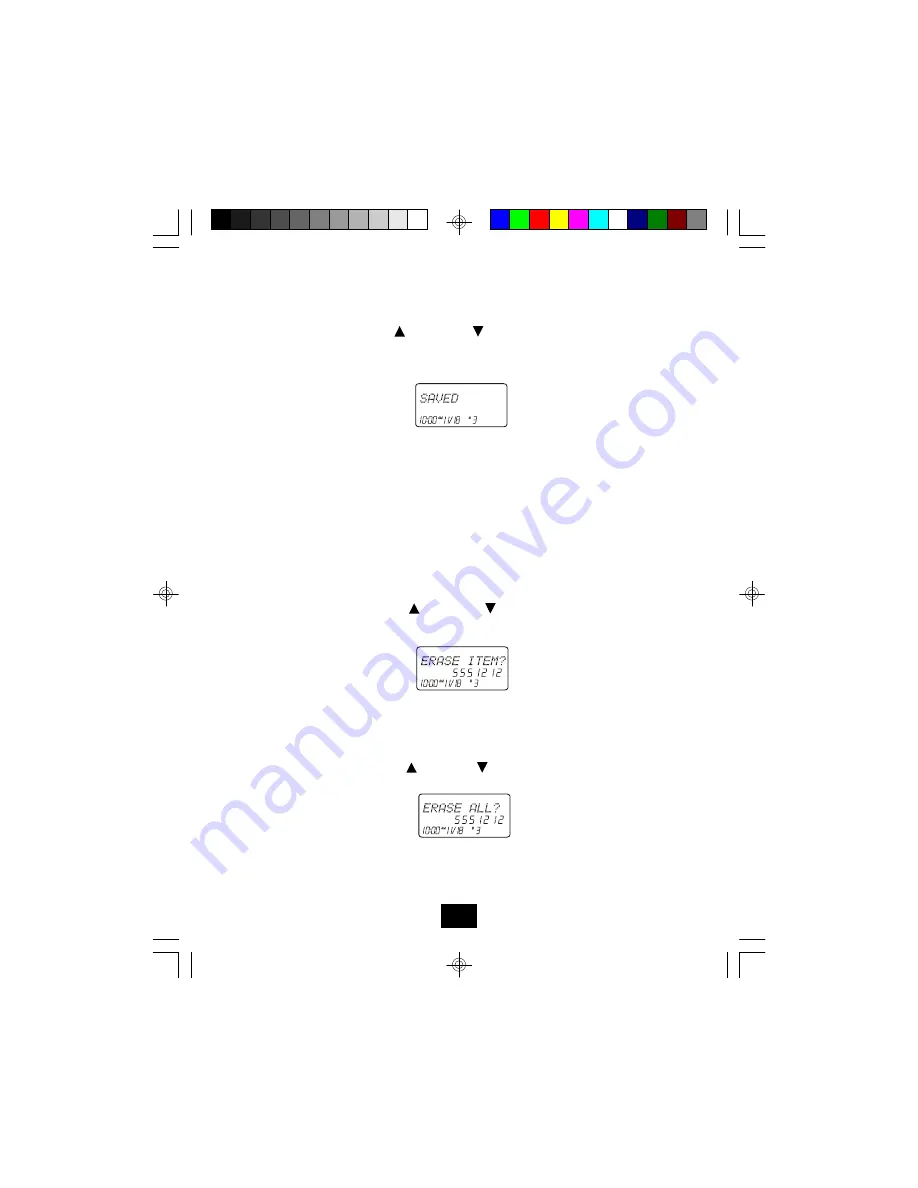
The display will show “SAVED.”
4.
If you wish to edit the newly stored number, edit it in the DIRECTORY
(PHONE BOOK) (page 19, “Editing a Stored Number”).
5.
Press the
Dir
button to return to STANDBY mode.
Note:
When numbers are stored into the DIRECTORY (PHONE BOOK), a “1” is
inserted in front of the number. If you must dial a 10-digit number for local calls, you
must edit the number to exclude that digit to dial out correctly.
Deleting Caller ID Records
When viewing the Caller ID information you can delete a single call record or all of the
call records.
Deleting a Single Record
1.
Press the SCROLL UP or DOWN button to find the record you wish to
delete.
2.
Press the
Scan/Del
button. The LCD Screen will display “ERASE ITEM?”
3.
To delete the record, press the
Scan/Del
button again. The LCD Screen will
show “ERASED.”
4.
Press the
Dir
button to exit the Caller ID list.
Deleting All Records
1.
Press the SCROLL UP or DOWN
Caller ID System Operation
16
button.
2.
Press and hold the
Scan/Del
button. The LCD Screen will prompt “ERASE ALL?”
3.
To delete all of the Caller ID records, press the
Scan/Del
button. The LCD
Screen will show “ALL ERASED” and then return to STANDBY mode.


