B
OPERATING PROCEDURES
Read all of SAFETY and this section before attempting any procedure. Pay particular attention to Notices, Cautions, Warnings and Dangers.
19
Owner’s Guide
LED Fault Codes
•
RED FLASH: The light turns on quickly, and does not flash after that - check for valid AC voltage.
•
ONE RED FLASH: One flash, a pause, and another flash and a pause
- Charge Enable Fault: Bad contact in the DC connector or dirty contacts.
- Battery Temperature Fault: Battery temperature is more than 122° F (50° C) or less than 14° F (-10° C).
•
TWO RED FLASHES: Two flashes, a pause and another two flashes and a pause
Battery Voltage Fault: The battery pack is less than 48.0 Volts or more than 67.2 Volts. The battery pack is dis-
charged too much or over charged for the charger to operate.
•
THREE RED FLASHES: Three flashes, a pause and another three flashes and a pause
Battery Charge Time-out: Charge time more than 24 hours. This fault can indicate a problem with the battery
pack or that the charger output electric current decreased because of high ambient temperatures.
•
FOUR RED FLASHES: Four flashes, a pause and another four flashes and a pause
Battery Fault: Charge time exceeded. This fault indicates that the battery pack voltage did not reach the neces-
sary minimum level within the maximum time allowed.
•
SIX RED FLASHES: Six flashes, a pause and another six flashes and a pause
Charger Fault: A fault inside the charger was sensed. Disconnect the charger DC power cord and connect
again. If the fault is sensed after that, take the charger to an approved service center.
To decrease the risk of electrical shock or electrocution, make sure that the charger plug is not
damaged and is correctly connected to a grounded outlet.
The power AC cord has a plug with a ground post. Do not remove, cut or bend the ground post.
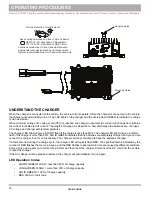
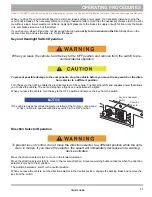
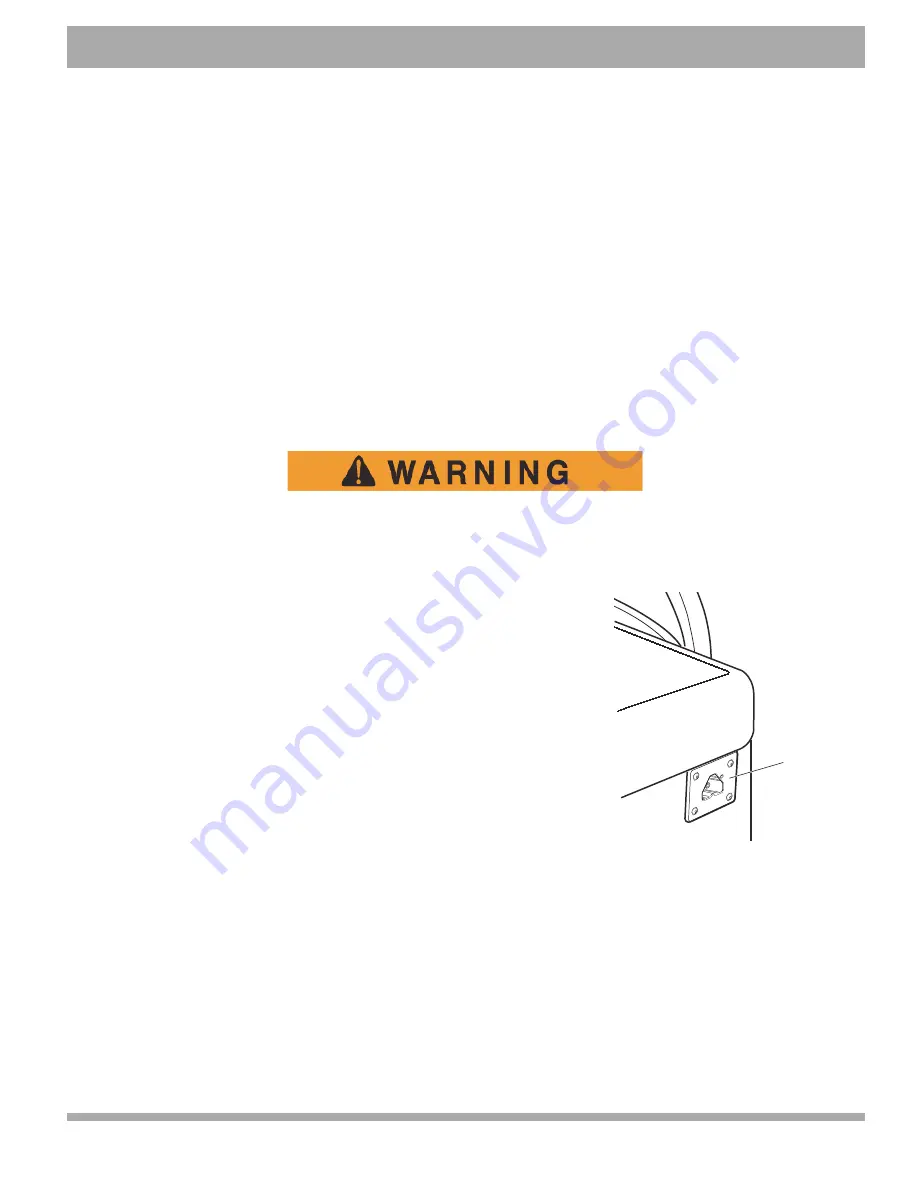
The charger DC cord has a polarized connector which fits into a receptacle on
the vehicle. The receptacle is found on the driver side of the vehicle below the
seat.
HOW TO USE THE CHARGER
The charger can stay connected to the AC outlet after the charge cycle is com-
plete.
To charge the vehicle, refer to the instruction labels on the charger.
Completely connect the DC plug into the vehicle receptacle. The charger will
automatically start seconds after the plug is in position. The charger will automat-
ically stop when the batteries are charged. Remove the DC plug before you
operate the vehicle.
CHARGER MAINTENANCE
1.
Make sure the charger connections to the battery terminals are tight and clean. Check for damage or cracks in the
plastic parts.
2.
Inspect the charger harness for wear and check the areas that contact other components. Inspect all wires for wear,
loose terminals, corrosion or damage to the insulation.
3.
Clean dirt and any other particles from the cooling fins. Keep the charger away from oil, dirt and mud. Do not allow
water to spray on the charger when you clean equipment.
4.
Inspect the plug of the battery charger and the vehicle receptacle housing for dirt or dust. Clean a minimum of once
a month.
Charger
Receptacle
Summary of Contents for Hauler 800XE
Page 1: ...OWNER S GUIDE 642988 B HAULER 800XE REVISED FEBRUARY 2016 ISSUED FEBRUARY 2015...
Page 61: ......
Page 62: ......

