17
ABPM with custo screen 300 and custo diagnostic | GEB 0154 – DK 1055 | Version 002 – 05.06.2013 | custo med GmbH
03.4
Device connection and configuration
Precondition:
custo diagnostic must be installed on your PC.
The infrared interface custo com IR must only be connected to the PC after
custo diagnostic has been installed. The device drivers for custo com IR are
integrated in the custo diagnostic standard setup.
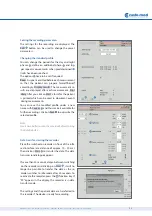
Connecting and configuring the infrared interface custo com IR
Connect custo com IR to the PC. The device drivers are installed automatically.
Find out which COM port is assigned to custo com IR in the device manager
and then enter it in custo diagnostic.
To do so, on your Windows interface right-click on My Computer, then in the
context menu click on Manage, and select Device Manager (left side of the
window). In the right side of the window open Ports (COM and LTP) and make
a note of the port assigned to custo com IR, e.g. (COM2).
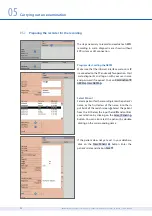
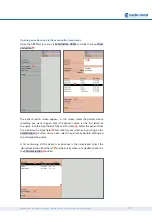
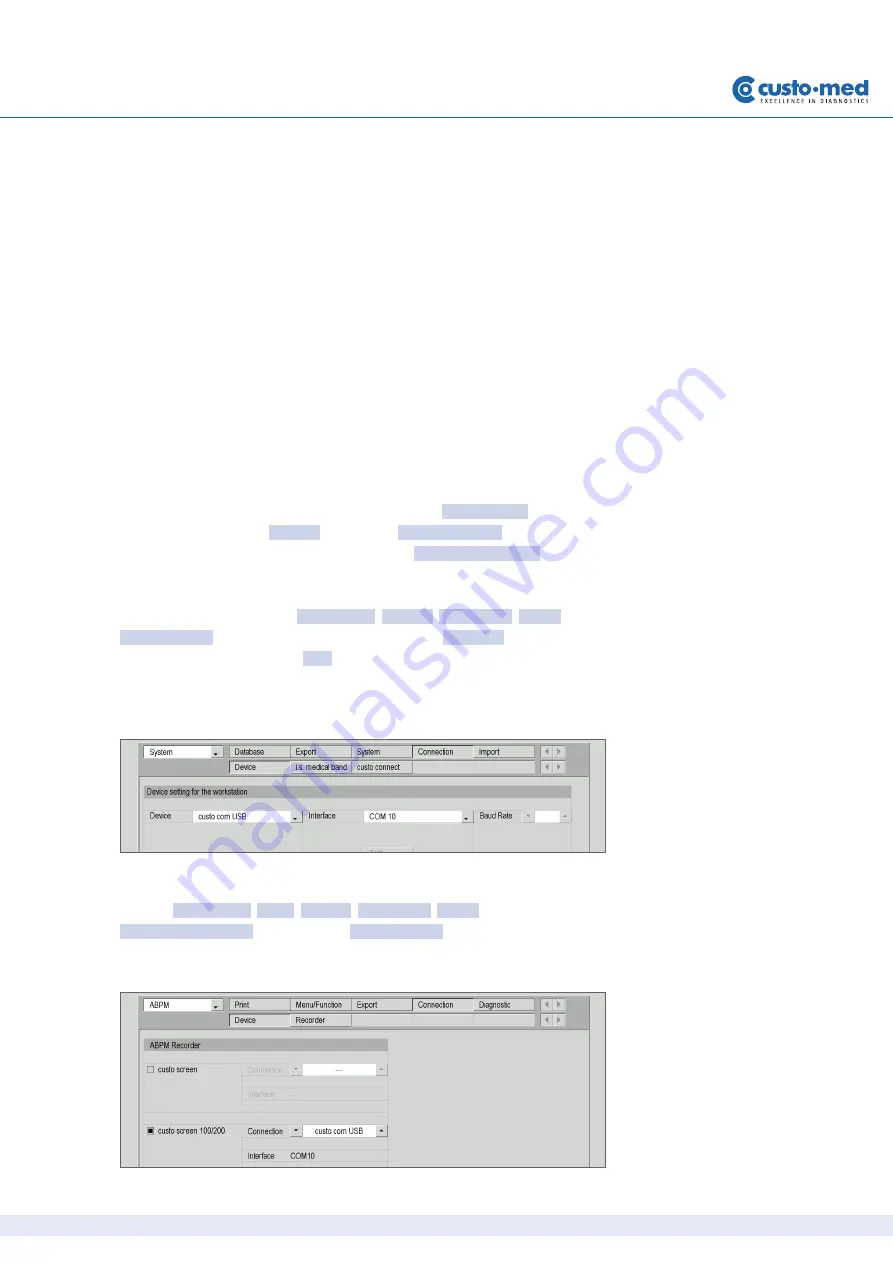
In custo diagnostic, click on Examination, Settings, Connection, Device. Select
custo com USB as the device and the corresponding COM port as the port from
the Device Manager. Click on Save to save your input.
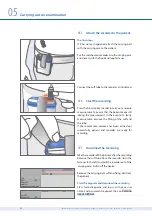
Checking the connection of custo screen 300
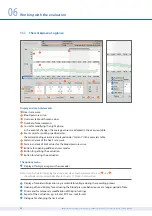
Click on Examination, ABPM, Settings, Connection, Device.
custo screen 100/200 is enabled and custo com USB is entered as the port.
Your device is ready for operation.
custo screen 300 used in
combination with existing
software and hardware
New recorder with legacy soft-
ware (Version 3.8.4 and older)
If you do not want to carry out a
custo diagnostic setup, manual
driver installation must be carried
out for the infrared interface custo
com IR. Contact your authorised
custo med dealer.
Use of other infrared interfaces
custo screen 300 can also be
connected to your PC via older
infrared interfaces such as custo
com USB or JetEye.
The method of connecting and con-
fi guring custo com USB is exactly
the same as for custo com IR.
Summary of Contents for custo screen 300
Page 2: ......

