25
ABPM with custo screen 300 and custo diagnostic | GEB 0154 – DK 1055 | Version 002 – 05.06.2013 | custo med GmbH
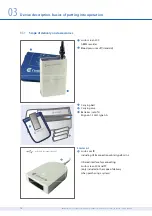
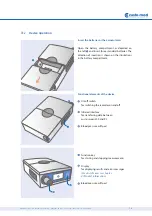
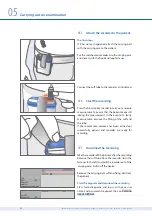
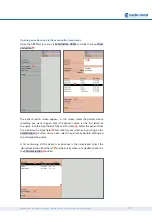
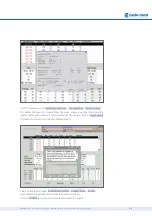
Place the switched-on recorder in front of the infra-
red interface (at a distance of approx. 10 – 20 cm).
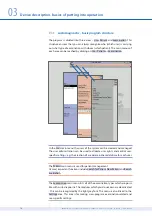
Then click on Download Data to transfer the data.
The data transmission dialogue appears.
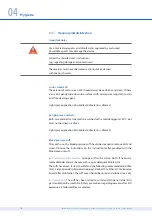
If more than 30 seconds elapse between switching
on the recorder and clicking on Download Data
it will no longer be possible to transfer the data as
the recorder switches to idle mode after 30 seconds.
To reactivate the recorder, press the function key.
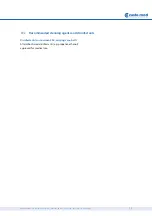
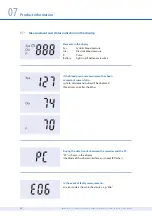
If “PC” appears in the display, the recorder is in data
transfer mode.
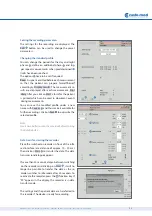
After the download the evaluation is displayed
automatically.
05.6
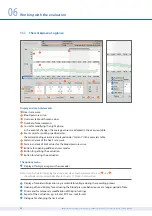
Check the evaluation
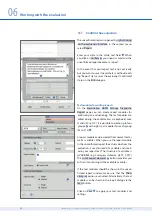
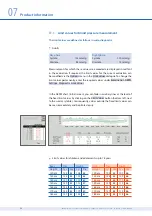
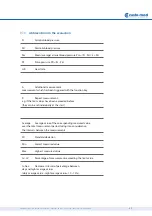
Check if and how many faulty measurements have
occurred. In the Options menu click on Faulty Meas-
ure.... You can see from the error codes which
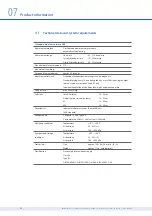
kind of disorder has occurred. In the Options menu,
under Recorder Info you can check the accumulator
voltage
during the recording process. By click-
ing on the Chart button you can get back to the
evaluation.
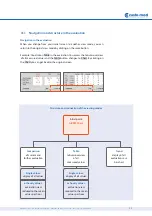
Printing the evaluation
By clicking on the Print button you can print the
evaluation according to the system settings.
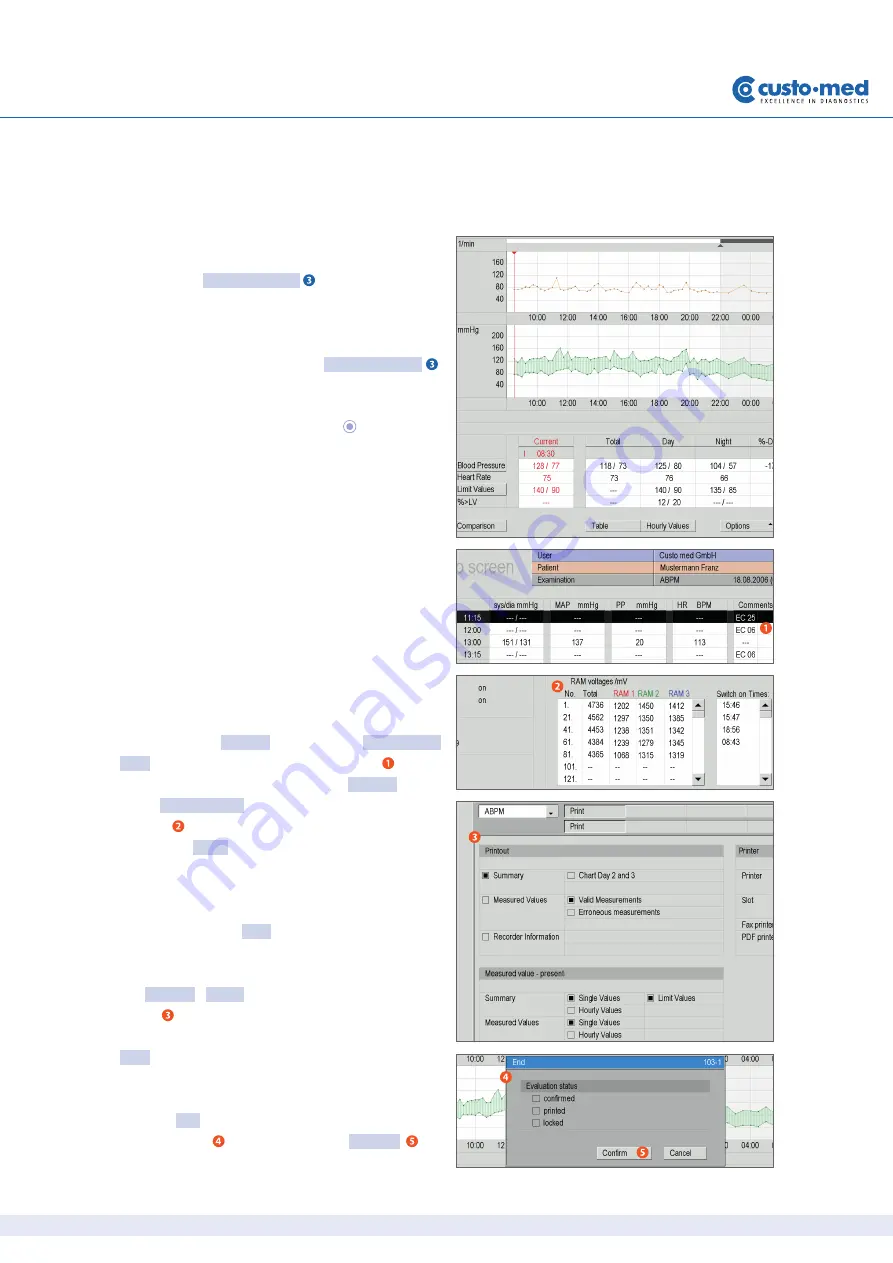
Via Options, Print... you can access the printing
menu
. There, you can compile the contents for
a printout individually. The printout is started with
Print.
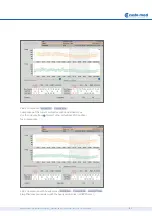
Ending the evaluation
Click on End in order to close the evaluation. The
end dialogue appears. Click on Confirm to
close the evaluation.
Summary of Contents for custo screen 300
Page 2: ......

