background image

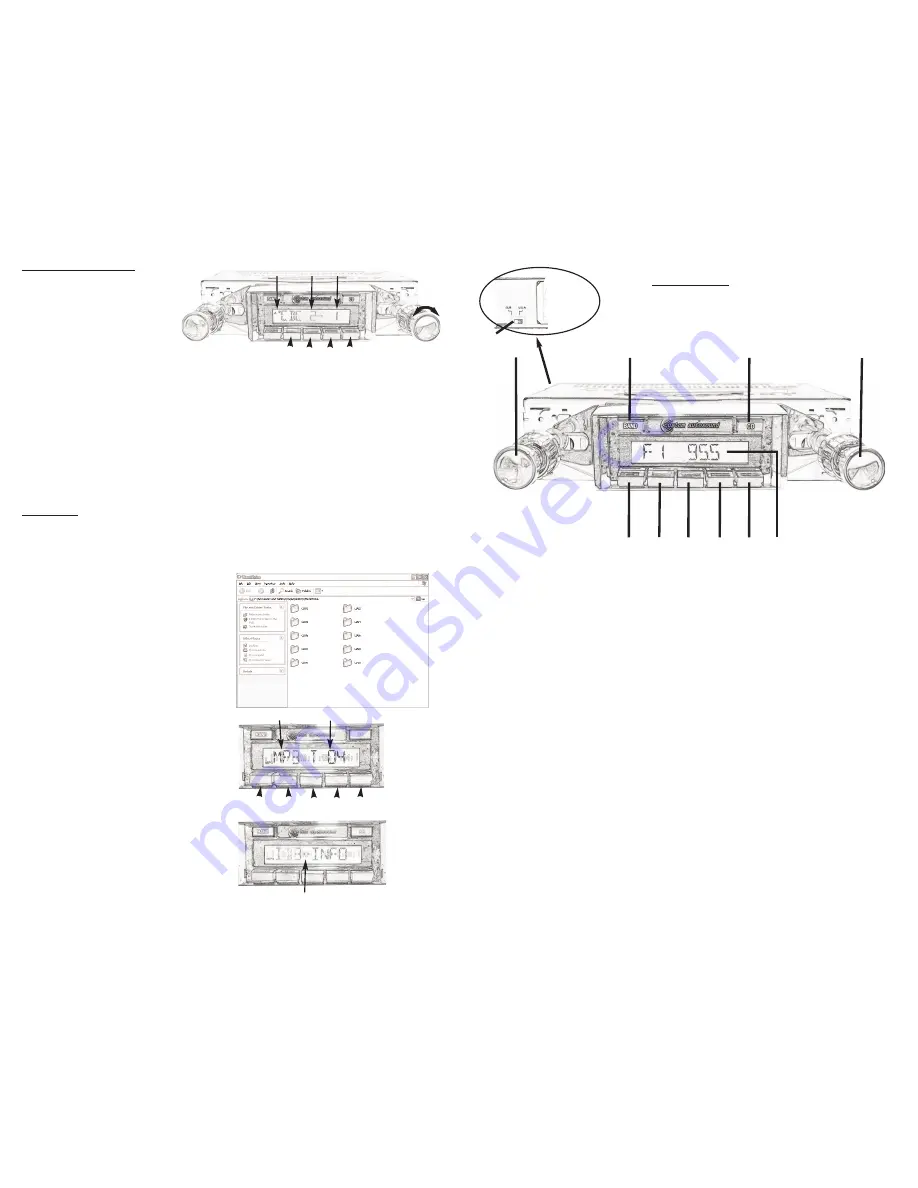
1   PUSH-POWER ON/OFF -- TURN VOLUME CONTROL  
2.  AM/FM1/FM2/FM3 BAND SELECT  
3.  CD / AUX-IN / USB PLAYER / RADIO SELECT  
4.  SEEK/MANUAL UP-DOWN TUNING CONTROL / TRACK UP-DOWN / CLOCK ADJUST

PUSH SELECT FUNCTION CONTROL

5.  ID3 / TIME/FREQUENCY RECALL BUTTON
6.  CD DISC UP / USB FOLDER UP/ RADIO PRE-SET 1
7.  CD DISC DOWN / USB FOLDER DOWN / RADIO PRE-SET 2
8.  CD TRACK UP / USB TRACK UP / RADIO PRE-SET 3
9.  CD TRACK DOWN / USB TRACK DOWN / RADIO PRE-SET 4
10. ID3  / FREQUENCY DISPLAY / CLOCK
11. USA / EUROPE FREQUENCY CHANGE

6

9

1

2

3

4

5

6

7

8

9

10

11

CONTROLS

fig.2

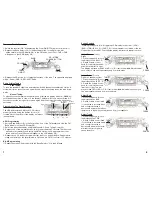
CD Changer Operation

This radio is only compatible with the
Custom Autosound USA-CD10 10
disc changer.

1.

With CD magazine in place in

changer, press the CD button (3)
Until CDC is displayed on the
LCD.  

2.

To select a disc press CD up (6) or CD down (7) until the desired disc number is

shown on the the LCD display (10).

3.

To fast forward through a track, press button (8) track up and hold. Release when you

reach the desired section.

4.

To fast rewind through a track, press button (9) track down and hold. Release when

you reach the desired section.

5.

To skip to the next track, turn knob (4) clockwise .To go to the previous track, turn 

. . .

knob (4) counter clockwise.

6.

To change the mode to another source, press the CD button until the desired source

is shown on the LCD display (10).

CD 

Indicator

Disc

Number

Track

Number

Disc

Up

Disc

Down

Track

Up

Track

Down

Track

UP/Down

TURN

USB Player

The USB decoder is compatible with 

MP3

(MPEG Audio Layer-3) and 

WMA

(Windows

Media Audio) files.  It is preferable to set up your flash drive/thumb drive with a folder
system. This way you can advance to another set of songs (folder) by pressing the disc
up or disc down buttons. Similar to having multiple disc in a CD changer.

1

. Insert your flash drive/thumb drive into the

USB jack (located on 18” extension from the
back of radio).

2.

Press the CD button until USB PLAY is

displayed on the screen.  The radio will auto-
matically start playing your files starting with
the first file on the flash drive.

3.

To change songs use the track up or track

down buttons (8)(9). Use the disc up disc
down buttons (6)(7) to change folders if your
drive is set up with folders.

4.

To view the MP3/WMA song ID-3 informa-

tion press the Menu button (5). The display
will change from (TIME---FILE NAME---
ARTIST---ALBUM). If there is no ID-3 informa-
tion in the file the display will say NO ID3.

Note: The folder name or number does not 
appear on the LCD Display. Track numbers 
for songs in the folder are determined by the
order in which they were recorded to the 
flash drive.

The player will not play MP4 or files with
copy protection. 

Track #

File Type

Menu

Folder

Up

Folder

Down

Track

Up

Track

Down

ID3 File Information

Summary of Contents for USA-630

Page 1: ...oblems costs incurred for removal or reinstallation of product or damage of tapes speakers accessories or car electrical systems This warranty does not apply to any product or part thereof which has been damaged through alteration mishandling misuse neglect or accident ANY IMPLIED WARRANTY IS LIMITED TO THE DURATION OF THIS WRIT TEN WARRANTY UNDER NO CIRCUMSTANCES SHALL THE COMPANY BE LIABLE FOR A...

Page 2: ...r Type PLL Frequency Range 87 5 108 MHz Image Rejection 50dB Quieting Sensitivity 4uV T H D 1 IF Rejection 60dB AM Section Frequency Range 530 1710KHz S N Ratio 50dB Selectivity 25dB Audio Section Output Channel 60X4 Output Impedance 4ohm per speaker Response 30Hz 18KHz USB File compatibility MP3 WMA General Power Supply 12VDC Negative Ground Speaker impedance 4 8 ohm Stand By Current 0 02A Chassi...

Page 3: ... advised that you do Not return defective units to your dealer There is generally no exchange e g as is standard Electronics Industry Policy Also most dealers do not have radio technicians test benches etc and a return to factory through a dealer can extend turn around times by weeks Please call Custom Autosound requesting technical assistance if a problem occurs We will gladly trouble shoot advis...

Page 4: ...pe off remaining speaker leads to prevent a short Plug in or wire the red power wire to a switched 12volt source Plug in or wire the orange memory wire to a constant 12volt source Wire the black ground wire to a clean solid chassis point or original ground wire from the factory radio Good Listening Audio quality is only as good as speaker quality 3 12 Antenna Noise A static or crackle heard throug...

Page 5: ...noise using the descriptions under Sources Of Electrical Noise To eliminate the noise follow the procedures described under Elimination of the specific noise source Noise Suppression 1 Check all ground connections Remove paint from painted surfaces to secure a good electrical ground 2 Check battery posts If contacts are corroded or loose clean and tighten both terminals 3 Check battery or add flui...

Page 6: ... will appear on the LCD 2 USA EURO FREQUENCY SELECTOR This feature is used to select how the radio receives signals for either USA or European channel spacing see fig 2 1 Disconnect the main power and the memory power 2 Move the channel space switch to USA position This changes the channel space to 200KHz for FM and 10KHz for AM Move channel space switch to EUR position to change the channel space...

Page 7: ...l the desired source is shown on the LCD display 10 CD Indicator Disc Number Track Number Disc Up Disc Down Track Up Track Down Track UP Down TURN USB Player The USB decoder is compatible with MP3 MPEG Audio Layer 3 and WMA Windows Media Audio files It is preferable to set up your flash drive thumb drive with a folder system This way you can advance to another set of songs folder by pressing the d...

Page 8: ... above 2 3 steps to program another station on another button Repeat above steps until 4 stations are programmed in FM 2 and 4 in FM 3 for a total of 12 stations B AM Programming 1 Repeat the steps 2 3 above but with the Band Selector 2 in the AM band 8 BAND TUNING PRESS ON OFF VOLUME CD MODE CHANGE BUTTON Tuner Mode Pre set Number Stereo Indicator pre set 1 pre set 2 pre set 3 pre set 4 fig 4 fig...

Reviews: