CC650
Production / Industrial Hose Crimper
8
Note:
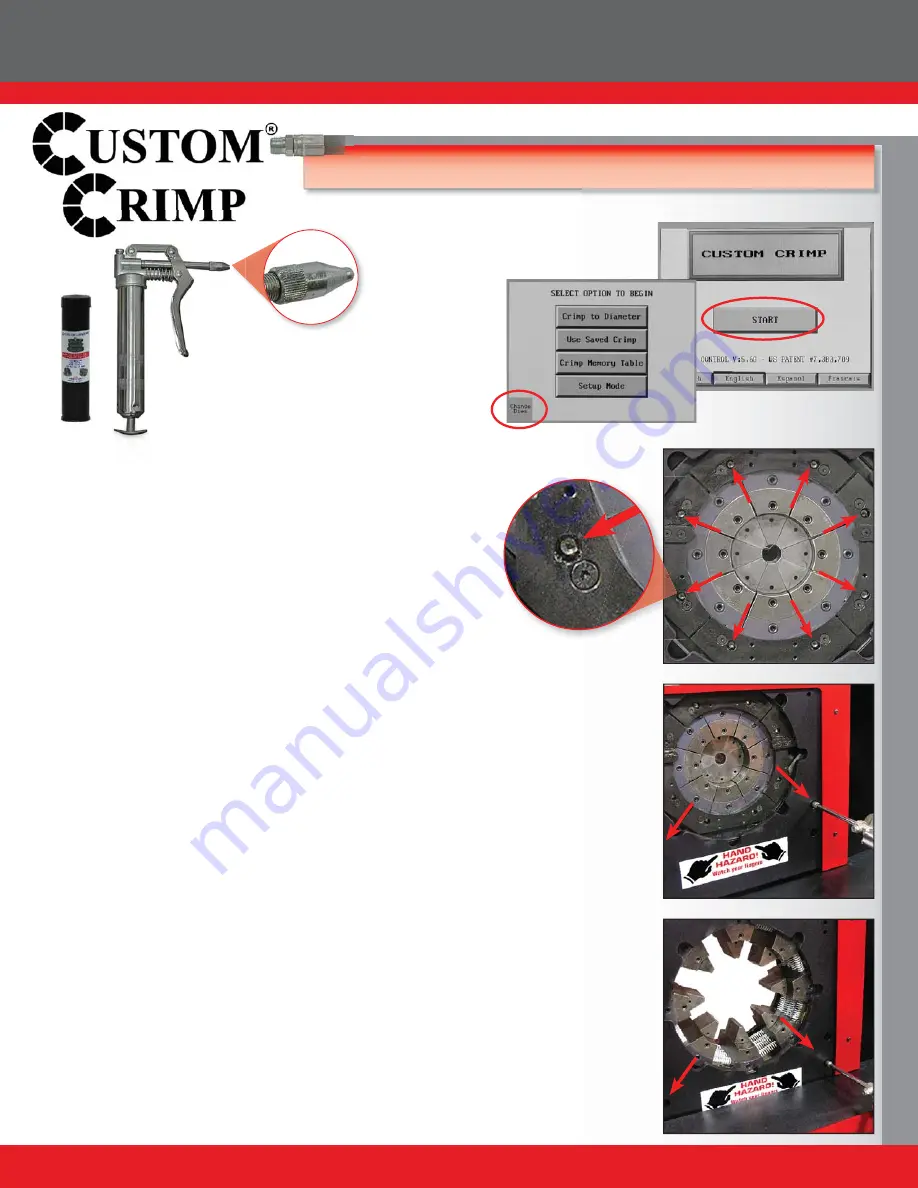
Use the mini grease gun w/ fl ush fi tting adapter and CrimpX grease
(supplied with crimper) or a high quality moly-disulfi de grease.
Failure to lubricate the crimper can cause premature failure,
loss of accuracy and may result in costly repairs to the crimper.
• Lubricate the crimping head after each 100 crimping cycles
or at the start of each shift if the crimper is used in a production
setting.
Note:
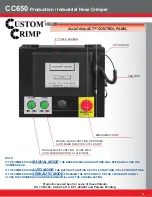
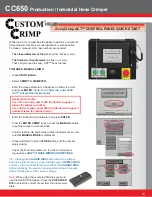
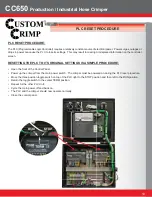
Tap the START button then CHANGE DIES button in the lower
left corner of the screen; it will start to fl ash. This button allows you to
“jog” the crimper head in and out during die installation using the green
CLOSE and OPEN button below the screen on the front of the ACT™
Controller.
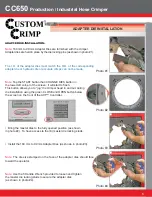
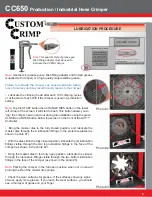
• Bring the master dies to the fully closed position, and lubricate the
master dies through the 8 lubrication fi ttings in the protective plates (as
shown in photo #1).
• With the dies still in the fully closed position, lubricate the (2) lubrication
fi ttings visible through the two top lubrication fi ttings in the face of the
crimper (as shown in the photo #2).
• Bring the master dies to the fully open position, lubricate the crimper
through the lubrication fi ttings visible through the two bottom lubrication
fi ttings in the face of the crimper (as shown in the photo #3).
Note:
Parking the crimper in the full open position when not in use will
prolong the life of the master die springs.
• Check the wear surfaces for grease. If the surfaces show any signs
of wear, apply more grease. If you touch the wear surfaces, you should
see a thin layer of grease on your fi nger.
LUBRICATION PROCEDURE
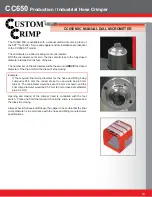
Photo #1
Note:
This specifi c style of grease gun
fl ush fi tting adapter must be used to
lubricate the CC650 crimper.
Photo #2
Photo #3


